Eating Healthy While Travelling Part 1: Preparation

Eating Healthy While Travelling | www.AmandaNaturally.comEven with my 5+ years of experience living a gluten-free, dairy-free lifestyle (I’ve since added some foods to that list, but that’s what I started with), I occasionally still get what I call “dairy-bombed” or “gluten-bombed”. I really do everything in my power to avoid dairy (my worst allergy) because a tiny exposure results in at least 24 hours of extreme pain, followed by 1-2 weeks of slow gut recovery. And since gluten actively causes leaky gut, I avoid it pretty strictly as well, although I don’t have to be as extreme as some people who can’t share a surface though, so I count myself lucky!

The riskiest endeavours are parties, restaurants (especially with a language barrier) and travelling, with travelling taking the cake for most high-risk activity! 

First there’s the airport. A real food deadzone, in which you are guaranteed to spend a minimum of 2 hours in before your flight. Surrounded by crap on crap on crap. Very little options, other than a salad or a piece of fruit if you’re lucky.

Then comes the actual flight itself. I don’t even think the stuff they serve you counts as food. As a kid I didn’t even like it – but back then I usually filled up on Smartfood and Mars bars! Depending on the length of the flight, you can be served multiple “meals” of garbage, moulded into food-like shapes. 

Upon arrival to your destination, any number of hours later, you might be faced with a language barrier as well. 

Yowza. Talk about risky!

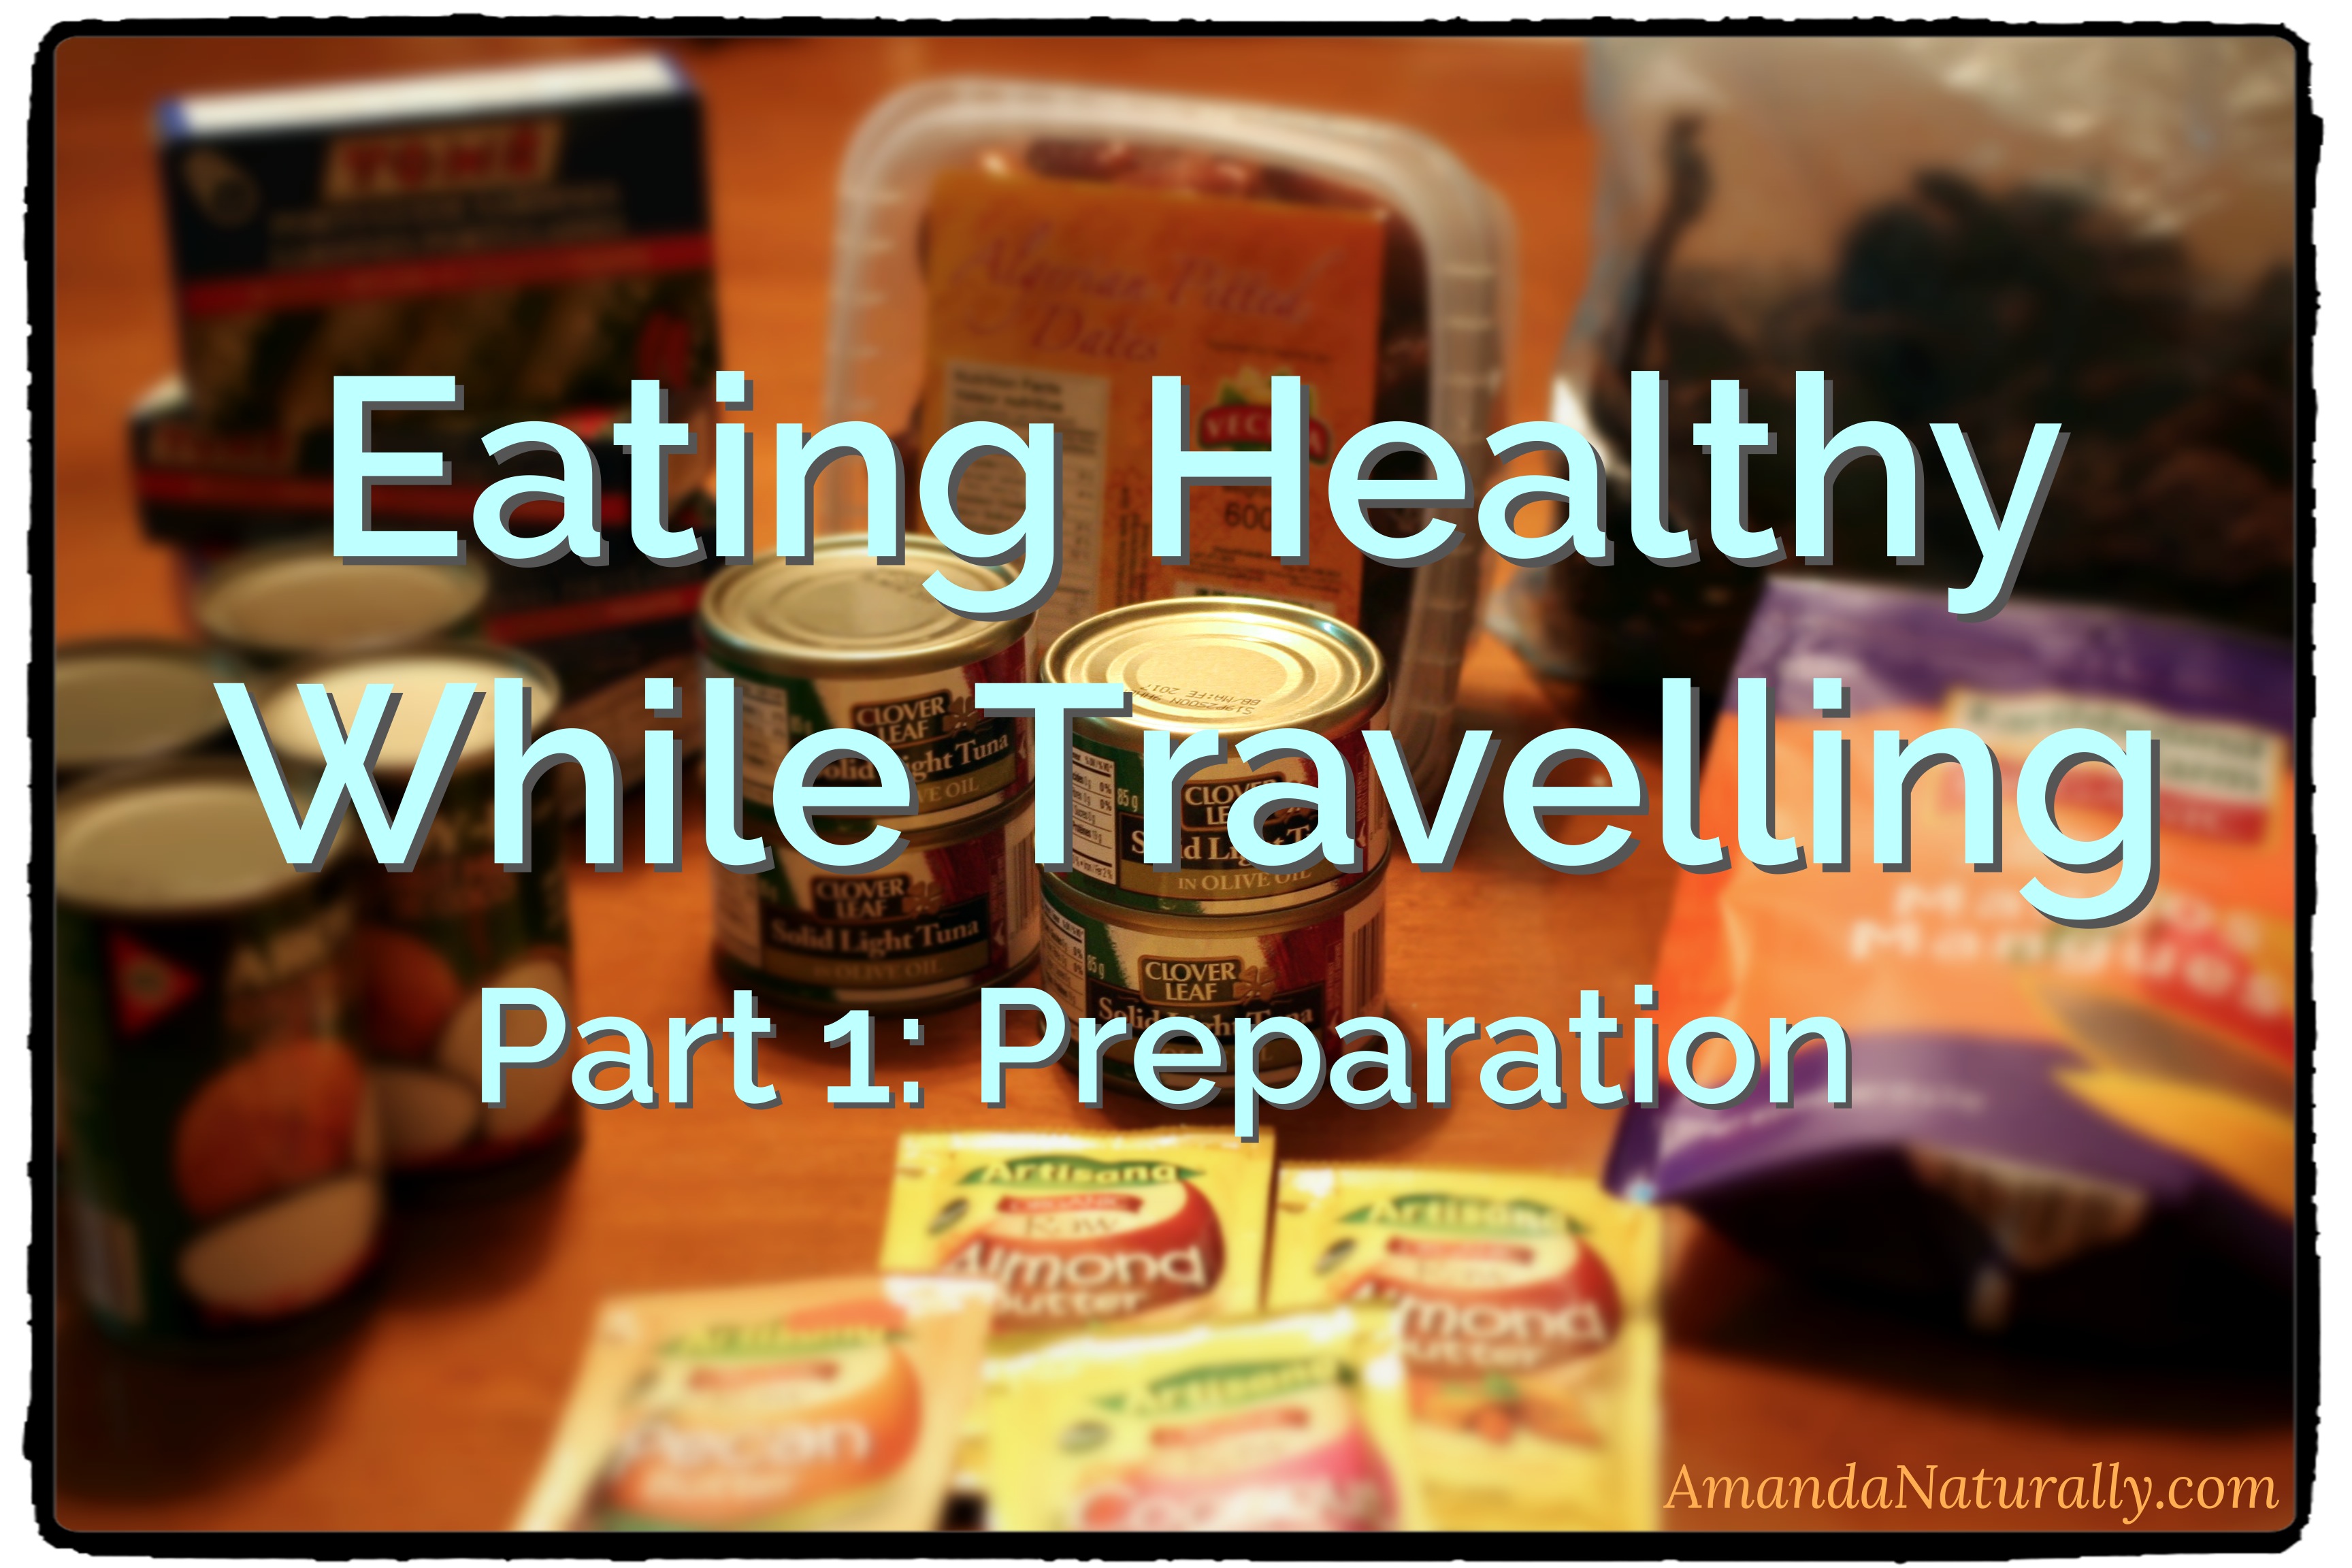
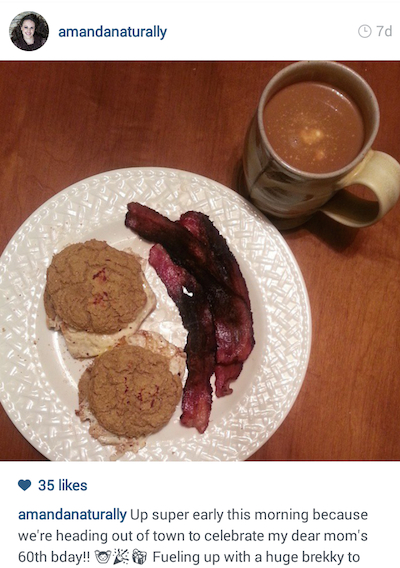
This past weekend my whole family went to Quebec City to celebrate my mom’s 60th birthday, and while it was only a 90 minute flight, the travel portion of the day was a good 5-6 hours. So I decided to share exactly what I did to keep my body healthy on this trip! (spoiler alert: I wasn’t perfect, I did have something go wrong, but I was mostly successful. Heck I’m only human!).

Ok so first and foremost. You have to plan ahead. This is seriously a case of:

If you fail to plan, you plan to fail.

If you arrive at the airport hungry, because you haven’t eaten yet that day, you’re going to end up filling your body with at best, nutrient-poor, inflammatory foods that hopefully don’t contain one of your food triggers. At worst? A full on dairy-bombing (my worst offender).

Rule Number 1: Fuel Up Before You Leave Home

I cannot stress this enough. Have a HUGE meal before you leave your home. Make sure it’s high fat and at least a moderate amount of protein. This will sustain you for hours! We had to leave our house at 6am on Friday, so I set the alarm for 5am, to make sure we would have enough time to eat. A huge breakfast of bacon, bacon-fried eggs and plantain buns, plus lots of coconut milk in my coffee made sure I wasn’t hungry again for at least 6 hours.  

Screenshot_2015-02-05-21-55-23 

Rule Number 2: Pack Snacks

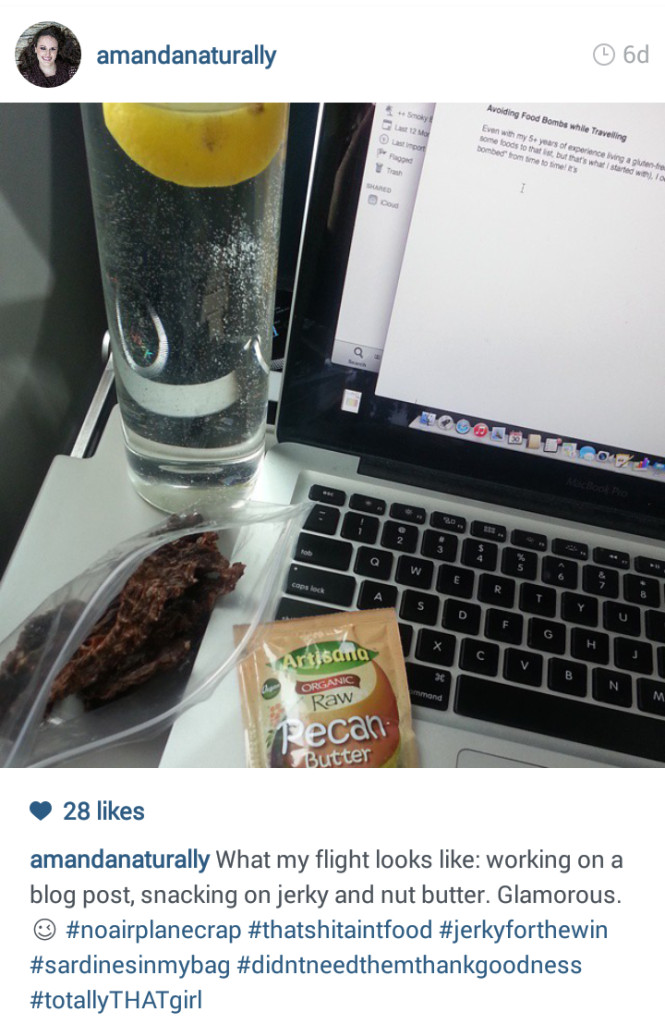
If I was going on a longer flight, I would have packed more meal-like food in a lunch bag, but since we were just hopping over to the next province, I packed non-perishable snacks such as a few packs of Artisana’s individually portioned nut butters and a bag of my homemade Beef Jerky. Additionally, I threw in an apple and some chopped veggies, as well as a can of sardines if I needed it (although this was a last resort, since I didn’t want to be that person on the flight!).

Screenshot_2015-02-05-21-55-52

Rule Number 3: Over Pack Food

It’s winter in Canada right now. There is a very likely chance that your flight may be delayed, or you may end up in another city due to weather conditions, which leaves you stranded and desperate for food. We ate about half of the food in my bag, which I considered a win! I would have been able to sustain us for another 5 or so hours on what I had left!

Eating Healthy While Travelling | www.AmandaNaturally.com

Rule Number 4: Bring an Empty Water Bottle

You know how the flight attendants give you that teeny glass of water that one time on the flight? Advocate for yourself! Bring an empty bottle and ask them to FILL IT UP! I do it all the time! Staying hydrated is key for reducing your risk of airplane-born illnesses. Why? Flying is incredibly dehydrating. The humidity in the airplane cabin is significantly lower than our ideal range, which causes moisture to seep out of our bodies in a futile effort to establish an equilibrium between the two environments. When our mucous membranes dry out, we lose one of our primary barriers against air-borne pathogens. Add a sick traveller who’s hacking up a storm a few seats behind you and you are seriously at risk!

Rule Number 5: Pack Extra Food In Your Checked Luggage

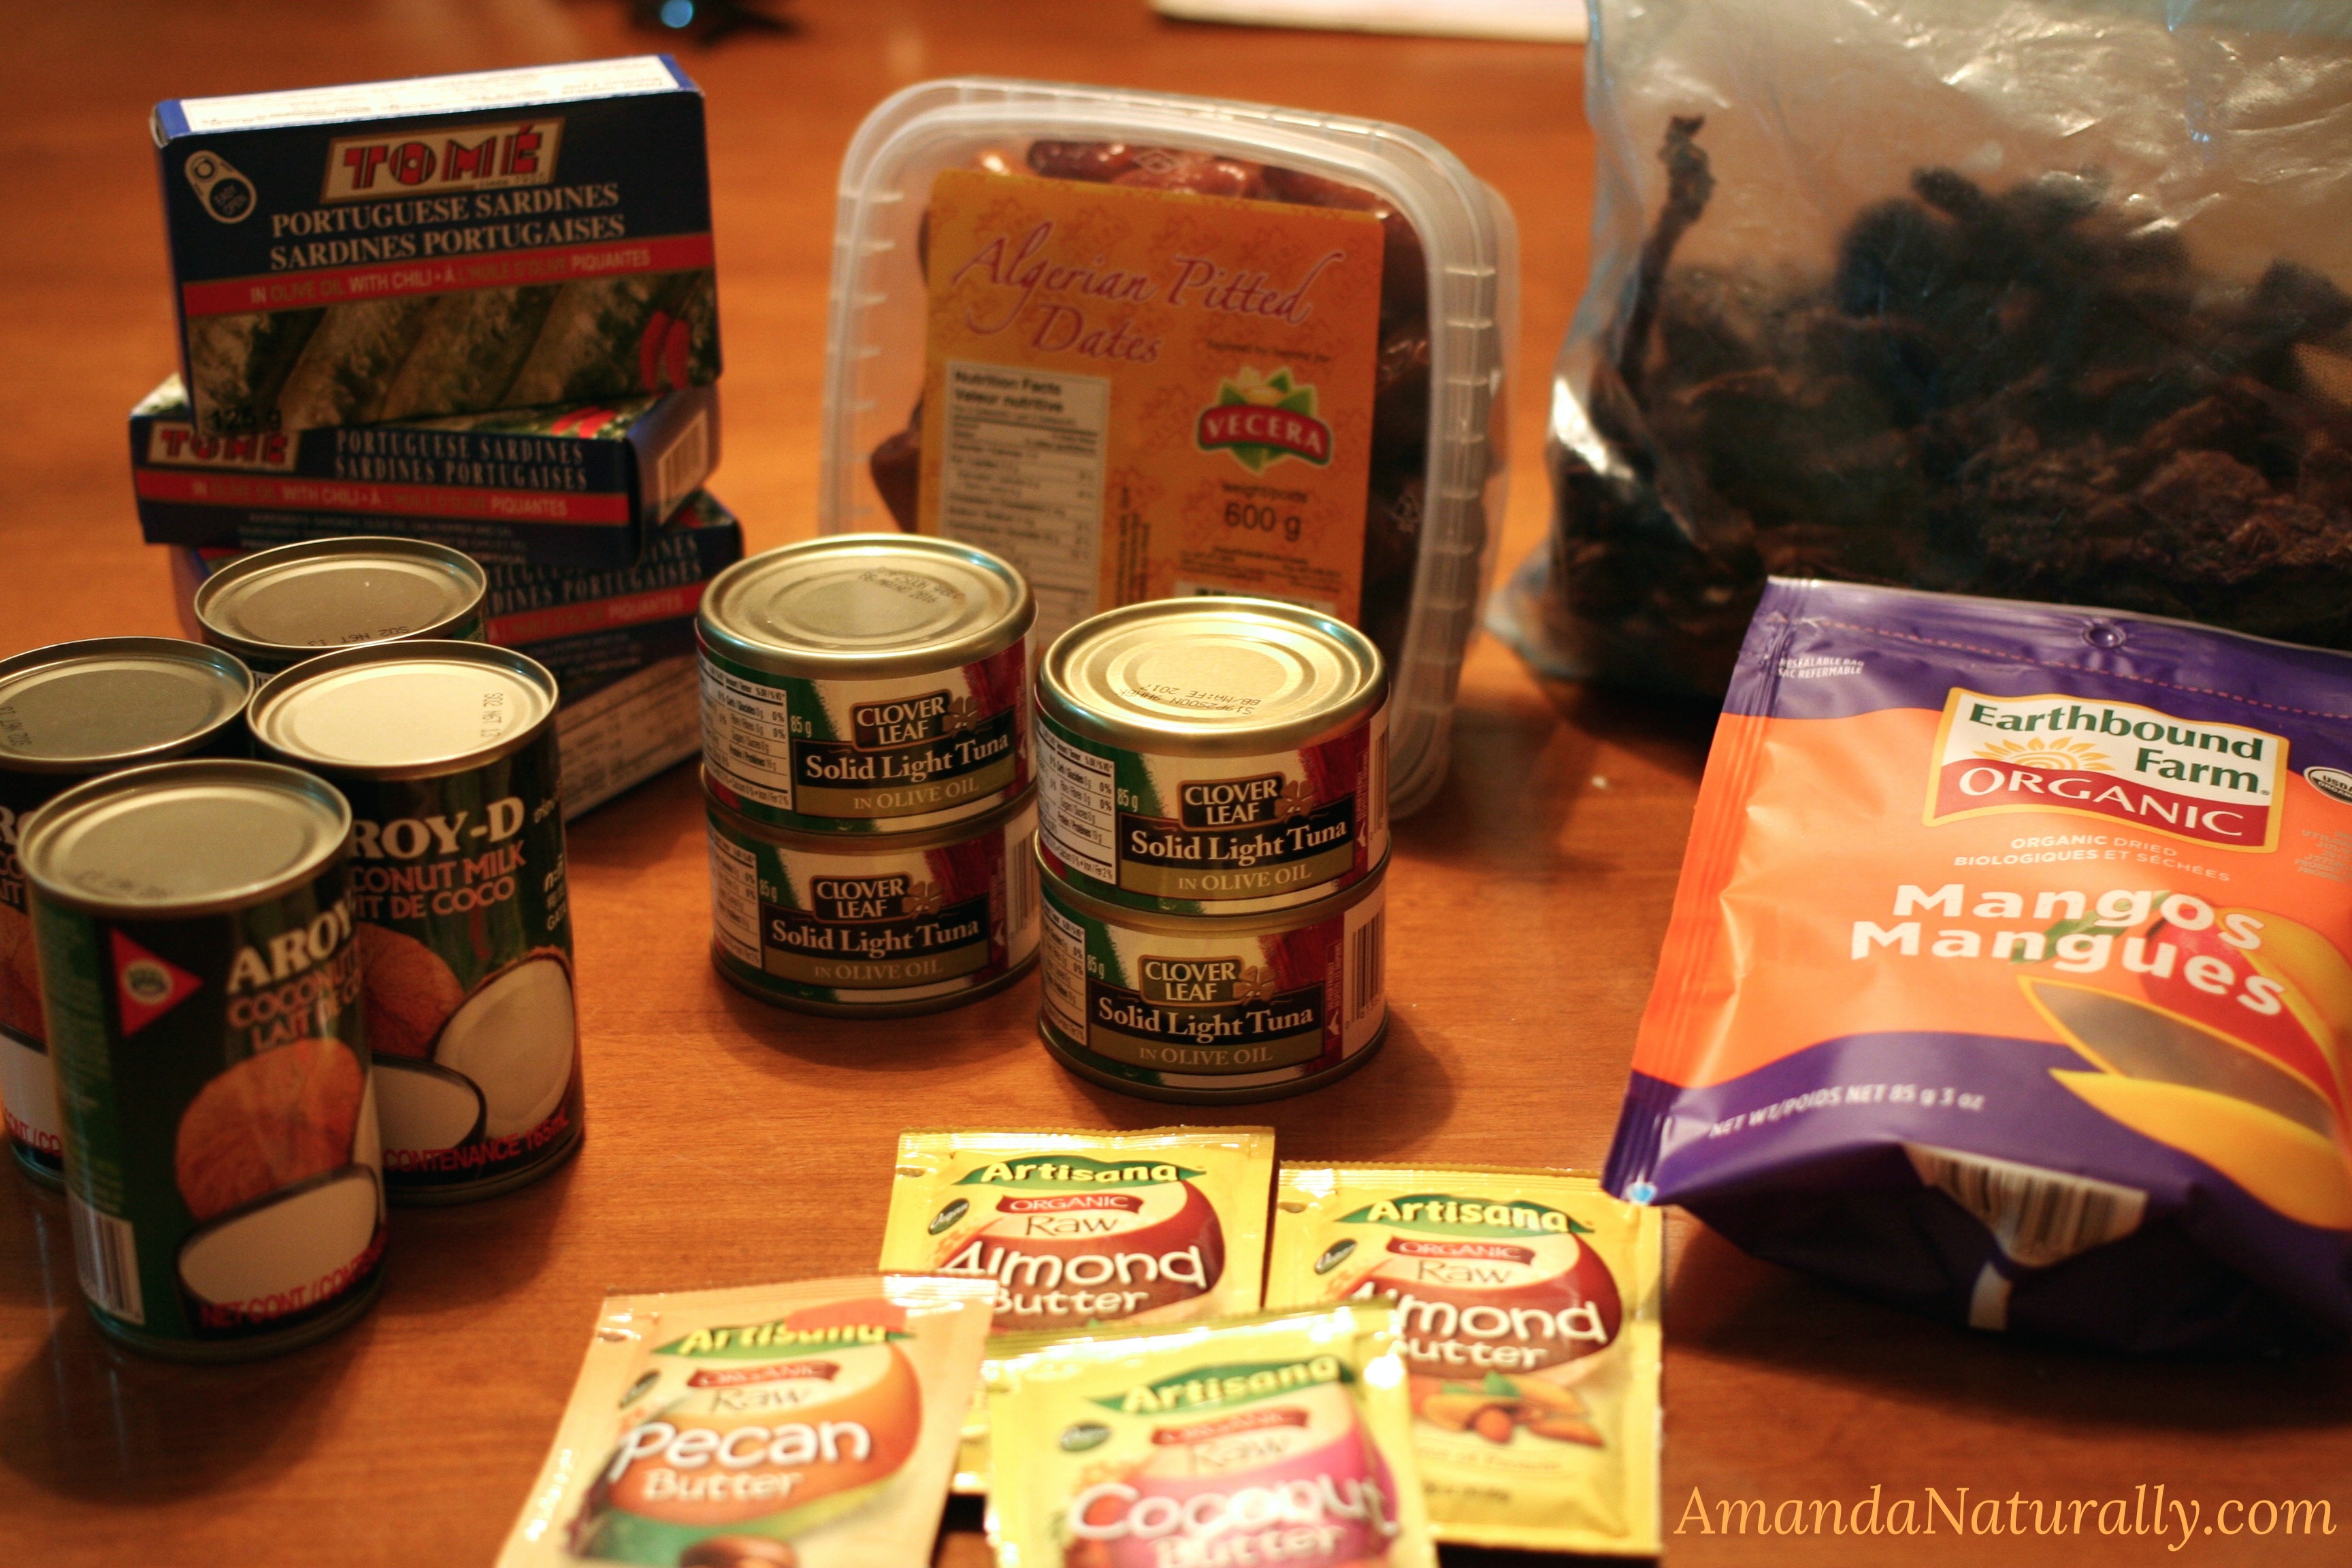
In my checked luggage I packed a whole lot of other food as well. Extra cans of sardines and tuna (in olive oil of course! Watch out for those nasty other oils like soybean or canola.), more nut butter packets, dates, dried mango, cans of coconut milk and a can opener, to be exact! We rented a condo with a kitchen and were fairly close to a grocery store, so we made a trip when we got settled in, to stock up on real food (more on that in my next post). If I didn’t have this  option, I would also pack the following:

  • Larabars
  • Coconut Butter
  • Raw nuts & seeds
  • Protein Powder
  • A personal size blender, or shaker cup
  • Coconut oil and/or olive oil
  • Sea salt
  • Inka Plantain Chips (found only at Dollarama here in Ontario!)
  • Kale Chips
  • A small cutting board and paring knife (obviously in your checked luggage)

Moral of the story is don’t let yourself become a victim of circumstance. Plan ahead and you’ll be fine!

Okay so it was my intention to sum up everything into one post, but at this rate I’ll be up all night writing this! So this has now become a Preparing for Travel post. Check out my second post: 7 Tips for Eating Healthy on Vacation, where I discuss what to do when you arrive at your destination! 

Eating Healthy While Travelling | www.AmandaNaturally.com

Smoky Bacon Butternut Chili

Smoky Bacon Butternut Chili | Paleo | AmandaNaturally.com
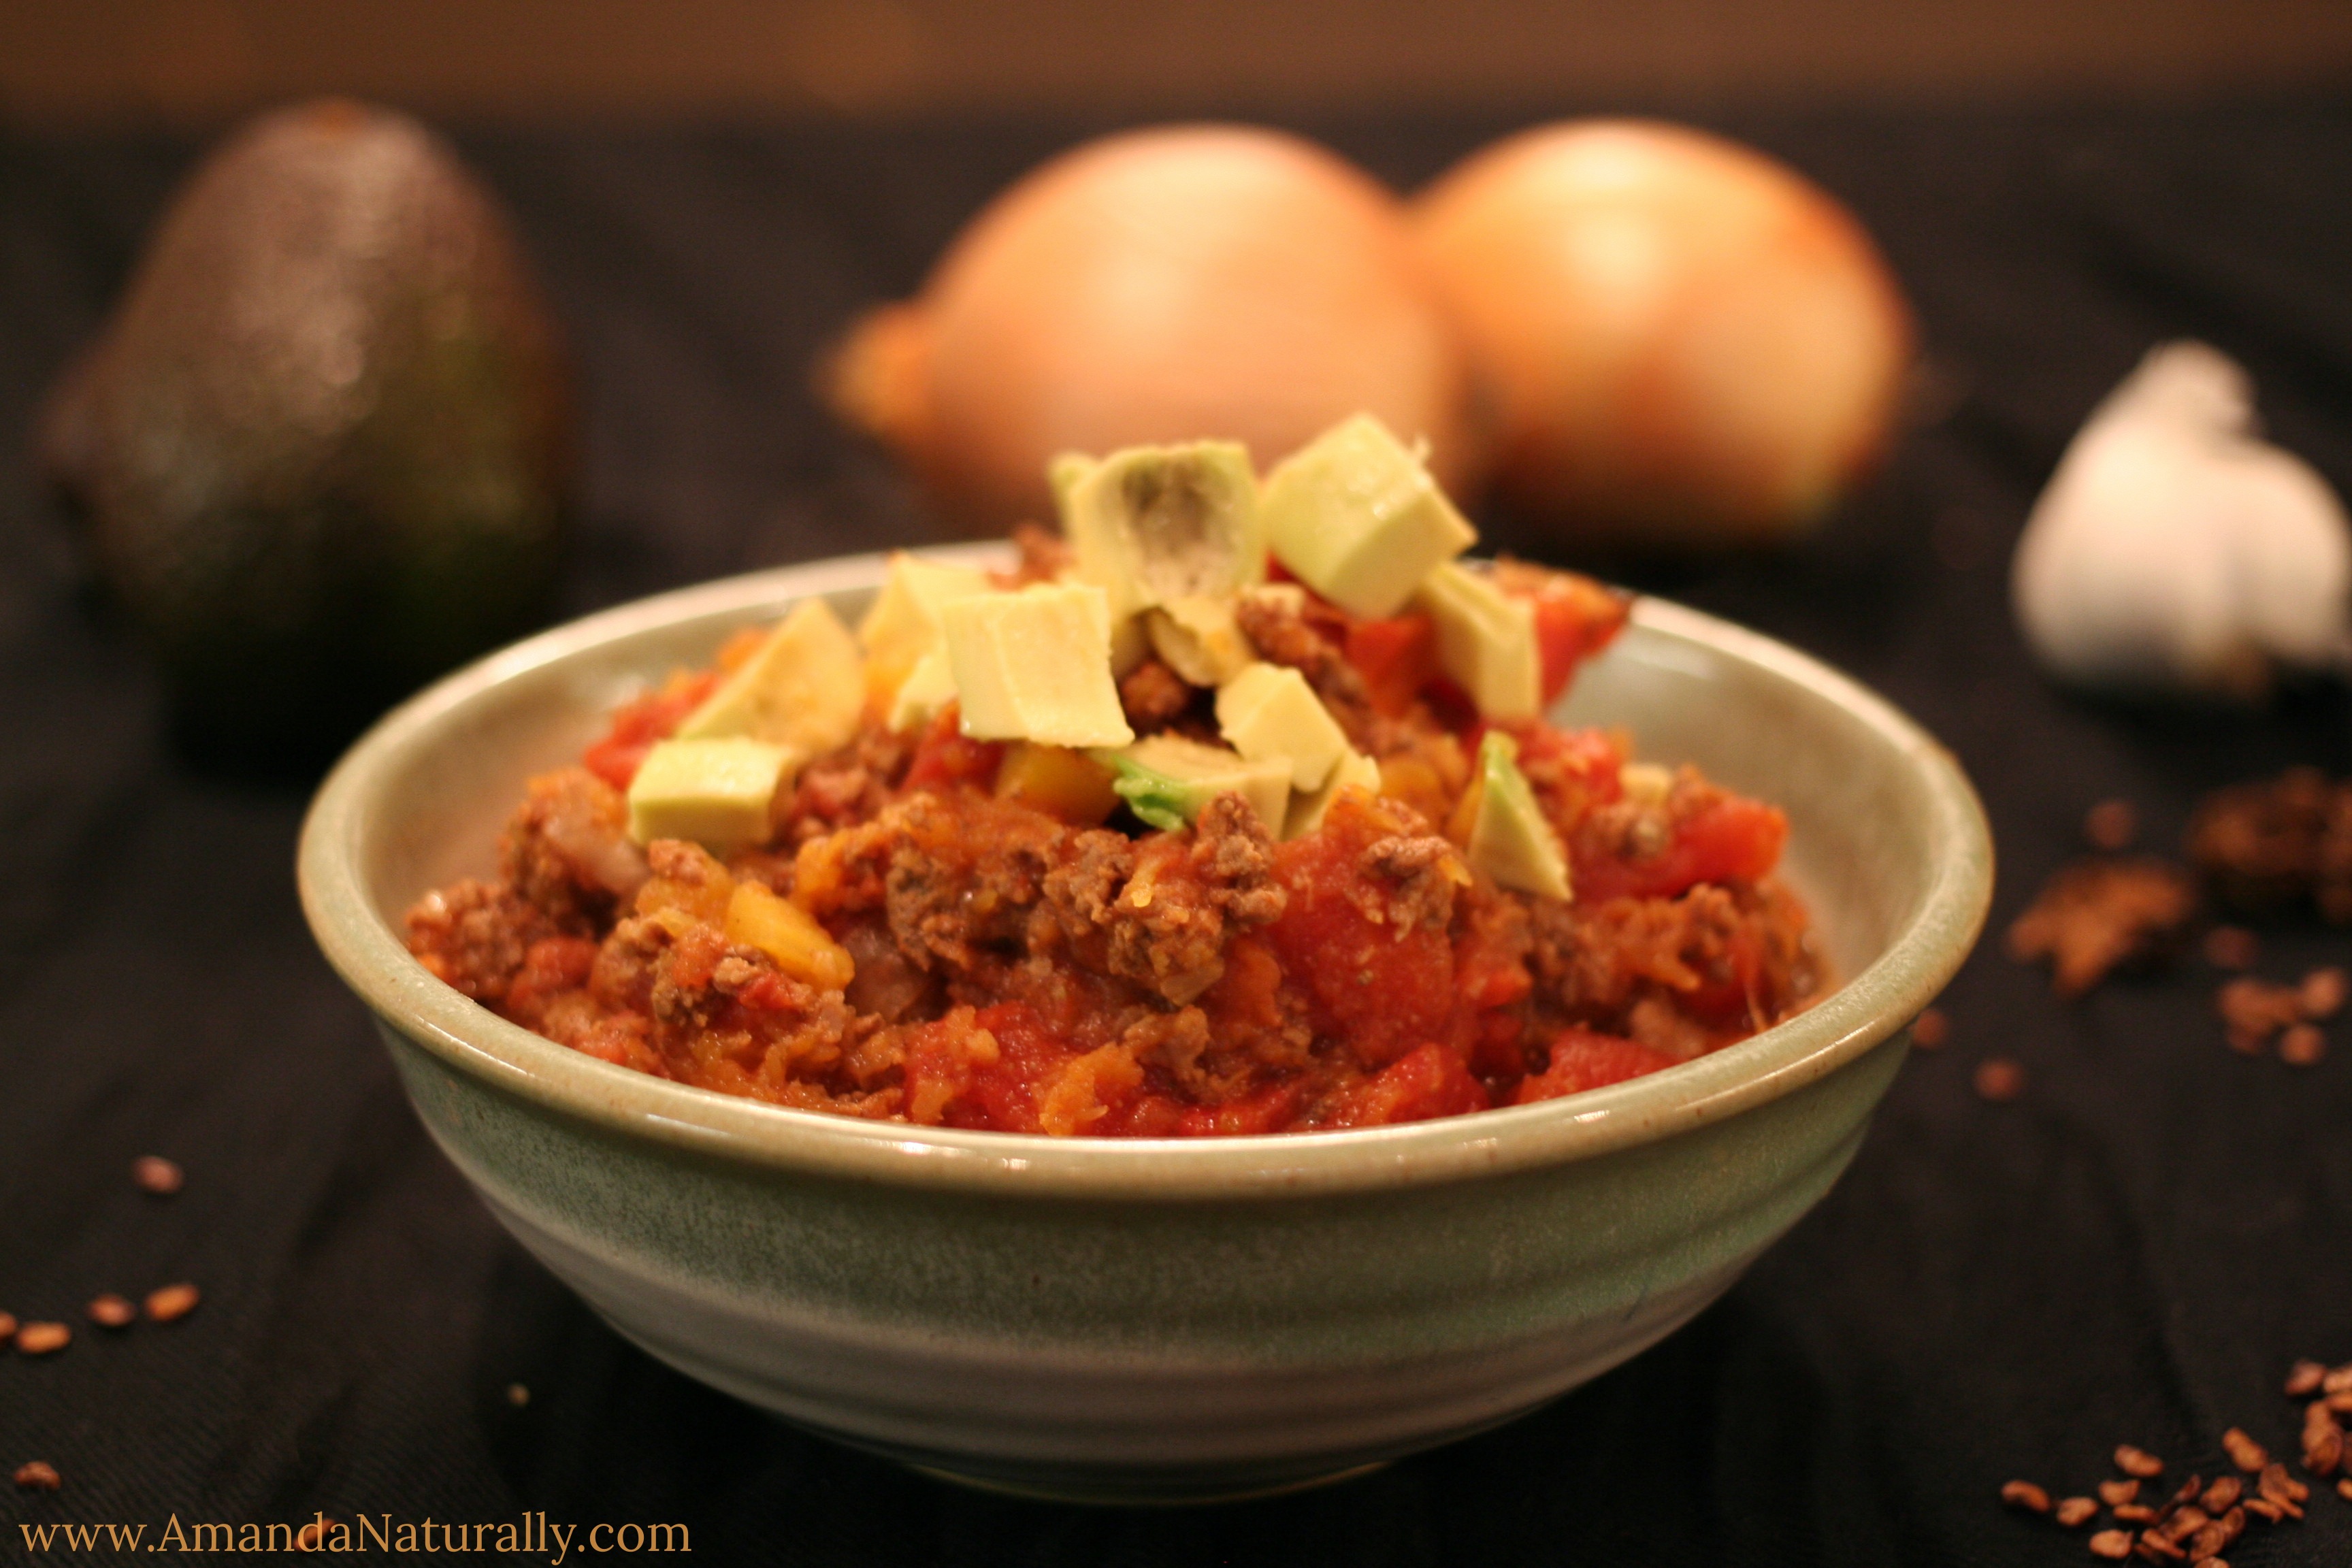
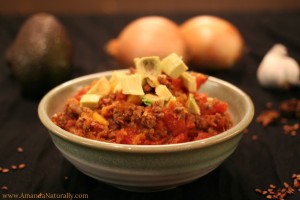
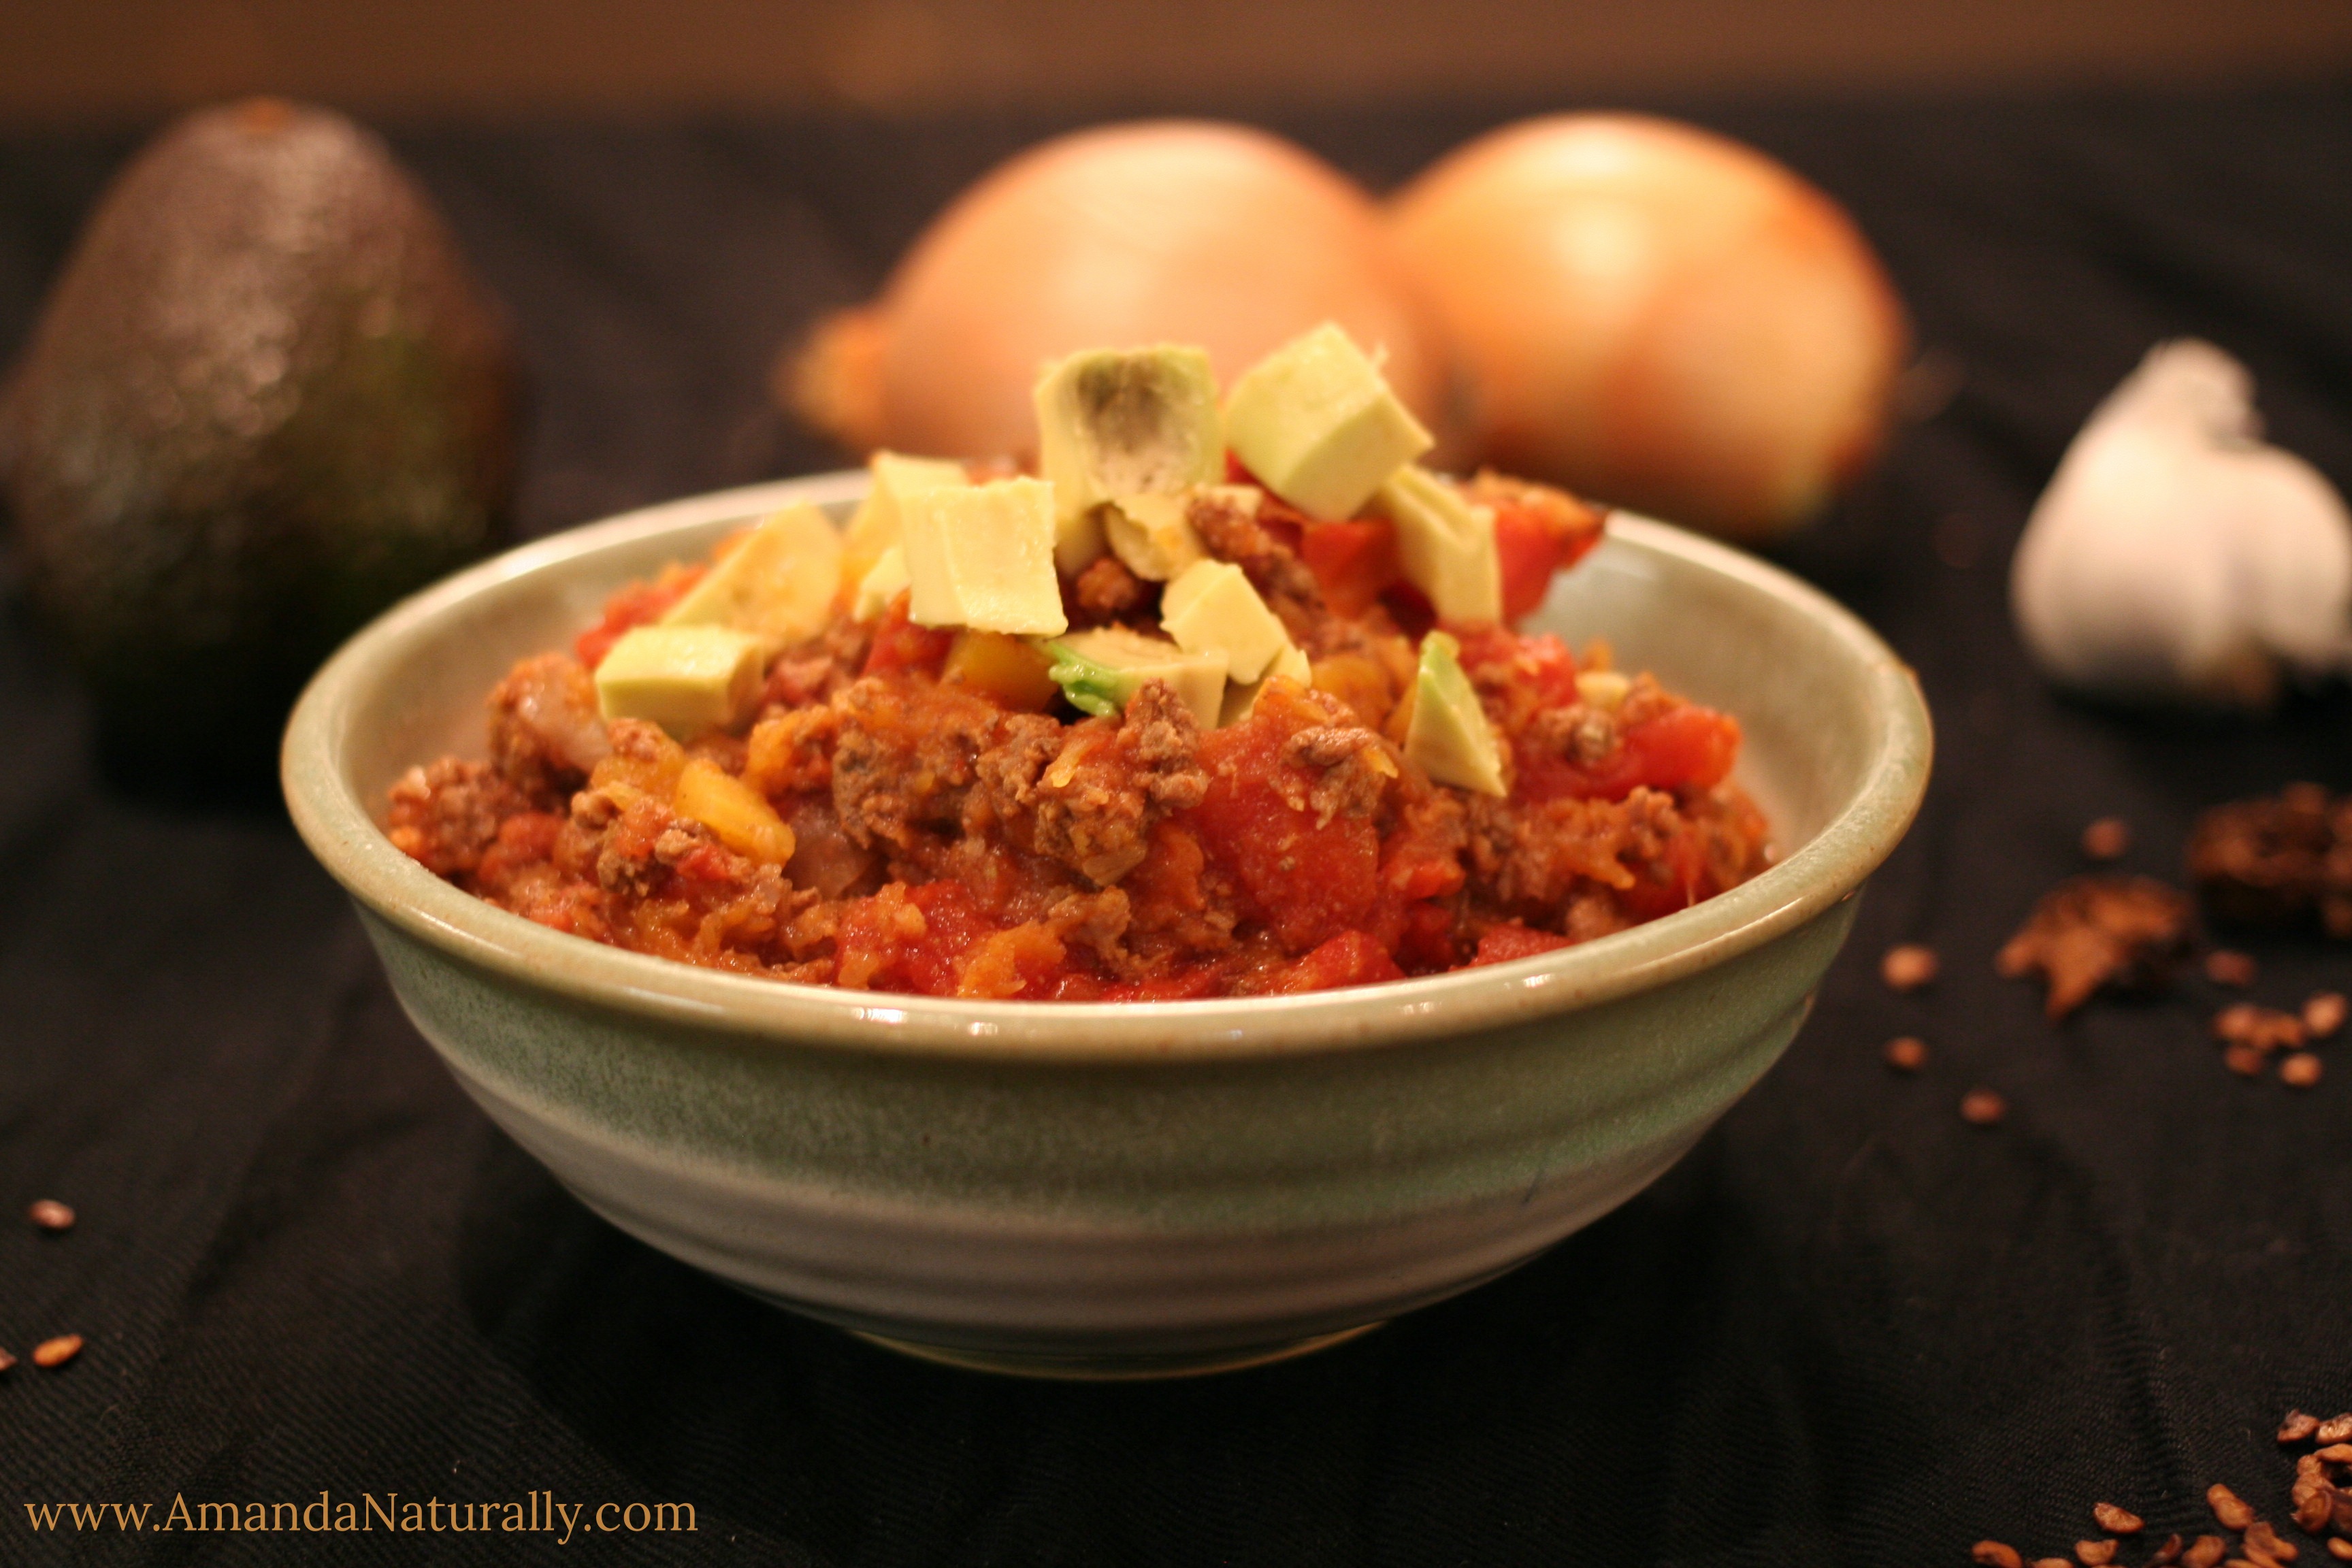
I absolutely love large pots of meat and veggies – stew, soup, chili – whatever you want to call it, I’m down. Especially on these crazy cold days we’ve been having lately! I find if I make a big pot o’deliciousness on Sunday for dinner, it’s so easy to choose nutrient-dense, healing foods during the week!

I often get requests for soup, stew and chili recipes by clients, which I have a hard time with because I usually wing it! So this past Sunday when I was making dinner, I decided to write down exactly what I did. And boy oh boy I am certainly glad I did because WOW this turned out amazingly! Say hello to this gem I like to call my: 

Smoky Bacon Butternut Chili

One quick note on my version of the recipe: I used ground moose meat.

Now I don’t normally have ground moose meat, because it’s not something that is sold in the grocery store round here! Our family cottage is just south of the Wahta Mohawk Territory. In the summer we frequently visit our favourite little shop for wild pickerel. Last Saturday after skiing with the fam, my husband and I decided to pop over and see if they were open in the winter because we could really go for some pickerel! Well, weren’t we in for an awesome surprise. Not only were they open and had tons of pickerel, but they also had moose meat. So of course we had to get some!! I asked the young guy manning the cash where the moose was from, to which he replied:

“North Bay…actually, I think that’s my kill!”

Well folks, you can’t get much closer to the circle of life can you? I strive to source out ethical, humanely raised meat – and spend quite a bit of money doing so. To find wild game, that was respectfully and traditionally hunted, is a rare find, and I am feeling very lucky to have this resource!

Smoky Bacon Butternut Chili | Paleo | AmandaNaturally.com

And you know what else is amazing? The flavour! I only bought 3lbs and I’m already regretting not buying more! Now I’ve loved every type of game meat I’ve tried, and moose is no exception. I don’t know how to describe it other than it’s like the leanest grass fed beef (I specify grass fed because it tastes significantly different than corn fed, and moose are certainly not eating corn!), with a hint of game-yness (yes that’s a word!).

Since there’s little to no fat in moose, I decided it would be a good idea to pair it with a fattier cut of meat as well. Enter bacon (of course)! The bacon paired beautifully with the moose – I will definitely use this combo again! I’m sensing another trip up north…

Do not despair if you don’t have moose though! This recipe works perfectly well with any type of ground meat!! Normally I use a combination of ground beef and ground pork, but turkey and lamb would work great as well! 

Smoky Bacon Butternut Chili
Comforting, satisfying, nutrient dense AND good for your body!
Write a review
Print
Prep Time
20 min
Cook Time
1 hr
Prep Time
20 min
Cook Time
1 hr
Ingredients
  1. ½ lb bacon
  2. 2 lbs ground meat
  3. 2 cups onion, chopped
  4. 1 head of garlic, minced
  5. 5-6 cups butternut squash, diced
  6. 2 cans organic tomatoes
  7. 2-3 pieces of a dried chipotle pepper
  8. 1 tbsp chili powder
  9. 1 tbsp cumin
  10. 1 tbsp oregano
  11. sea salt
  12. black pepper
Instructions
  1. Chop bacon into bite-sized pieces and cook in a large pot over medium high heat, until crispy, about 10 minutes.
  2. Remove bacon with a slotted spoon, drain of some of the bacon grease (save it for another time!), leaving 2 tbsp in the pan.
  3. Add onions and cook until translucent, about 5 minutes.
  4. Add in ground meat, chili powder, cumin, oregano, sea salt and black pepper. Cook until brown throughout, stirring frequently.
  5. Stir in garlic, cook for 1 minute.
  6. Add in chopped butternut squash, bacon, 2 cans of tomatoes and 2-3 chipotle pieces. Simmer for 45-60 minutes.
  7. Serve topped with avocado!
Notes
  1. Make sure to remove the chipotle peppers before serving, or warn people they're in there! Chomping down on one can be painful!
Amanda Naturally http://www.amandanaturally.com/

So tell me! Have you ever had moose? Or other game for that matter? What’s your favourite kind of meat?

Smoky Bacon Butternut Chili | Paleo | AmandaNaturally.com

Bathroom Cleaner

Homemade Bathrom Cleaner | AmandaNaturally.comOne of my overarching goals in life is to reduce my exposure to toxins as much as possible. I try not to be overly obsessive about it, because you can definitely drive yourself crazy if you let yourself! It’s easy to get into an “everything’s going to kill me, so I don’t care at all” mentality, but that’s certainly not doing you any good! I think one of the most important things I learned from the book Slow Death By Rubber Duck (read it, it’s awesome, and a little frightening) was that every little change you make, can have a huge impact on your health. With this in mind, here’s how I took baby steps to end up where I am today (or as my mom likes to say “off the deep end”!):

Every time you finish a product, whether cleaning, personal care or food, when you go to replace it, try and find a less toxic, healthier option.

It was simple. When I ran out of Clinique moisturizer, I hopped on over to the health food store and tried a more natural version (that was before oil cleansing, more on that another time). Done with hand soap? On to Dr. Bronner’s! Out of kitchen cleaner? Got a green version of that too…it was great! But I found I had all sorts of different cleaners in my arsenal, that were simply variations on a theme. I think the turning point for me was when I accidentally purchased carpet cleaner, instead of laundry detergent (same brand, almost identical labels), and USED IT (again, accidentally), and my clothes turned out beautifully! Ha! Not to mention cleaning products, both chemical based and less toxic versions, are expensive. So, I started making my own.

Homemade Bathrom Cleaner | AmandaNaturally.com

Honestly, cleaning products have gotten WAY out of control. There are so many out there, all claiming to kill more bacteria than the rest. Wanna know what else kills 99% of bacteria and germs? Vinegar! The most powerful cleaning product out there! You can pretty much clean anything if you have the following ingredients:

  1. White vinegar – $1.97 for 4LHomemade Bathrom Cleaner | AmandaNaturally.com
  2. Baking Soda – $1.99 for 1kg
  3. Washing Soda – $7.29 for 3kg at Home Hardware
  4. Borax – $4.99 for 2kg
  5. Castille Soap – $7-$10 depending on health food store

Other than the castille soap (which we use for our general soap dispensers too) I literally buy these products once every 2-3 years or so – that’s HUGE savings!

You can also make your products smell a little nicer (less vinegary) by adding an essential oil. My favourite is citrus or eucalyptus – they give the products a similar scent to what I have been programmed to think cleaning products should smell like. Worried that vinegar won’t cut it? Add tea tree oil, which is known for its antibacterial power. 

I just ran out of my basic baking soda, vinegar and water bathroom cleaner a few days ago, so I decided to hit up an expert and take my cleaner to the next level. I followed these simple instructions from Amy Bayliss and am thrilled with how it turned out! It works incredibly well – which is good because with a home office, I have to clean the bathroom every single day!


Homemade Bathroom Cleaner

Combine castille soap, washing soda and borax with boiling water. Mix to combine. Slowly stir in vinegar.

Homemade Bathrom Cleaner | AmandaNaturally.com   Homemade Bathrom Cleaner | AmandaNaturally.com

Let cool. Add 30 drops of desired essential oil, if using. (I used eucalyptus and tea tree oil for extra fighting power)

Homemade Bathrom Cleaner | AmandaNaturally.com 

Funnel into a spray bottle and store in bathroom.

Homemade Bathrom Cleaner | AmandaNaturally.com

There you have it! No more toxic fumes, no more worrying about kids and pets, and no more costly cleaning products!

Homemade Bathrom Cleaner | AmandaNaturally.com

Copyright 2014 Amanda Naturally | Design by The Nectar Collective