Category Archives: AIP

Grain free, dairy free, legume free, egg free, nightshade free, nut and seed free recipes

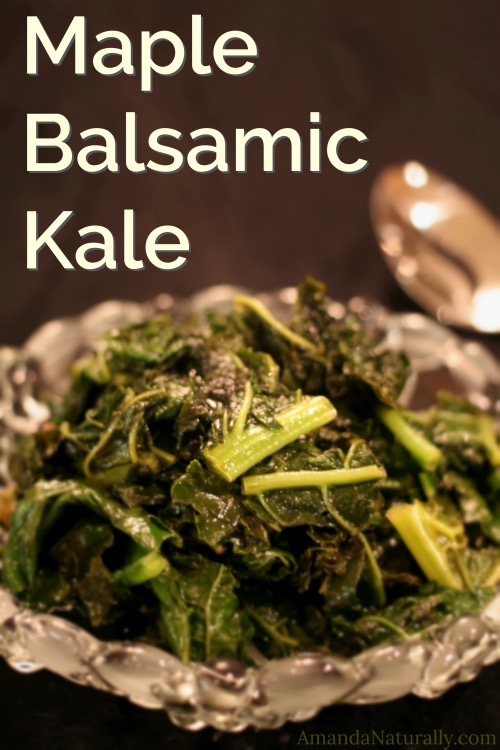
Maple Balsamic Kale

Maple Balsamic Kale | vegan , paleo, AIP, delicious | AmandaNaturally.comI love kale. But I am also very aware that kale is an acquired taste. I didn’t love it right off the bat, and in fact I was kind of intimidated to cook it! 

I hate soggy cooked greens, and raw kale salad can be kind of overwhelming (both from a chewing and taste perspective).

After multiple attempts with different styles of cooking (steamed, baked, sautéed) I discovered that the best way to cook kale is by doing a steam-sauté. I’m not sure if that’s the technical cooking term, but it’s what I call it!

How do you Steam-Sauté?

1. Take your kale, break off the tough ends and roughly chop it into bite sized pieces.

2. Thoroughly wash your kale.

3. Shake off most of the excess water, but don’t dry it out completely. (If you’re using pre-washed kale, see note in step #6.)

4. Heat a deep pot, or a large deep sauté pan with a lid, over medium-high heat.

5. Add 2-3 tbsp of your favourite fat (I love bacon grease!), let it melt and cover the bottom of the pan.

6. Throw in the damp kale and put the lid on. (NOTE: if you are using pre-cooked kale that’s dry, add in 2 tbsp water)
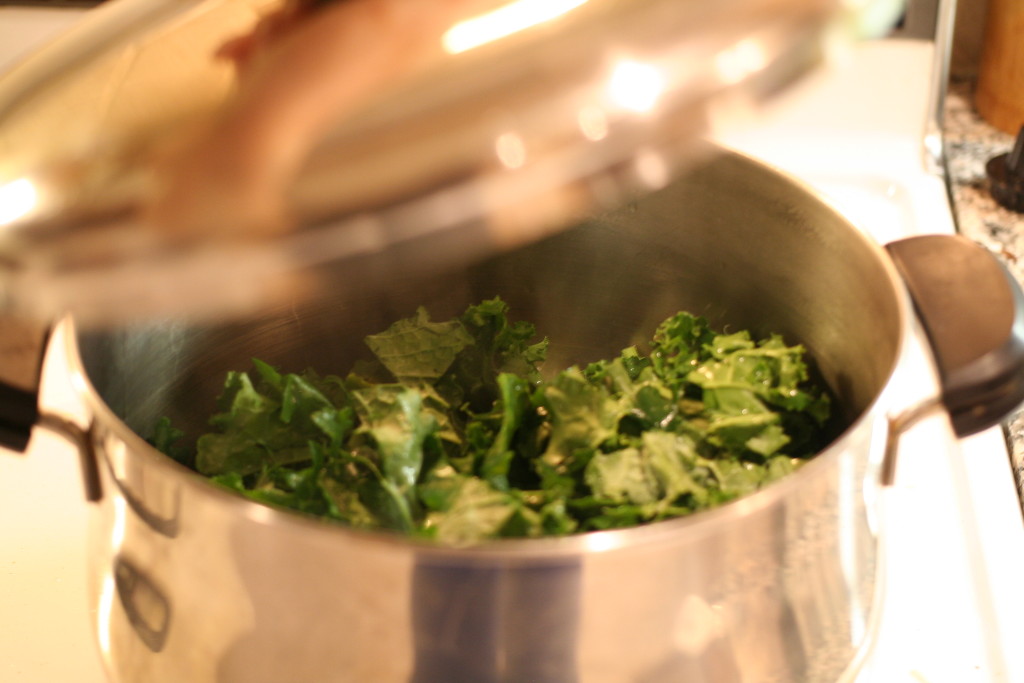
 

7. Toss kale every 2 minutes or so. It’s done when it’s bright green and tender – approximately 5-8 minutes.
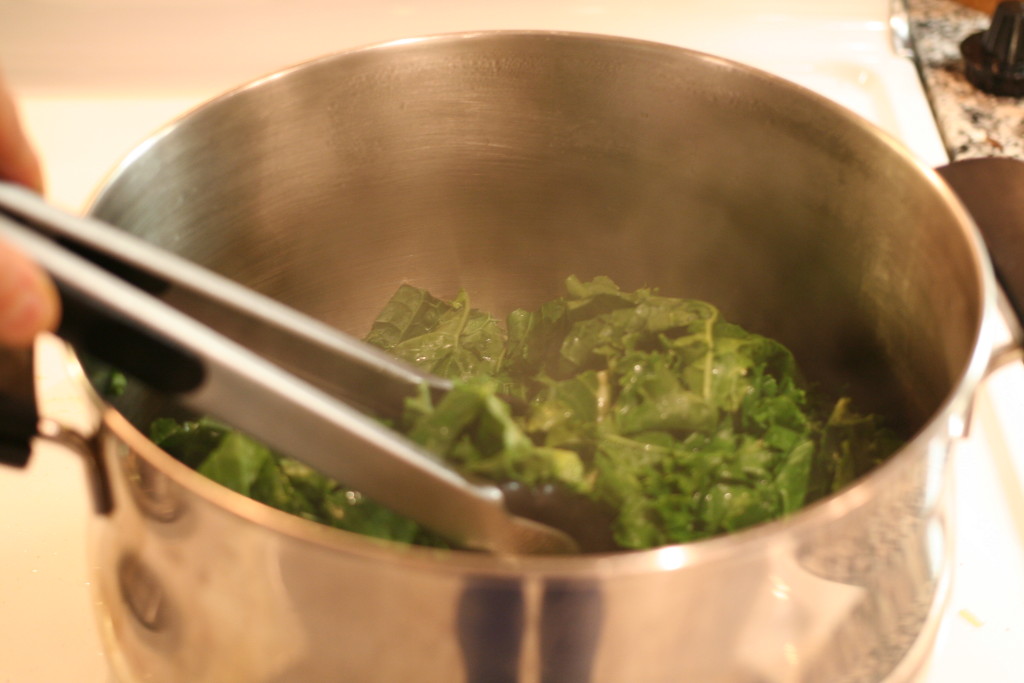
 

8. Season liberally with sea salt and serve!

Maple Balsamic Kale

You can just serve it as is (which I love, but I’ll admit is still very kale-y tasting), or you can spice it up a notch by using the following recipe. This is the very first way I prepared kale that I loved. I can’t remember where I first saw the suggestion to combine balsamic vinegar, maple syrup and kale together, but it’s totally amazing. It pairs really well with proteins (especially pork tenderloin and maple salmon), and is also great with bacon as part of a breakfast!
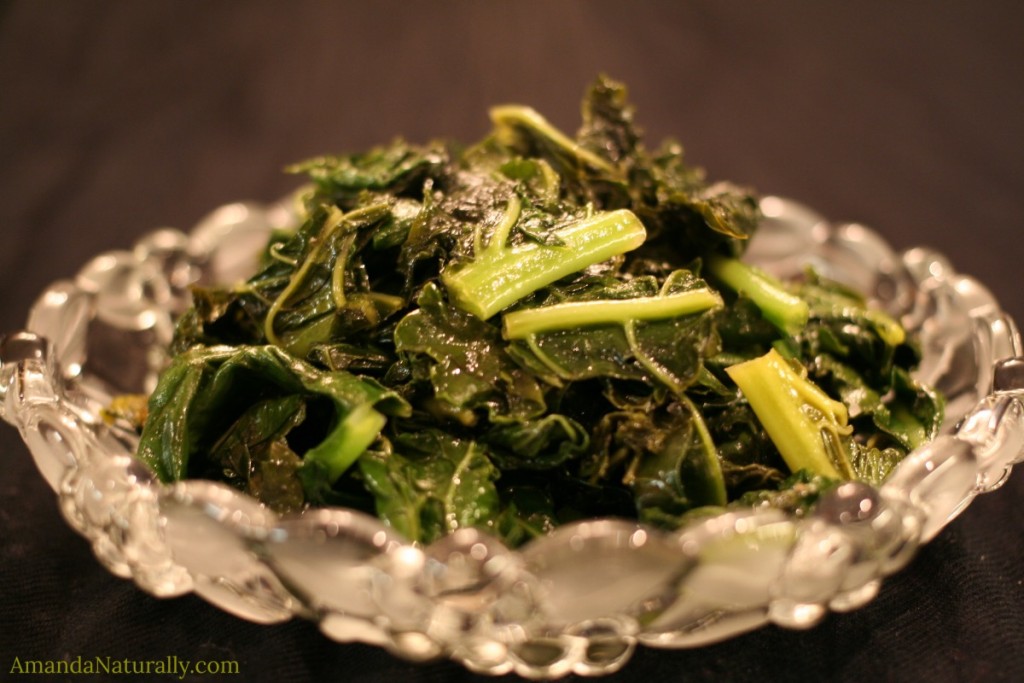
Maple Balsamic Kale
Serves 2
A slightly sweetened kale dish - a great intro to this nutritious leafy green!
Write a review
Print
Prep Time
5 min
Cook Time
5 min
Total Time
10 min
Prep Time
5 min
Cook Time
5 min
Total Time
10 min
Ingredients
  1. 1 large bunch of kale
  2. 2-3 tbsp fat of choice (ghee, olive oil, bacon grease)
  3. 3 tbsp balsamic vinegar
  4. 2 tbsp maple syrup
  5. sea salt
Instructions
  1. Break the tough ends off the kale and roughly chop into bite sized pieces.
  2. Wash thoroughly.
  3. Shake off most of the excess water, but don't dry completely.
  4. Heat a deep pot, or a large deep sauté pan with a lid, over medium heat.
  5. Add 2-3 tbsp of your favourite fat, let it melt and cover the bottom of the pan.
  6. Throw in the damp kale and put the lid on.
  7. After 2 minutes, toss kale and add balsamic vinegar.
  8. Place lid back on pot and keep cooking, tossing kale every 2 minutes or so until bright green and tender - approximately 5-8 minutes.
  9. Drizzle maple syrup over kale and let cook for 30s, tossing frequently.
  10. Season liberally with sea salt and serve!
Notes
  1. If you're using pre-washed kale, add 2 tbsp water to the pan with the kale.
Amanda Naturally http://www.amandanaturally.com/

So tell me, what’s your favourite way to prepare kale? Share in the comments below!

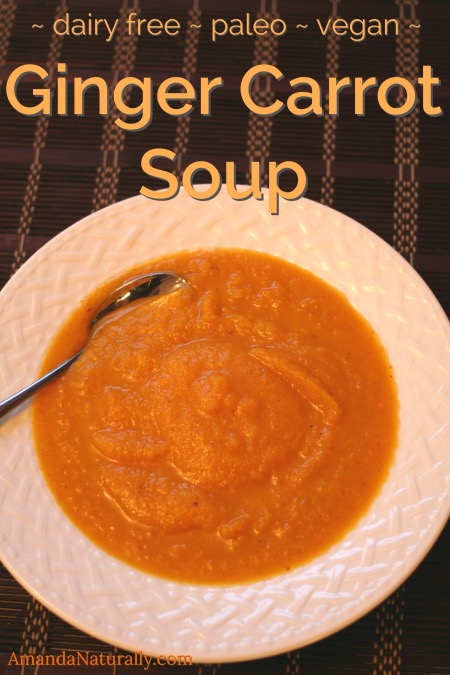
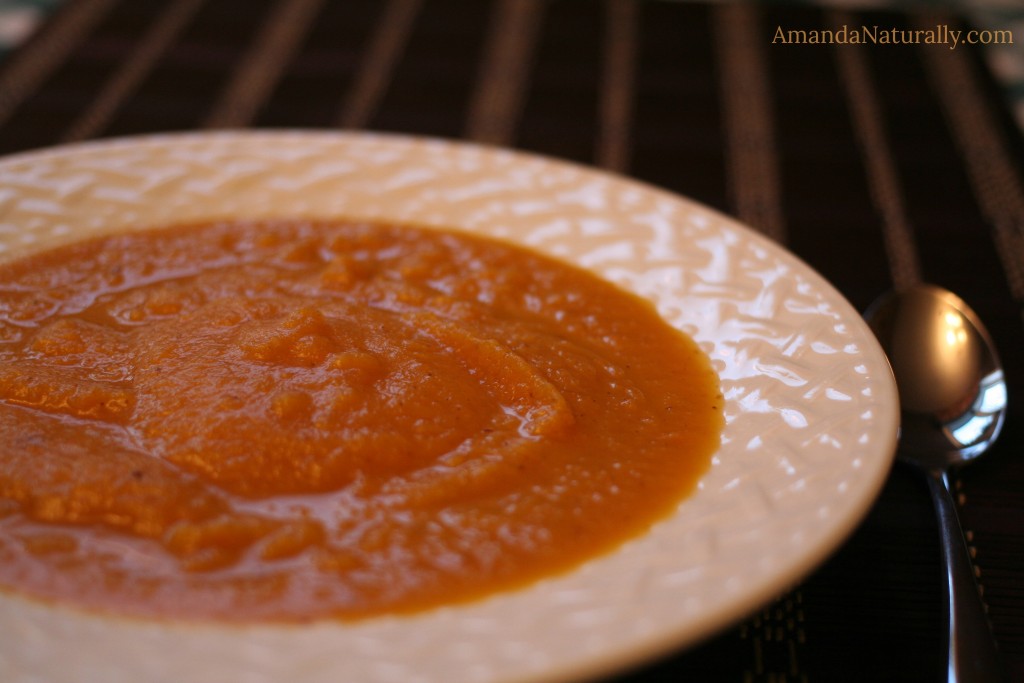
Ginger Carrot Soup

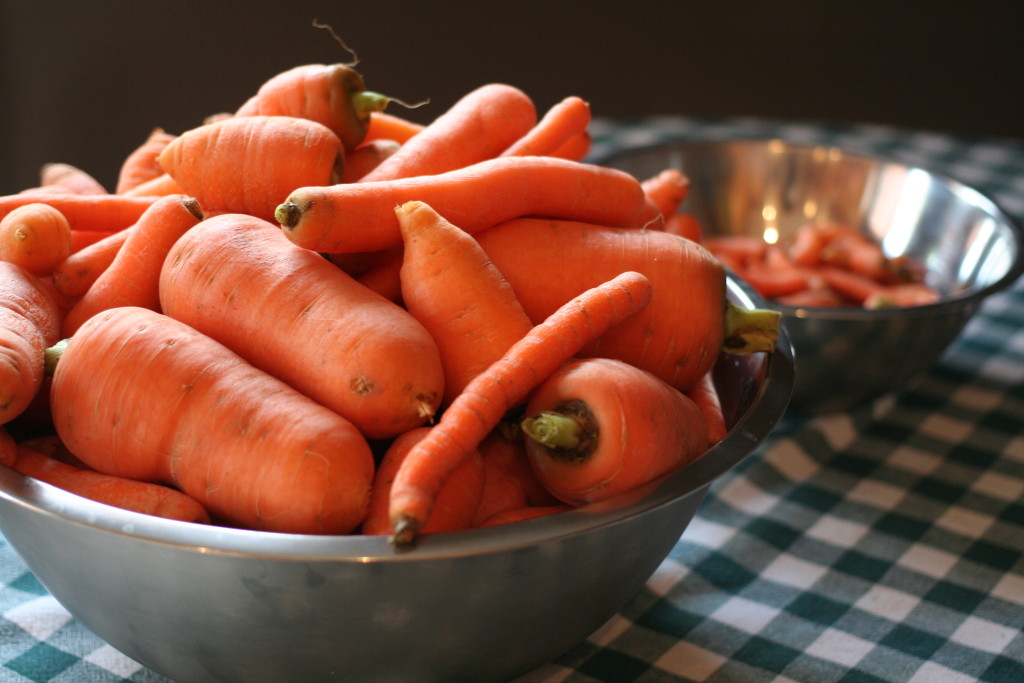
Ginger Carrot Soup | dairy free, paleo, vegan | AmandaNaturally.comThis past weekend we harvested all of the carrots from our garden. We were shocked to see how many there were! We only planted 1 row, but ended up with bowls and bowls of carrots. So in order to use them all while they’re fresh and most tasty, I quickly turned them into my favourite carrot soup. I quadrupled the recipe below and used my 2 largest pots, and still couldn’t get all of the carrots in! I froze most of the soup in both single serving and larger jars that contain 2-3 servings. I always try to make larger quantities of a freezable recipe, for those days when there are no leftovers for lunch, or when life gets crazy and there’s nothing for dinner!
One of the reasons I love soup so much is it’s the easiest way to get in my favourite food ever – bone broth! For full details check out my original post – but to sum it up: homemade broth is pretty much good for everything. Bone broth contains nutrients that helps heal leaky gut, nourishes your joints, keeps your skin/hair/nails strong & healthy, helps heal any damage to & maintains pliability of your arteries…the list goes on. In short – it’s amazing and every single client we have has bone broth on their prescription sheet.

Another reason I love soup is it’s very easy to digest, so if there is any gut irritation, damage or illness, soup is a great way to get nutrients in easily. And you can jam it with way more veggies than any other meal – and again, they’re very easy to digest. Clients I have with major digestive illnesses (celiac, crohn’s, colitis, post-cancer etc.) that are experiencing a flare or are in an acute inflammatory situation, always get the recommendation to avoid raw veggies (which can act like steal wool on a tender gut) and focus on stews and soups. That way you get the nutrients in (in addition to gut-healing bone broth) and don’t add to the irritation! 

Ok enough with the science & health (my fav thing) – onto the food (my other fav thing!). I hope you enjoy this recipe for Ginger Carrot Soup!

Notes:

VEGETARIAN/VEGAN OPTION: you can make a pescatarian bone broth with fish bones or shrimp shells, but you can’t make a vegetarian one. If you need a vegetarian broth and don’t want to buy a junk-filled one, use things like mushrooms and sea greens to take your broth to the next level (from a nutrient perspective!)

AIP: to make this suitable for the autoimmune protocol, omit cumin and coriander. Use ½ tbsp of turmeric instead. Add ½ cup fresh cilantro right before pureeing. 


Ginger Carrot Soup
Serves 8
A perfect soup to warm you up on a chilly day! Packed with nutrients from veggies and homemade broth. Freezes really well!
Write a review
Print
Prep Time
20 min
Cook Time
40 min
Total Time
1 hr
Prep Time
20 min
Cook Time
40 min
Total Time
1 hr
Ingredients
  1. 1 tbsp fat of choice (ghee, coconut oil, lard, olive oil)
  2. 1 cup onion, chopped
  3. 1 cup celery, chopped
  4. ½ tbsp cumin seeds
  5. ½ tbsp coriander seeds
  6. 4 cloves garlic, minced
  7. 2 tbsp ginger, minced
  8. 7 cups carrots, chopped
  9. 7 cups liquid (I usually do half broth, half water)
  10. 1 tsp sea salt
Optional
  1. 1 cup full-fat coconut milk or grassfed cream
Instructions
  1. 1. In a large pot over medium heat, add fat and let heat for 15-20s.
  2. 2. Add in onions and celery, sauté for 10 minutes, stirring occasionally so they do not burn.
  3. 3. Meanwhile, in a small pan, toast cumin and coriander seeds. Simply cook over medium heat, tossing every few minutes until toasted - abut 5-7 minutes. Keep an eye on these, they burn quickly! Once toasted, grind in a spice or (dedicated) coffee grinder.
  4. 4. Once the onions and celery are tender, add in garlic, ginger and toasted/ground spices. Cook for 1 minute, stirring constantly.
  5. 5. Add in carrots, broth, water and sea salt. The carrots should be almost completely submerged, so add more liquid if you need to.
  6. 6. Bring to a boil and reduce a simmer. Cook for at least 30 minutes, ideally closer to an hour.
  7. 7. Using an immersion blender, puree soup and serve!
Optional
  1. 8. If using coconut milk or grassfed cream, stir in right before serving, just to heat through.
Notes
  1. To make vegetarian/vegan - use vegetable broth or homemade broth (ideally made with mushrooms and sea greens for added nutrition).
  2. You can use ground cumin/coriander as well, but it will be less flavourful.
  3. To make AIP - omit cumin and coriander. Use ½ tbsp of turmeric instead. Add ½ cup fresh cilantro right before blending.
  4. This recipe freezes well - simply fill glass jars almost all the way, leaving about 2 inches of room at the top so the jar doesn't explode. Let cool for an hour or 2 before putting in the freezer.
Amanda Naturally http://www.amandanaturally.com/

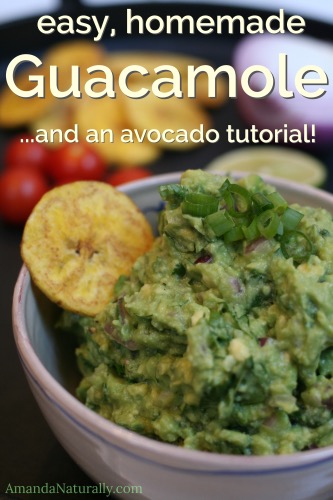
Guacamole Recipe + Avocado Tutorial

Guacamole & Avocado Tutorial | AmandaNaturally.comAvocado’s are the best. They are jam-packed with nutrients, fibre and healthy fat. And they’re freakin delicious too!!! Adding half an avocado to your eggs, salad, or burgers, is the perfect way to not only get in some additional nutrition, but to make sure your meal will be filling for hours. Also, please note that the fat/calorie content of the avocado is not to be feared. The era of “1/8th avocado per day” is long gone. Avocados are not going to jack up your cholesterol. They’re not going to make you gain weight (unless you go bananas on them, but that can happen with any food) – I regularly eat 2-3 halves/day, often more if I’m hungry. Enjoy this yummy food free of worry forever and ever! 

A lot of people are a little nervous the first time they buy an avocado. That’s totally normal. It’s a weird little fruit that requires a few tricks to peel/open it and not destroy it in the process. This article is designed to help de-mistify the avocado and teach you how to make the food that avocado shines in…guacamole!

Step 1 – Determining if Your Avocado is Ripe!

Okay so this is probably the trickiest part of the whole process and it is pretty important. Once you cut into that avocado, it will no longer ripen. If you open it up and it’s really tough inside, there’s nothing you can do but toss it. So how do you determine if your avocado is ripe? I personally use the squeeze test: 

Not Ripe: avocado is hard as a rock and bright green

Almost Ripe: avocado gives slightly when you squeeze it, but still fairly hard

Salad Ripe:  avocado gives when you squeeze it and leaves a slight indent. Perfect for salads and burger toppings.

Guac Ripe: avocado easily gives when you squeeze it and stays indented. Fabulous for guacamole, and still totally great on salads and burgers!

Over Ripe: avocado is black; you squeeze and it easily gives way to the pit inside; the inside feels like liquid; or there’s mould on it.

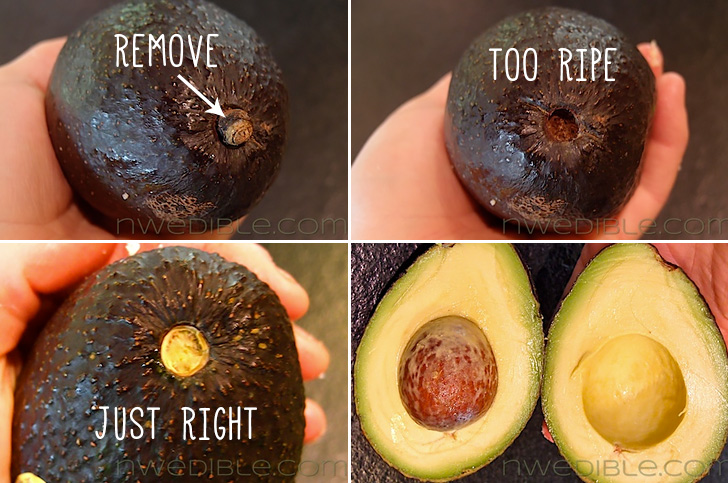
The more you use the squeeze test, the better you’ll become at determining if the avocado is ready to go or not! However, if that’s a little too subjective for you, I recently saw this neat trick floating around Facebook. Originally from Northwest Edible Life – this photo shows how removing the stem will tell you if the avocado is ripe or past its prime:

Step 2 – Storing Your Avocados

If your avocados are hard as rock, store them on the counter for a few days to let them ripen. Speed ripening by keeping them near other fruit such as bananas and apples. (Warning: this will also ripen the fruit faster!)

If your avocados are perfectly ripe, or when they reach that desired ripeness on your counter, move them to the fridge. You get a few extra days out of them this way – unless of course you want to eat them all at once! I find if I move the avocados to the fridge as soon as they hit the “salad ripeness” (ie. as soon as they give a bit under pressure), they last a good week before they move into that over-ripe zone.

Step 3 – Opening Up The Darn Thing

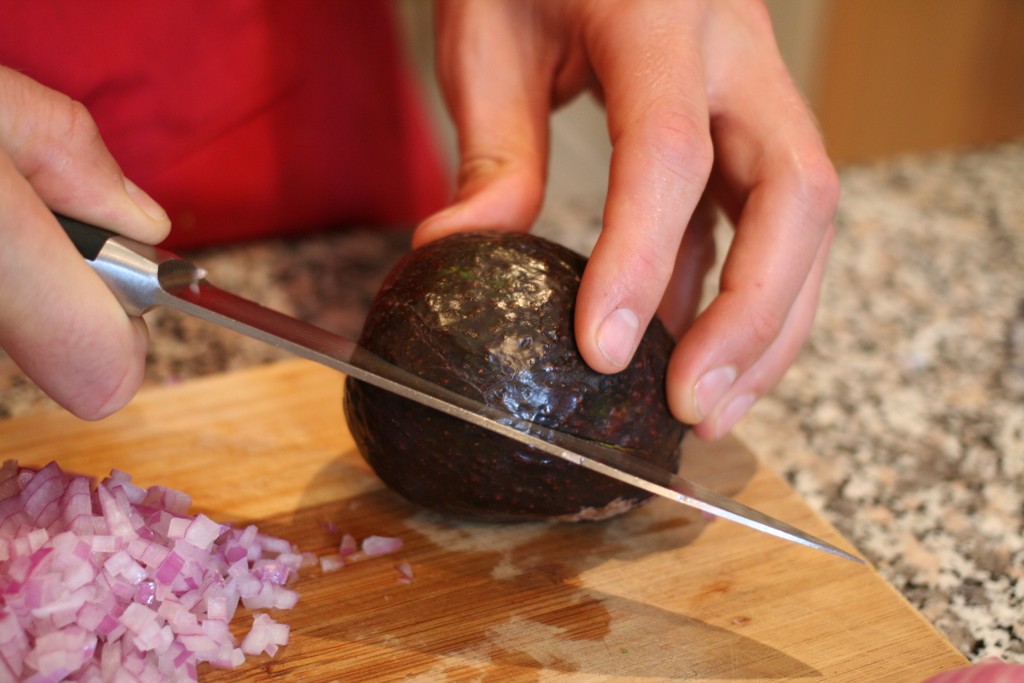
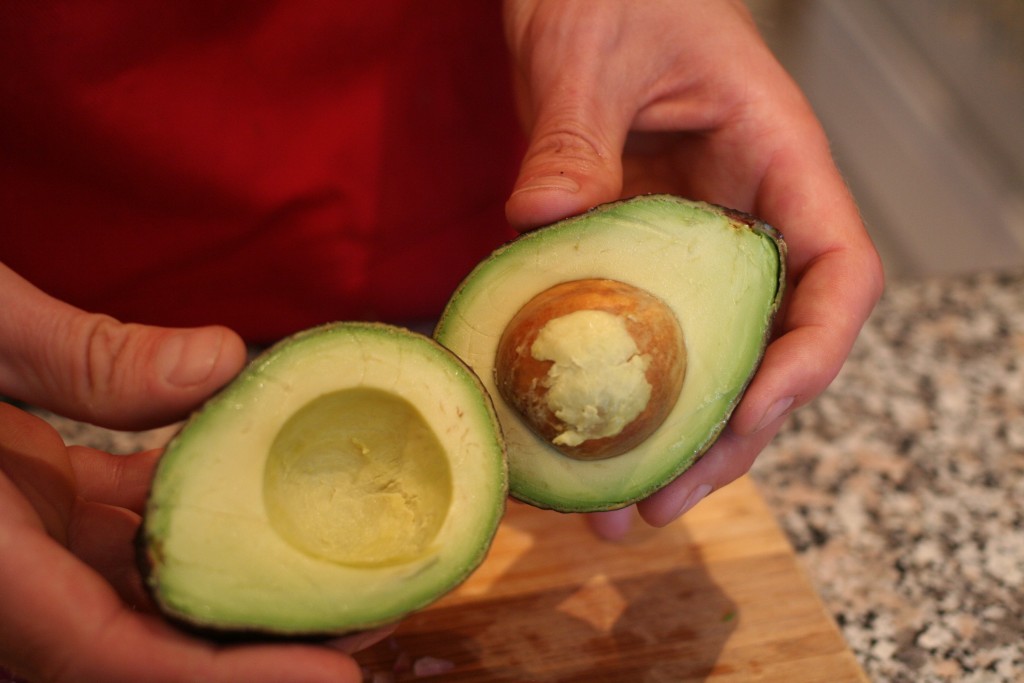
1. Using a sharp knife, cut into the avocado, lengthwise. The pit will stop you from going further. Rotate the knife all the way around the pit.
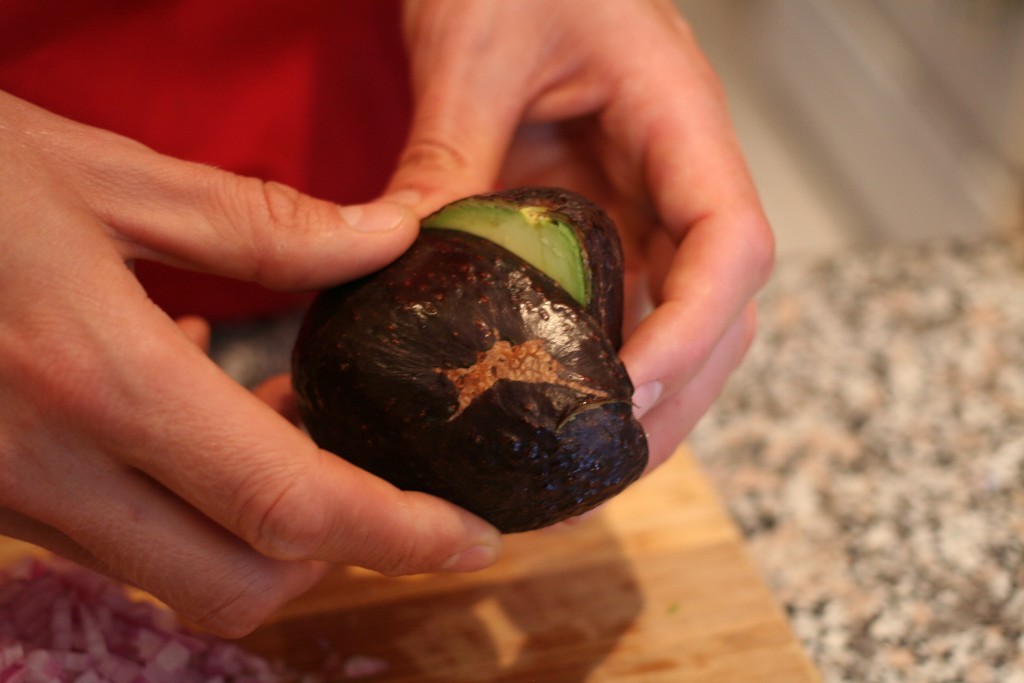
2. Twist the 2 halves in opposite directions.
The pit will stay in one half. If you are only eating half, choose the one without the pit. Store the half with the pit still in it, in the fridge. This will prevent it from browning.
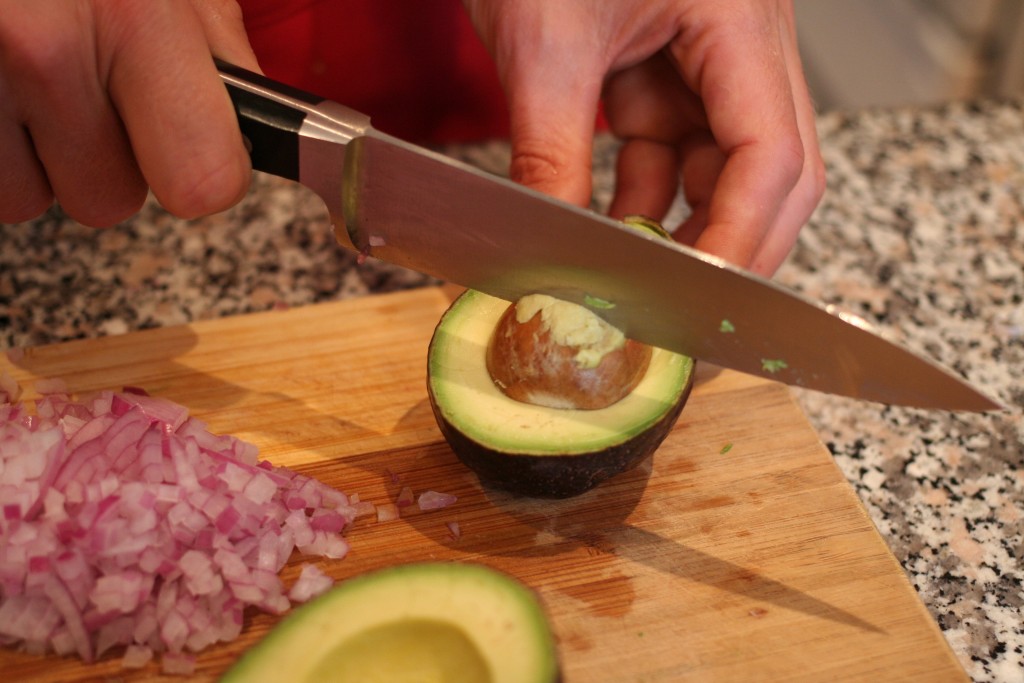
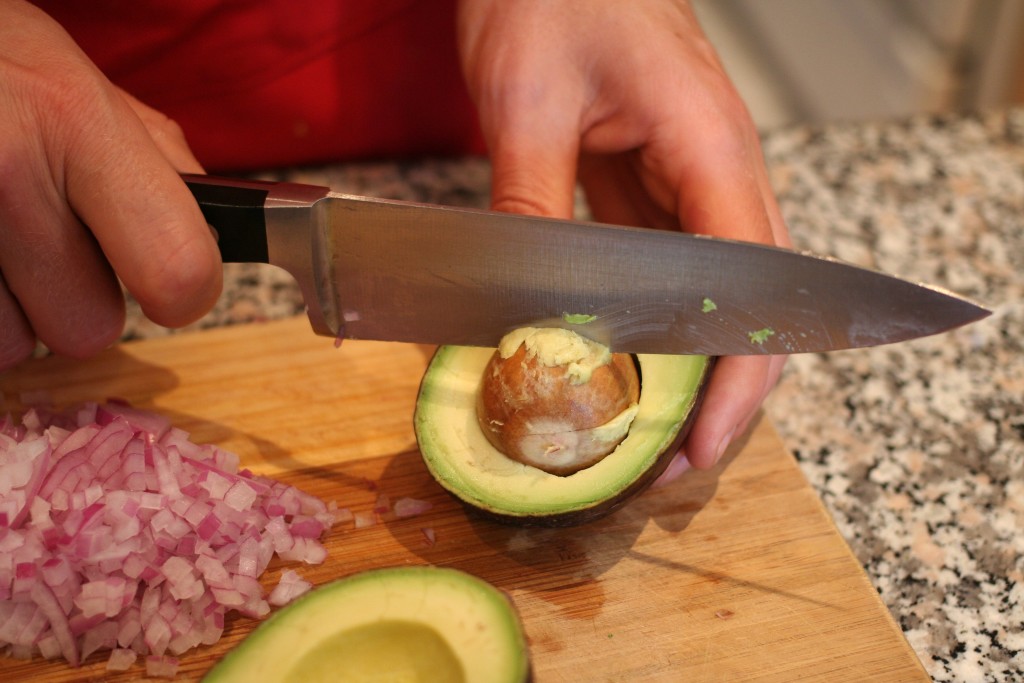
3. Using a chef’s knife, sharply strike the pit with the sharp side of the knife. The knife should stick into the pit.
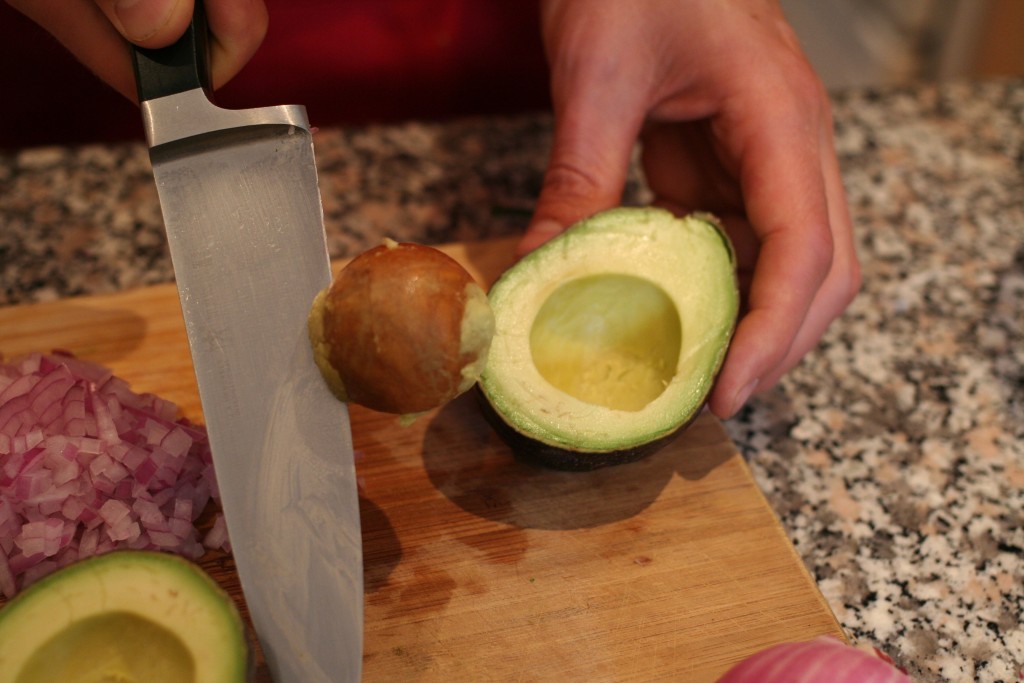
4. Hold the avocado steady and twist the knife (as it’s attached to the pit).
Voila!


Step 4 – Making Guacamole

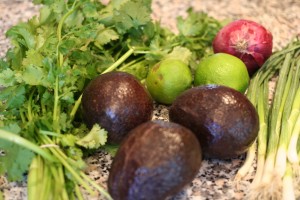
Ingredients:Guacamole & Avocado Tutorial | AmandaNaturally.com

  • 3 ripe avocados 
  • ½ red onion (or 1 small onion)
  • juice of 2 limes
  • 1 cup loosely-packed cilantro
  • sea salt, to taste
  • green onion to garnish (optional)

Directions:

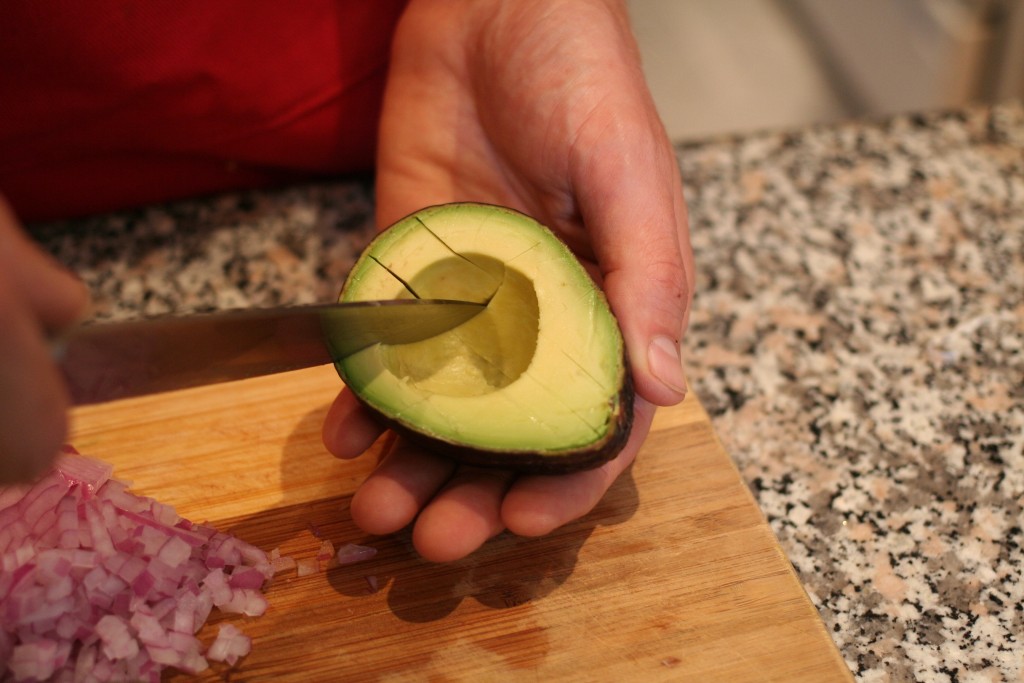
1. Cut open avocados. Slice avocado horizontally and vertically (a.k.a. make a grid with the knife).

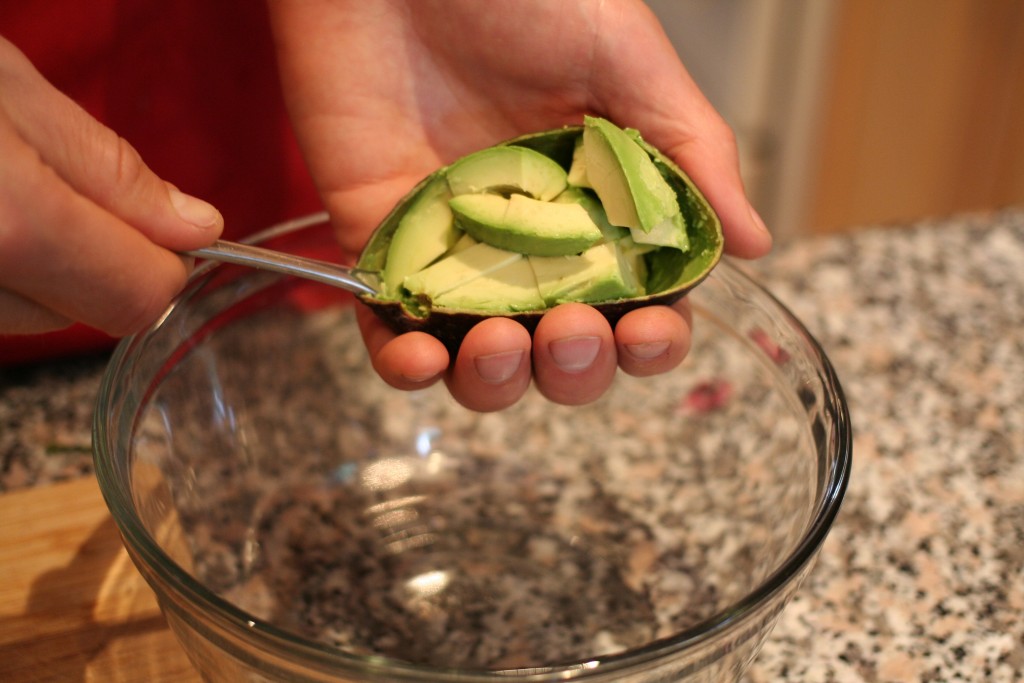
2. Use a spoon to scoop out the avocado into a bowl.

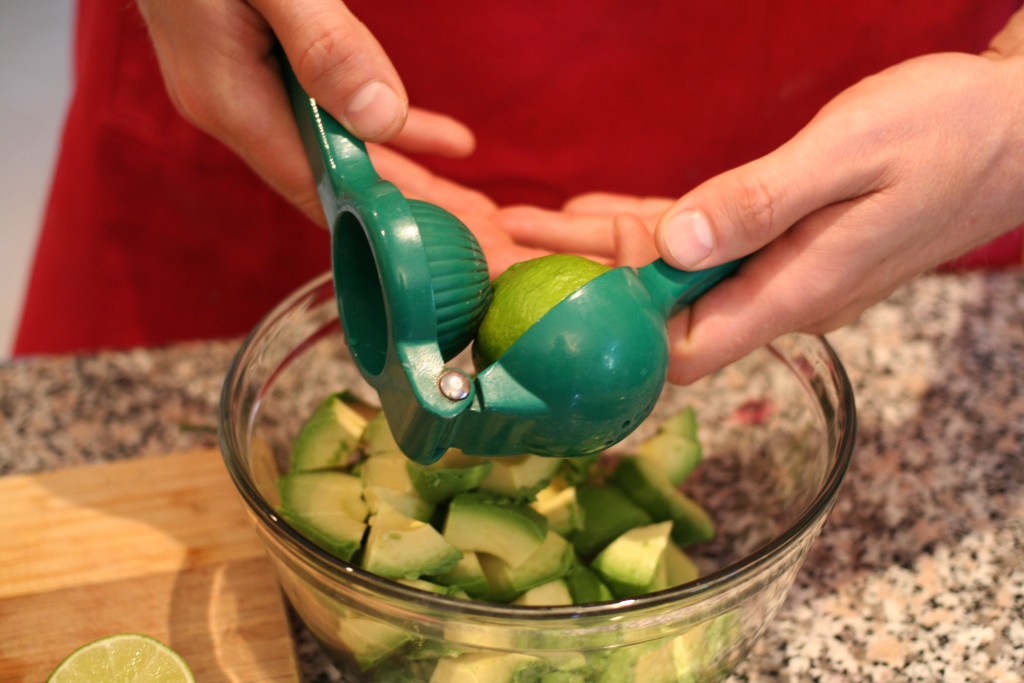
3. Juice 2 limes and add to the bowl.

4. Dice red onion finely and add to the bowl.

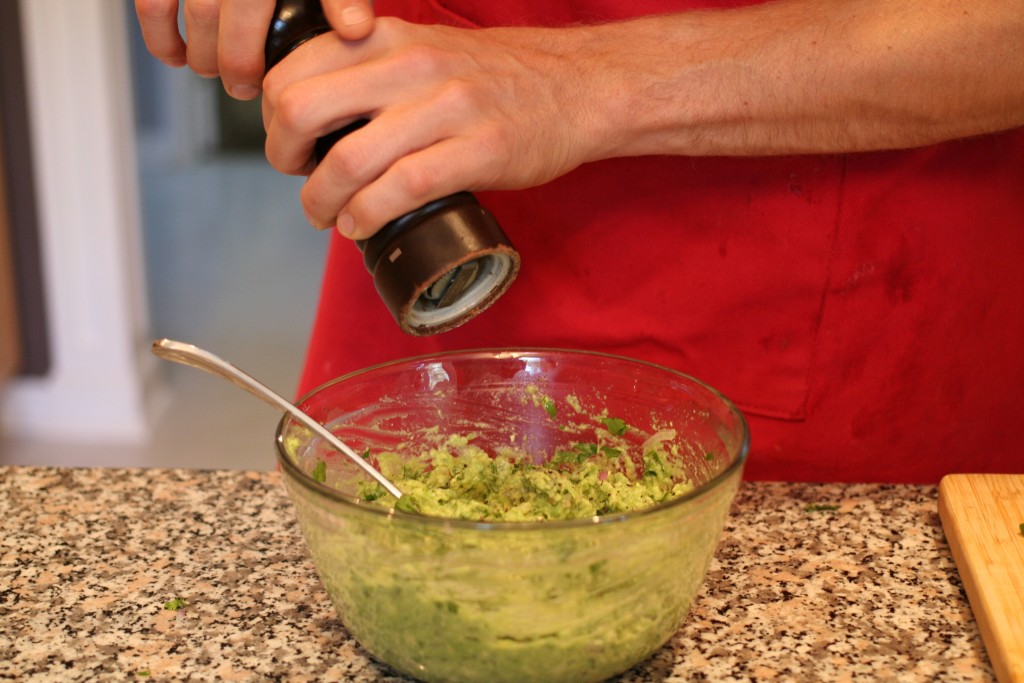
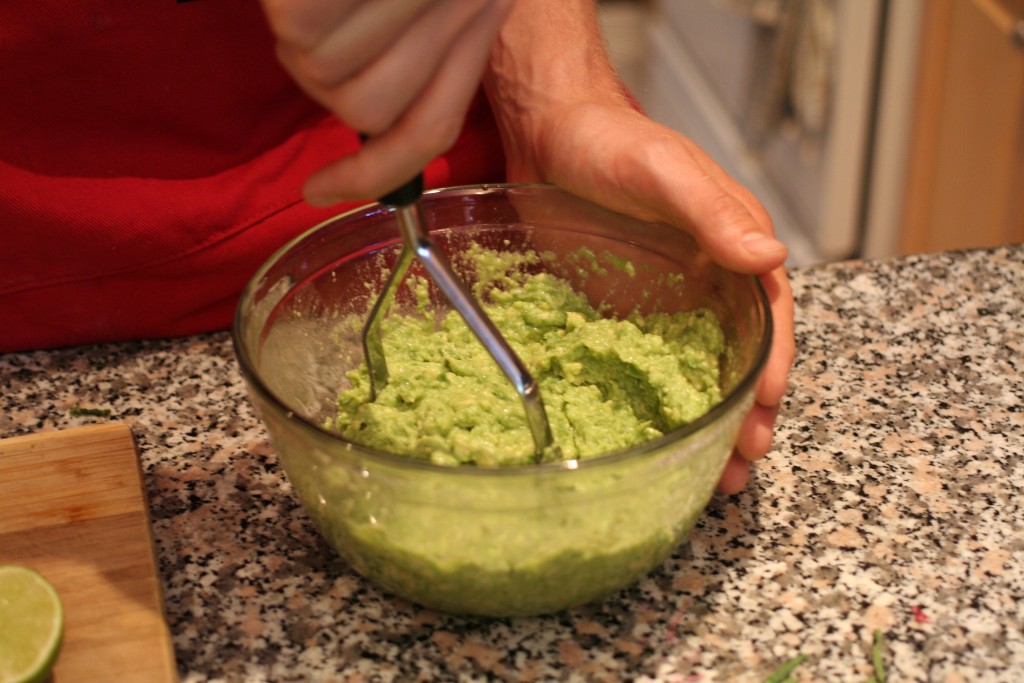
5. Season with a bit of sea salt and mash away! I use a potato masher, but a fork or meat tenderizer both work fine.

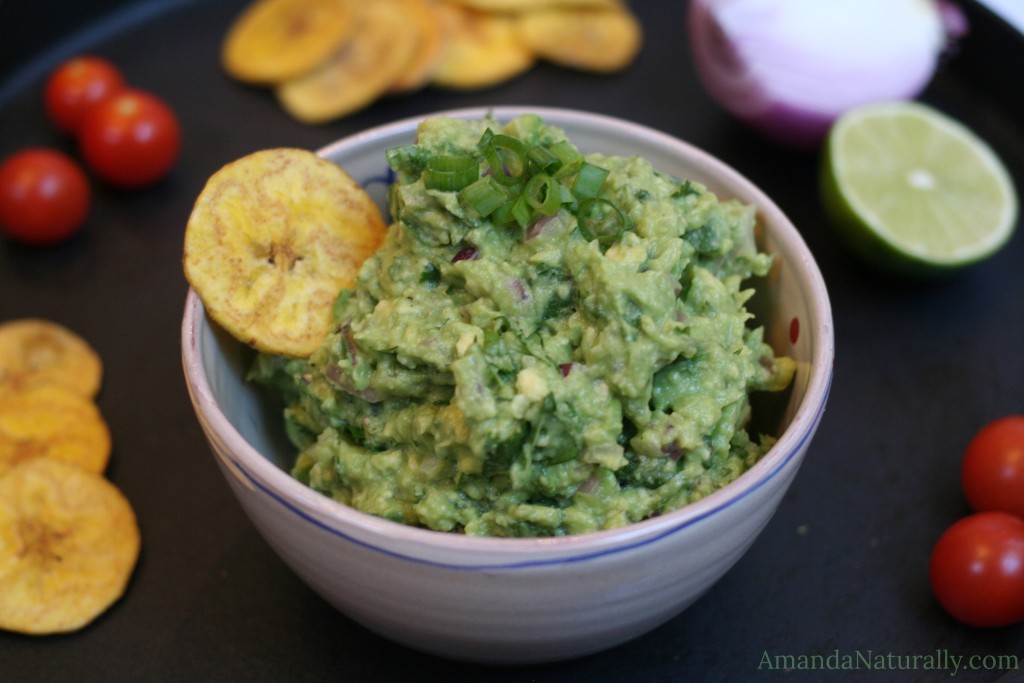
6. Taste and season with more sea salt, or add additional lime juice, based on you preference. Top with green onion if desired and enjoy! My personal preference is to enjoy guac with plantain chips or clean potato chips. The hubby loves it on organic blue corn chips!

GUAC HACK: If you’re making guacamole in advance and you don’t want it to turn brown, there are 3 tricks you can use:

  1. Cover with lime juice (downside: much more lime flavour)
  2. Place saran wrap directly on the guac so no air can get in (downside: plastic, waste)
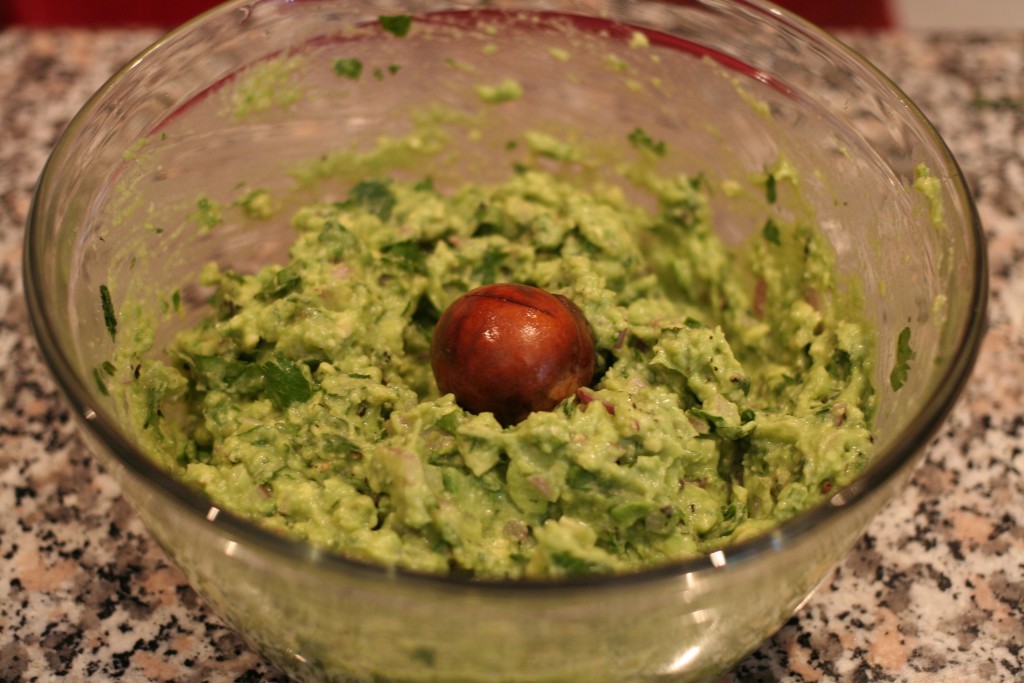
  3. Place the pits of the avocados in the bottom of the bowl, right in the guacamole. I learned this trick from a dear friend of mine who’s Argentinian and says that’s the only way to do it. This is what I do now!


So tell me – what’s your favourite way to enjoy guacamole??

Copyright 2014 Amanda Naturally | Design by The Nectar Collective