I chose to stop eating bread long before I chose to go gluten-free. Why? Not because I was trying to lose weight (although that happened), or go low-carb, it was because of one simple thing:
Bread is a processed food.
Yes you read that right! Even your beloved whole-grain, ancient-grain, flax-and-what-have-you bread is a processed food. I don’t care how aggressively it has been marketed as a health food, it simply is not. The poor white potato, which has been so wrongly demonized, is more of a health food than bread can ever be. How is that possible? It’s simple! You can grow a white potato in your back yard, pick it, wash it (optional) and cook it. Can you say that about your bread? No way! The number of processing steps it takes to go from wheat to bread in the store is ridiculous! It goes something like this:
- plant the same wheat seeds over acres and acres of farmland (aka mono cropping)
- spray with herbicides, pesticides and synthetic fertilizers to prevent damage to the crop from pests, weeds and disease (more common with mono cropping), killing millions of insects and animals, destroying ecosystems (both land and water), harming farm workers and endangering near by towns.
- harvest
- little-to-no nurturing of the soil, no replenishing of nutrients lost via other plants, biodegrading plant matter or animals grazing (hence the need for synthetic fertilizer)
- store in silos, trucks, warehouses (all the while increasing the likelihood of mould growth)
- drive across the country for processing
- hull, process and strip of nutrients to make flour
- add a few synthetic vitamins back in to replace some of nutrients lost (not the same thing, by the way)
- make into bread with chemicals to increase shelf stability (check out that list of ingredients!)
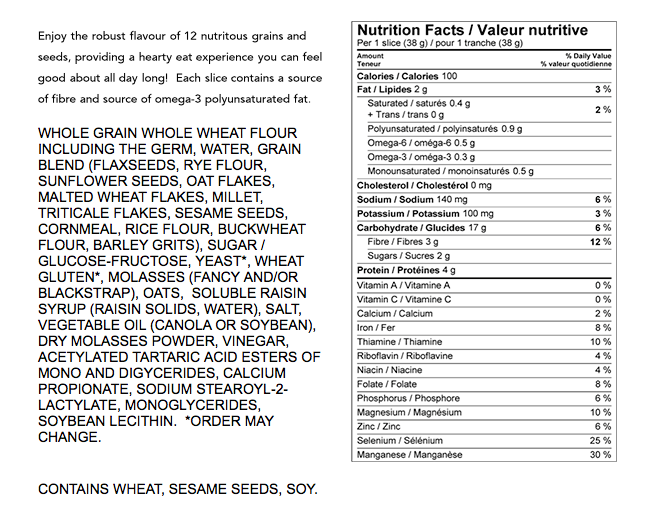
How the heck that is considered a health food is beyond me. Not to mention the fact that the glycemic index of whole wheat bread is significantly higher than high-sugar food products like a can of Coke and a Snickers bar! And don’t even get me started about the gut and connective-tissue damaging effects of gluten. That is a topic for another post!
Unfortunately gluten-free breads are no better. Most go through the same processing. The only difference is they use gluten-free flours such as white rice, white potato, garbanzo bean, buckwheat and tapioca. They can actually be even worse because additional additives are needed to make it palatable and to mimic the fluffy, spongey characteristic of gluten.
Focusing on real, naturally gluten-free foods is the way to go. Think sweet potatoes, squash, and other starchy tubers/vegetables. They are satisfying, nutrient-dense, naturally shelf-stable and inexpensive! But what do you do when you really want a sandwich bun, or a fried egg sandwich, or a delicious piece of bread to finish off your spaghetti sauce with? You know a roasted sweet potato simply won’t cut it, so make these delicious Plantain Biscuits!!
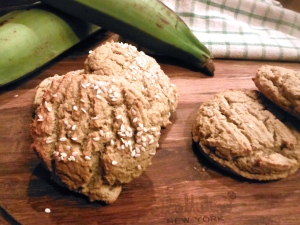
Plantains are naturally gluten-free and have quickly become my favourite batter ingredient. They are inexpensive, last forever in your pantry, and can be used in so many ways! By adding a little coconut flour, an egg and some flavouring you can make all sorts of delicious treats! Today, I bring you the biscuit. I had seen several variations of these floating around pinterest a while back, so I decided to start experimenting on my own. My version are made with ingredients I always have in my house, and as a result, these guys make a regular appearance at our meals. Bonus – they freeze really well! So make a large batch and freeze for future, desparate “what am I going to eat” moments. Enjoy!
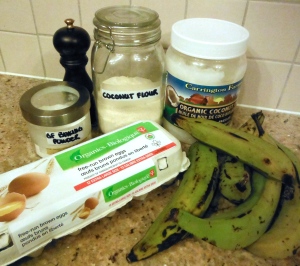
- 4 cups pureed green plantain
- 6 eggs
- ¾ cup coconut flour
- 1 tsp sea salt
- 1 tbsp gluten-free baking powder
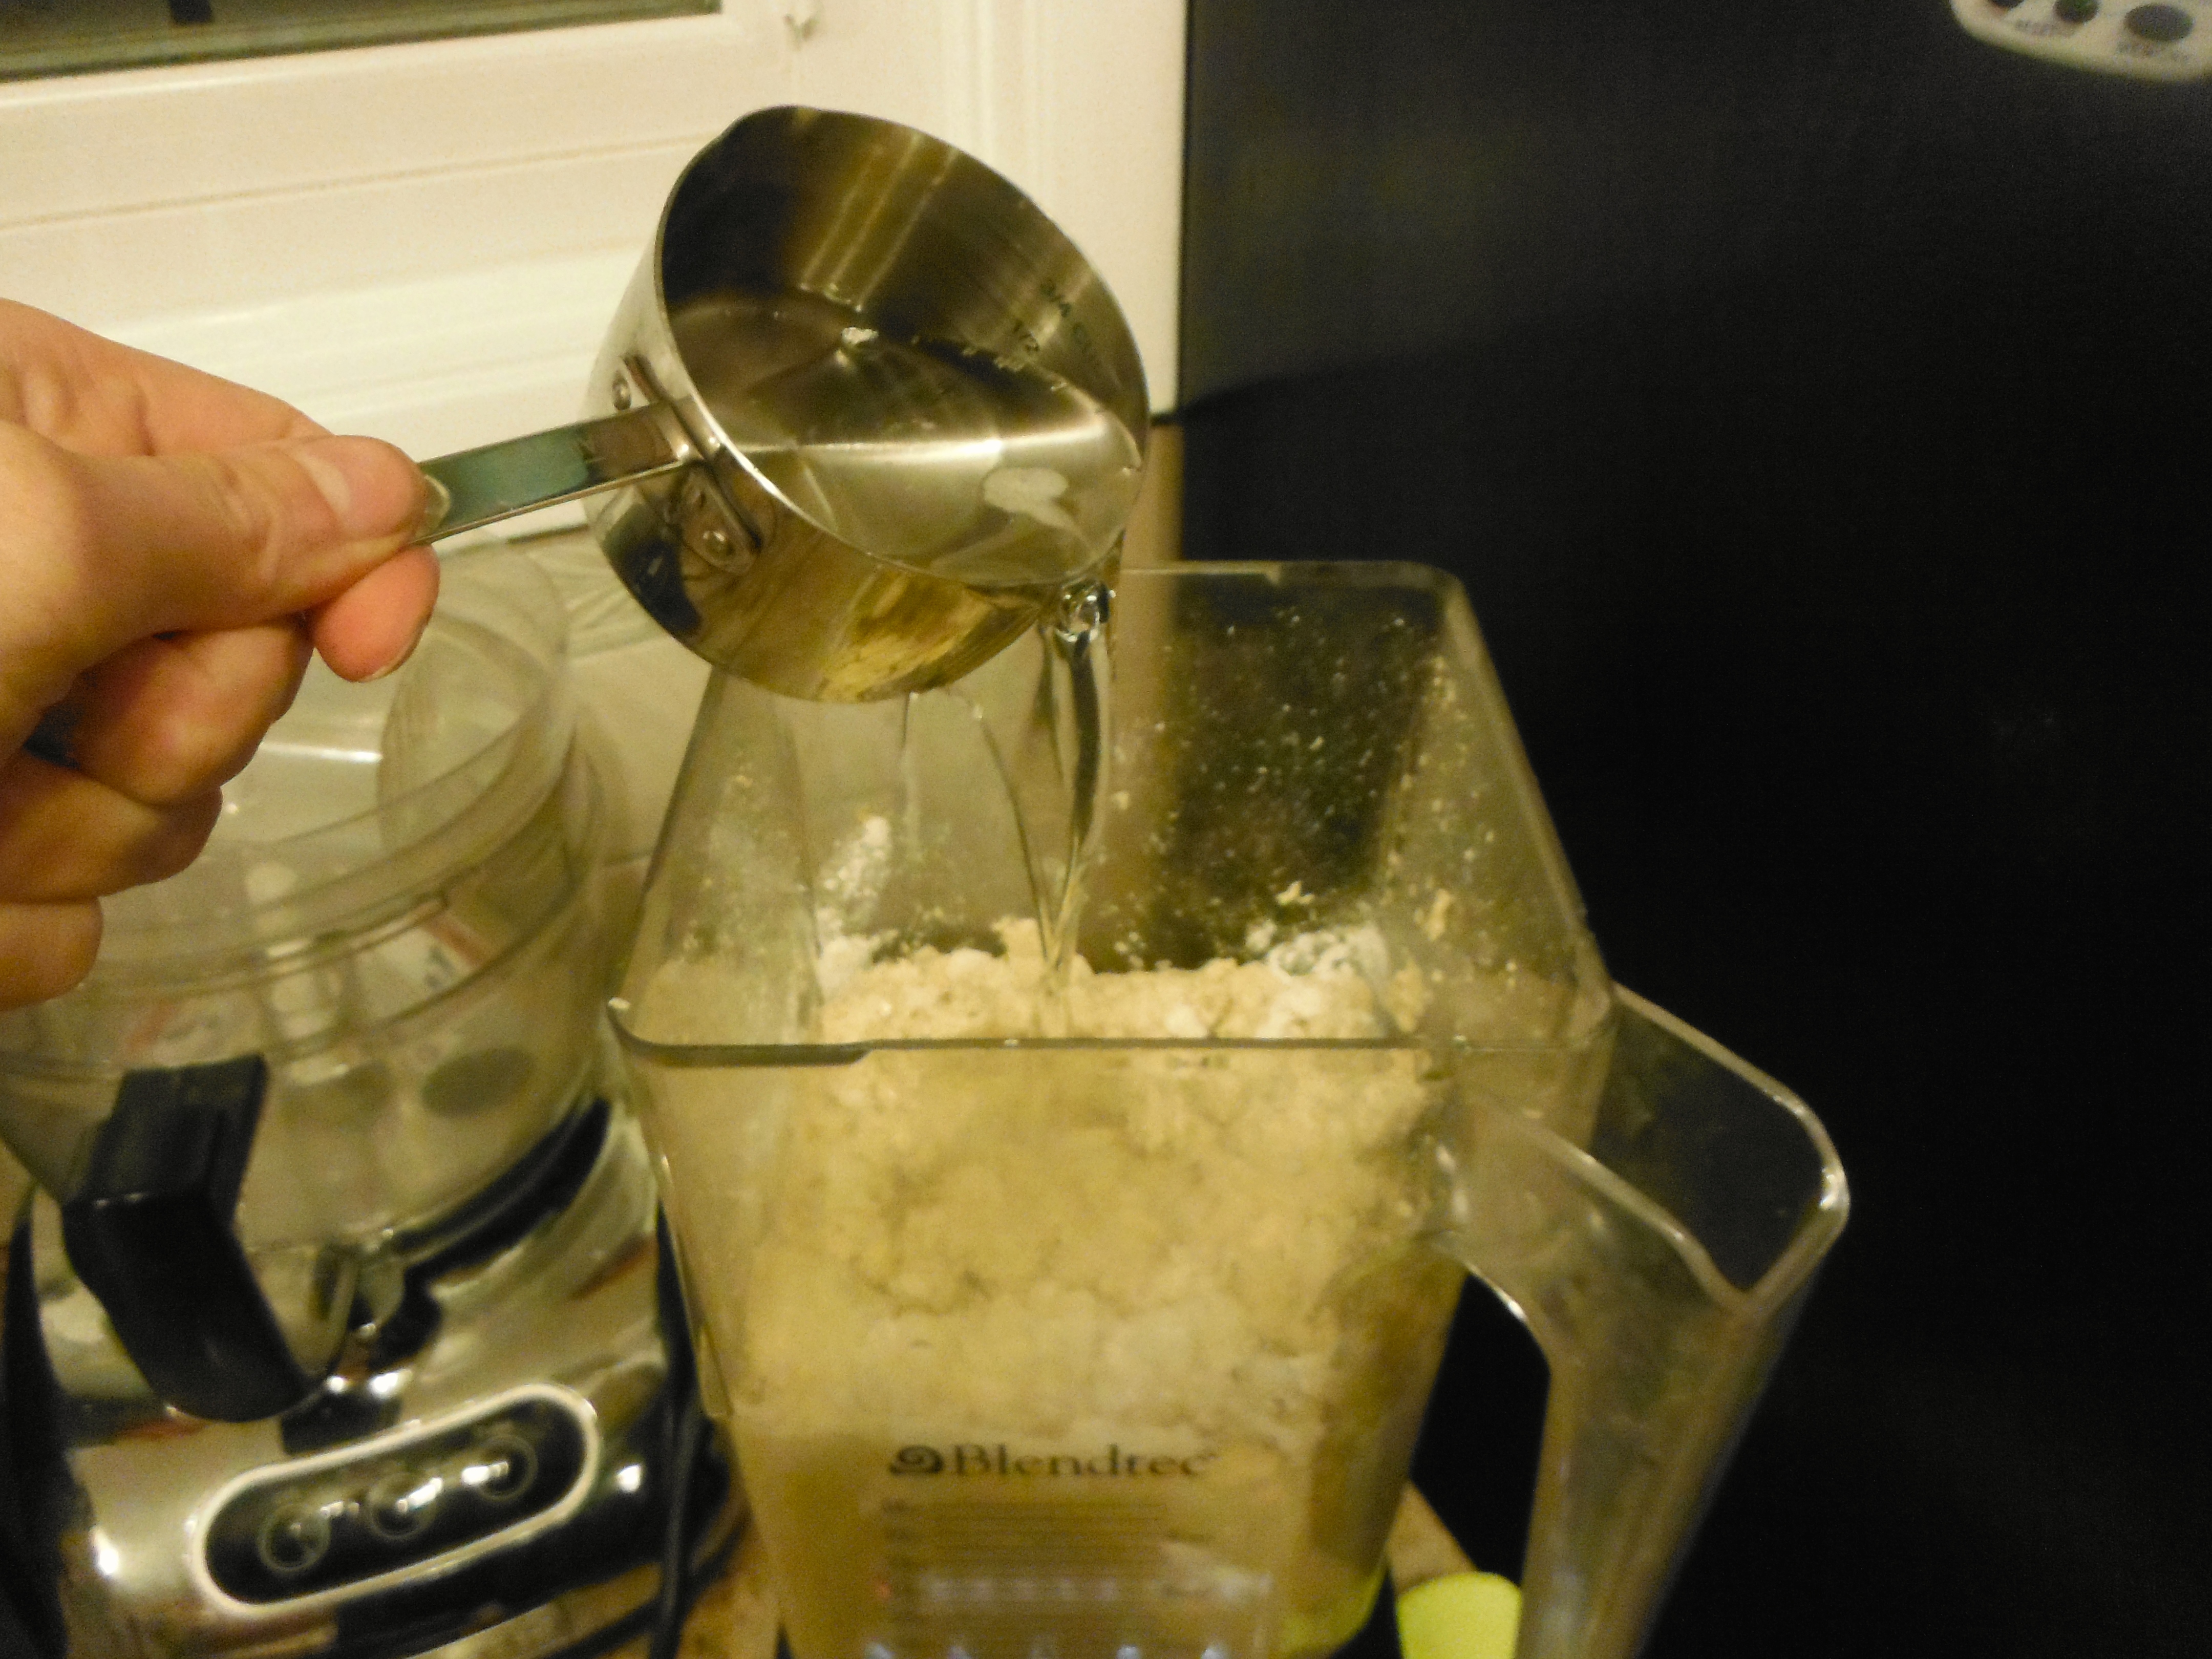
- ½ cup coconut oil, melted
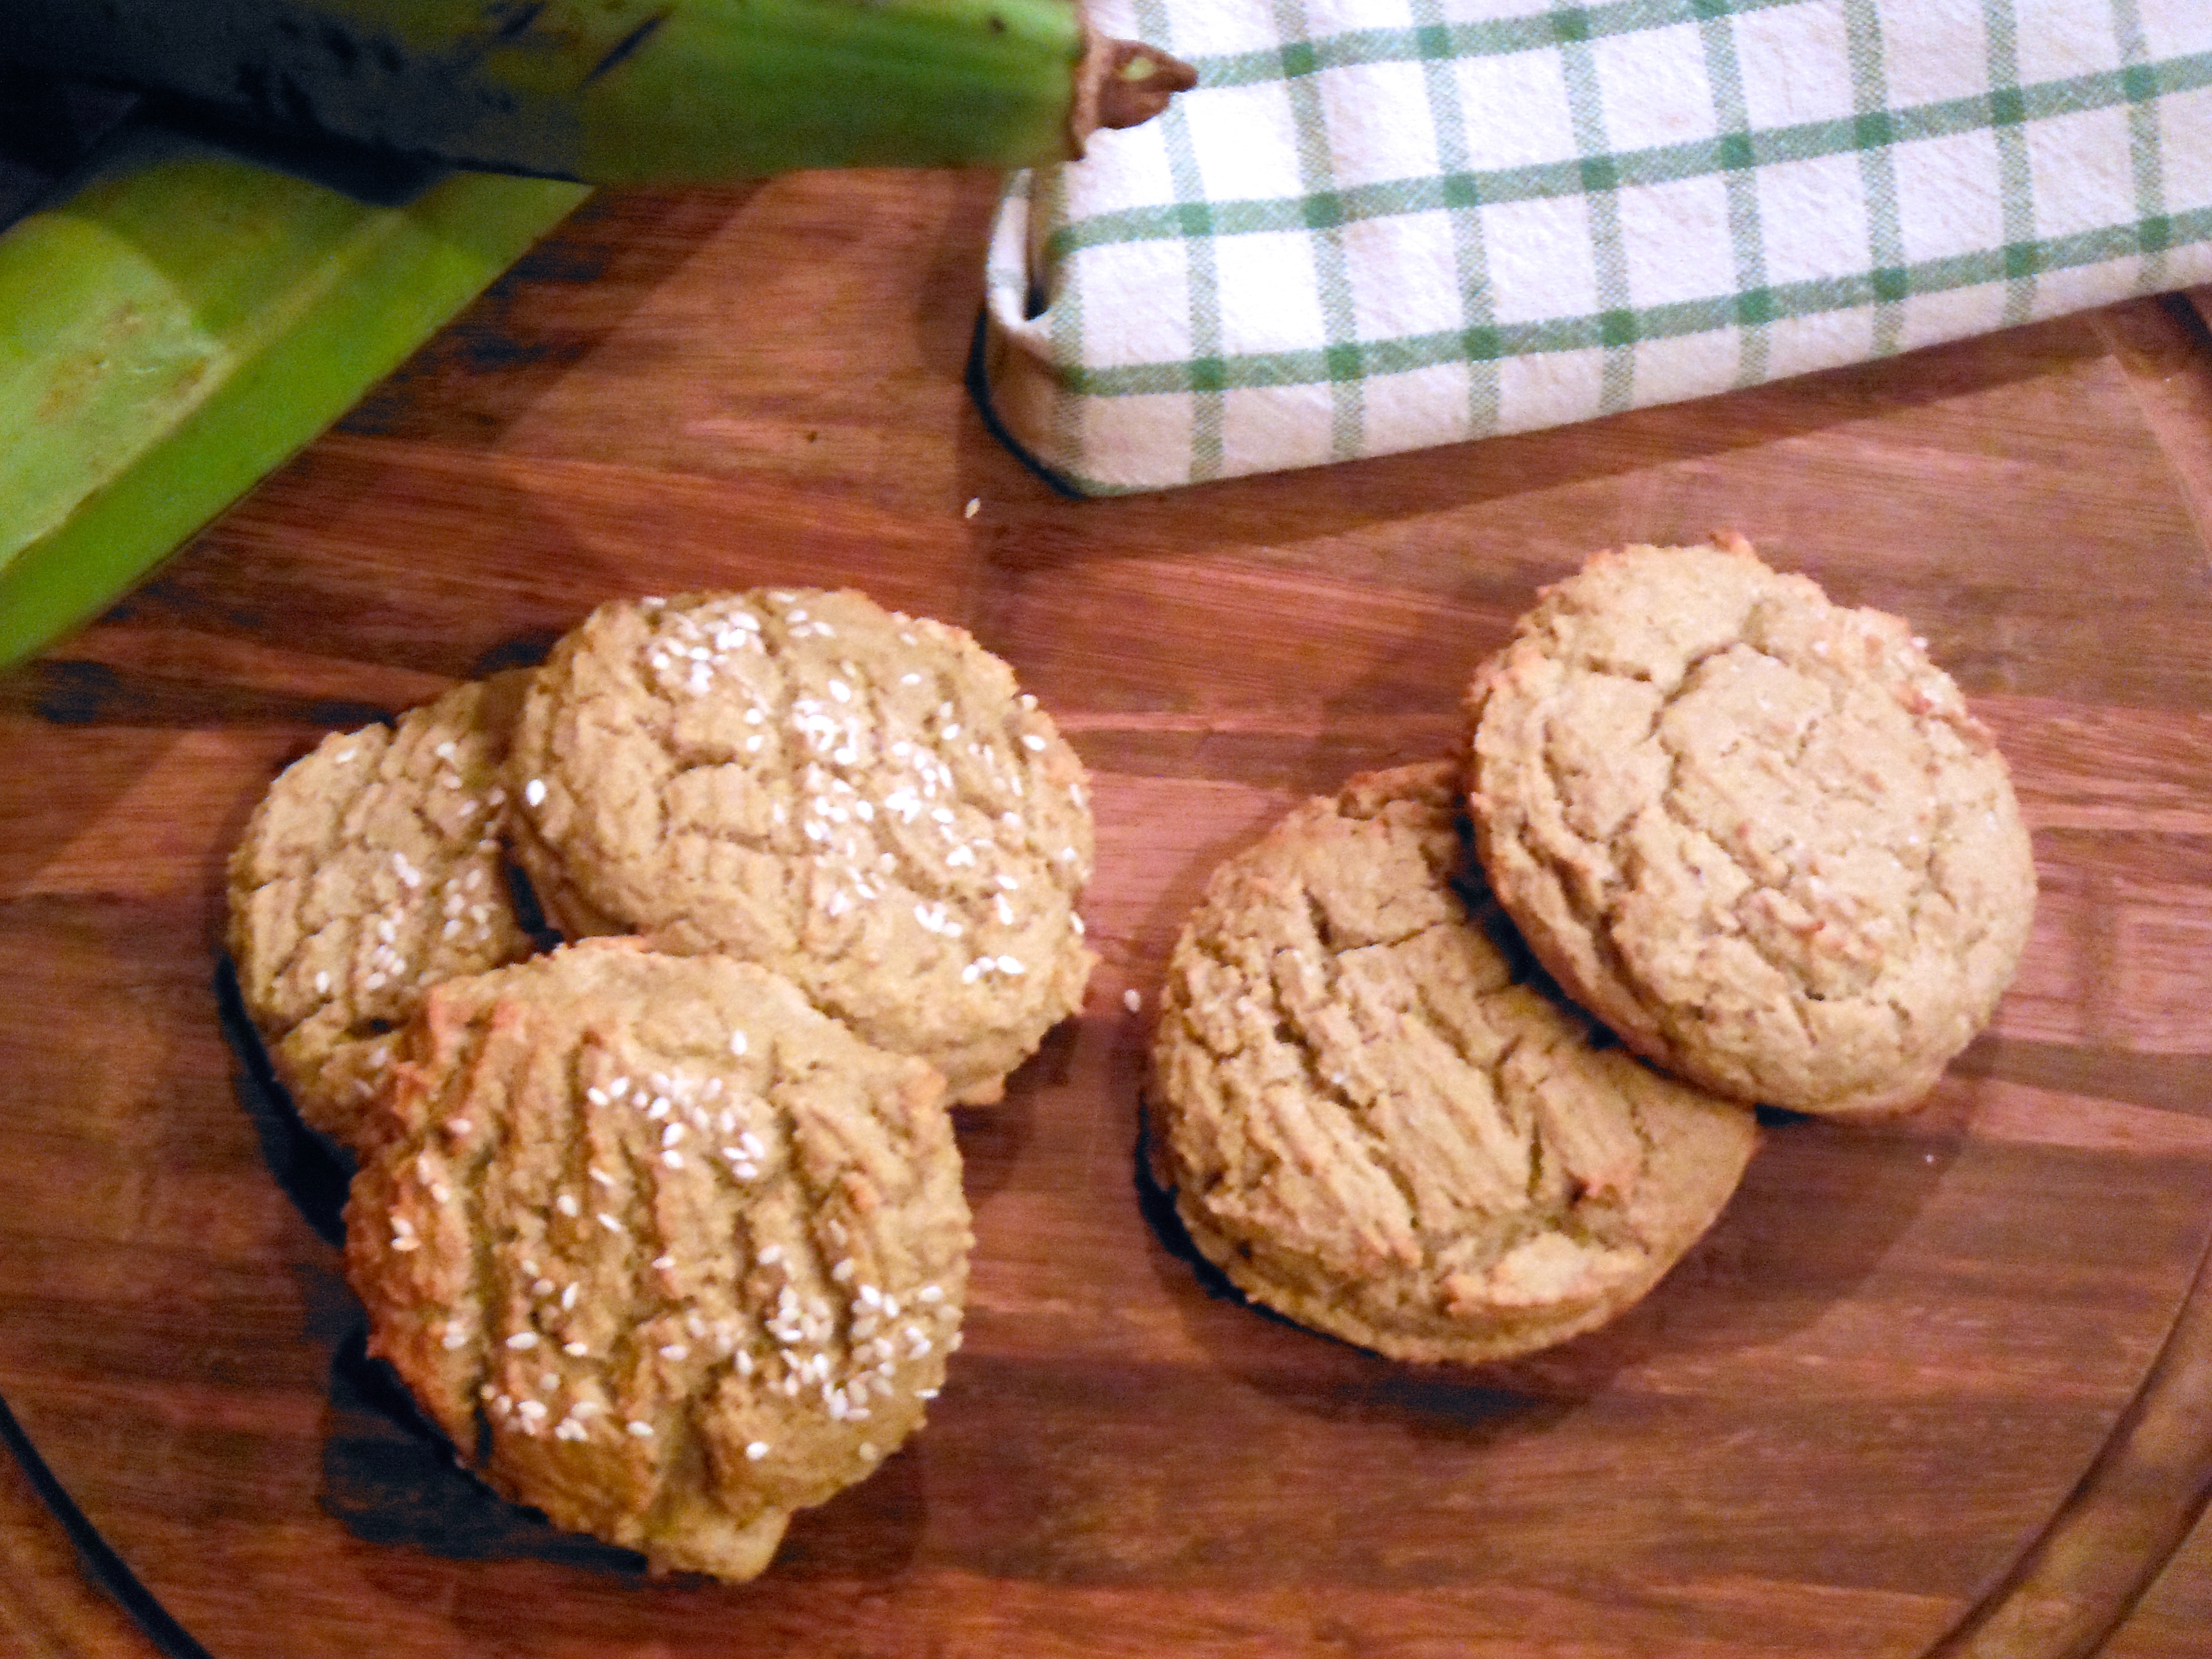
- sesame seeds (optional)
- Preheat oven to 400F.
- Line 2 baking sheets with parchment paper.
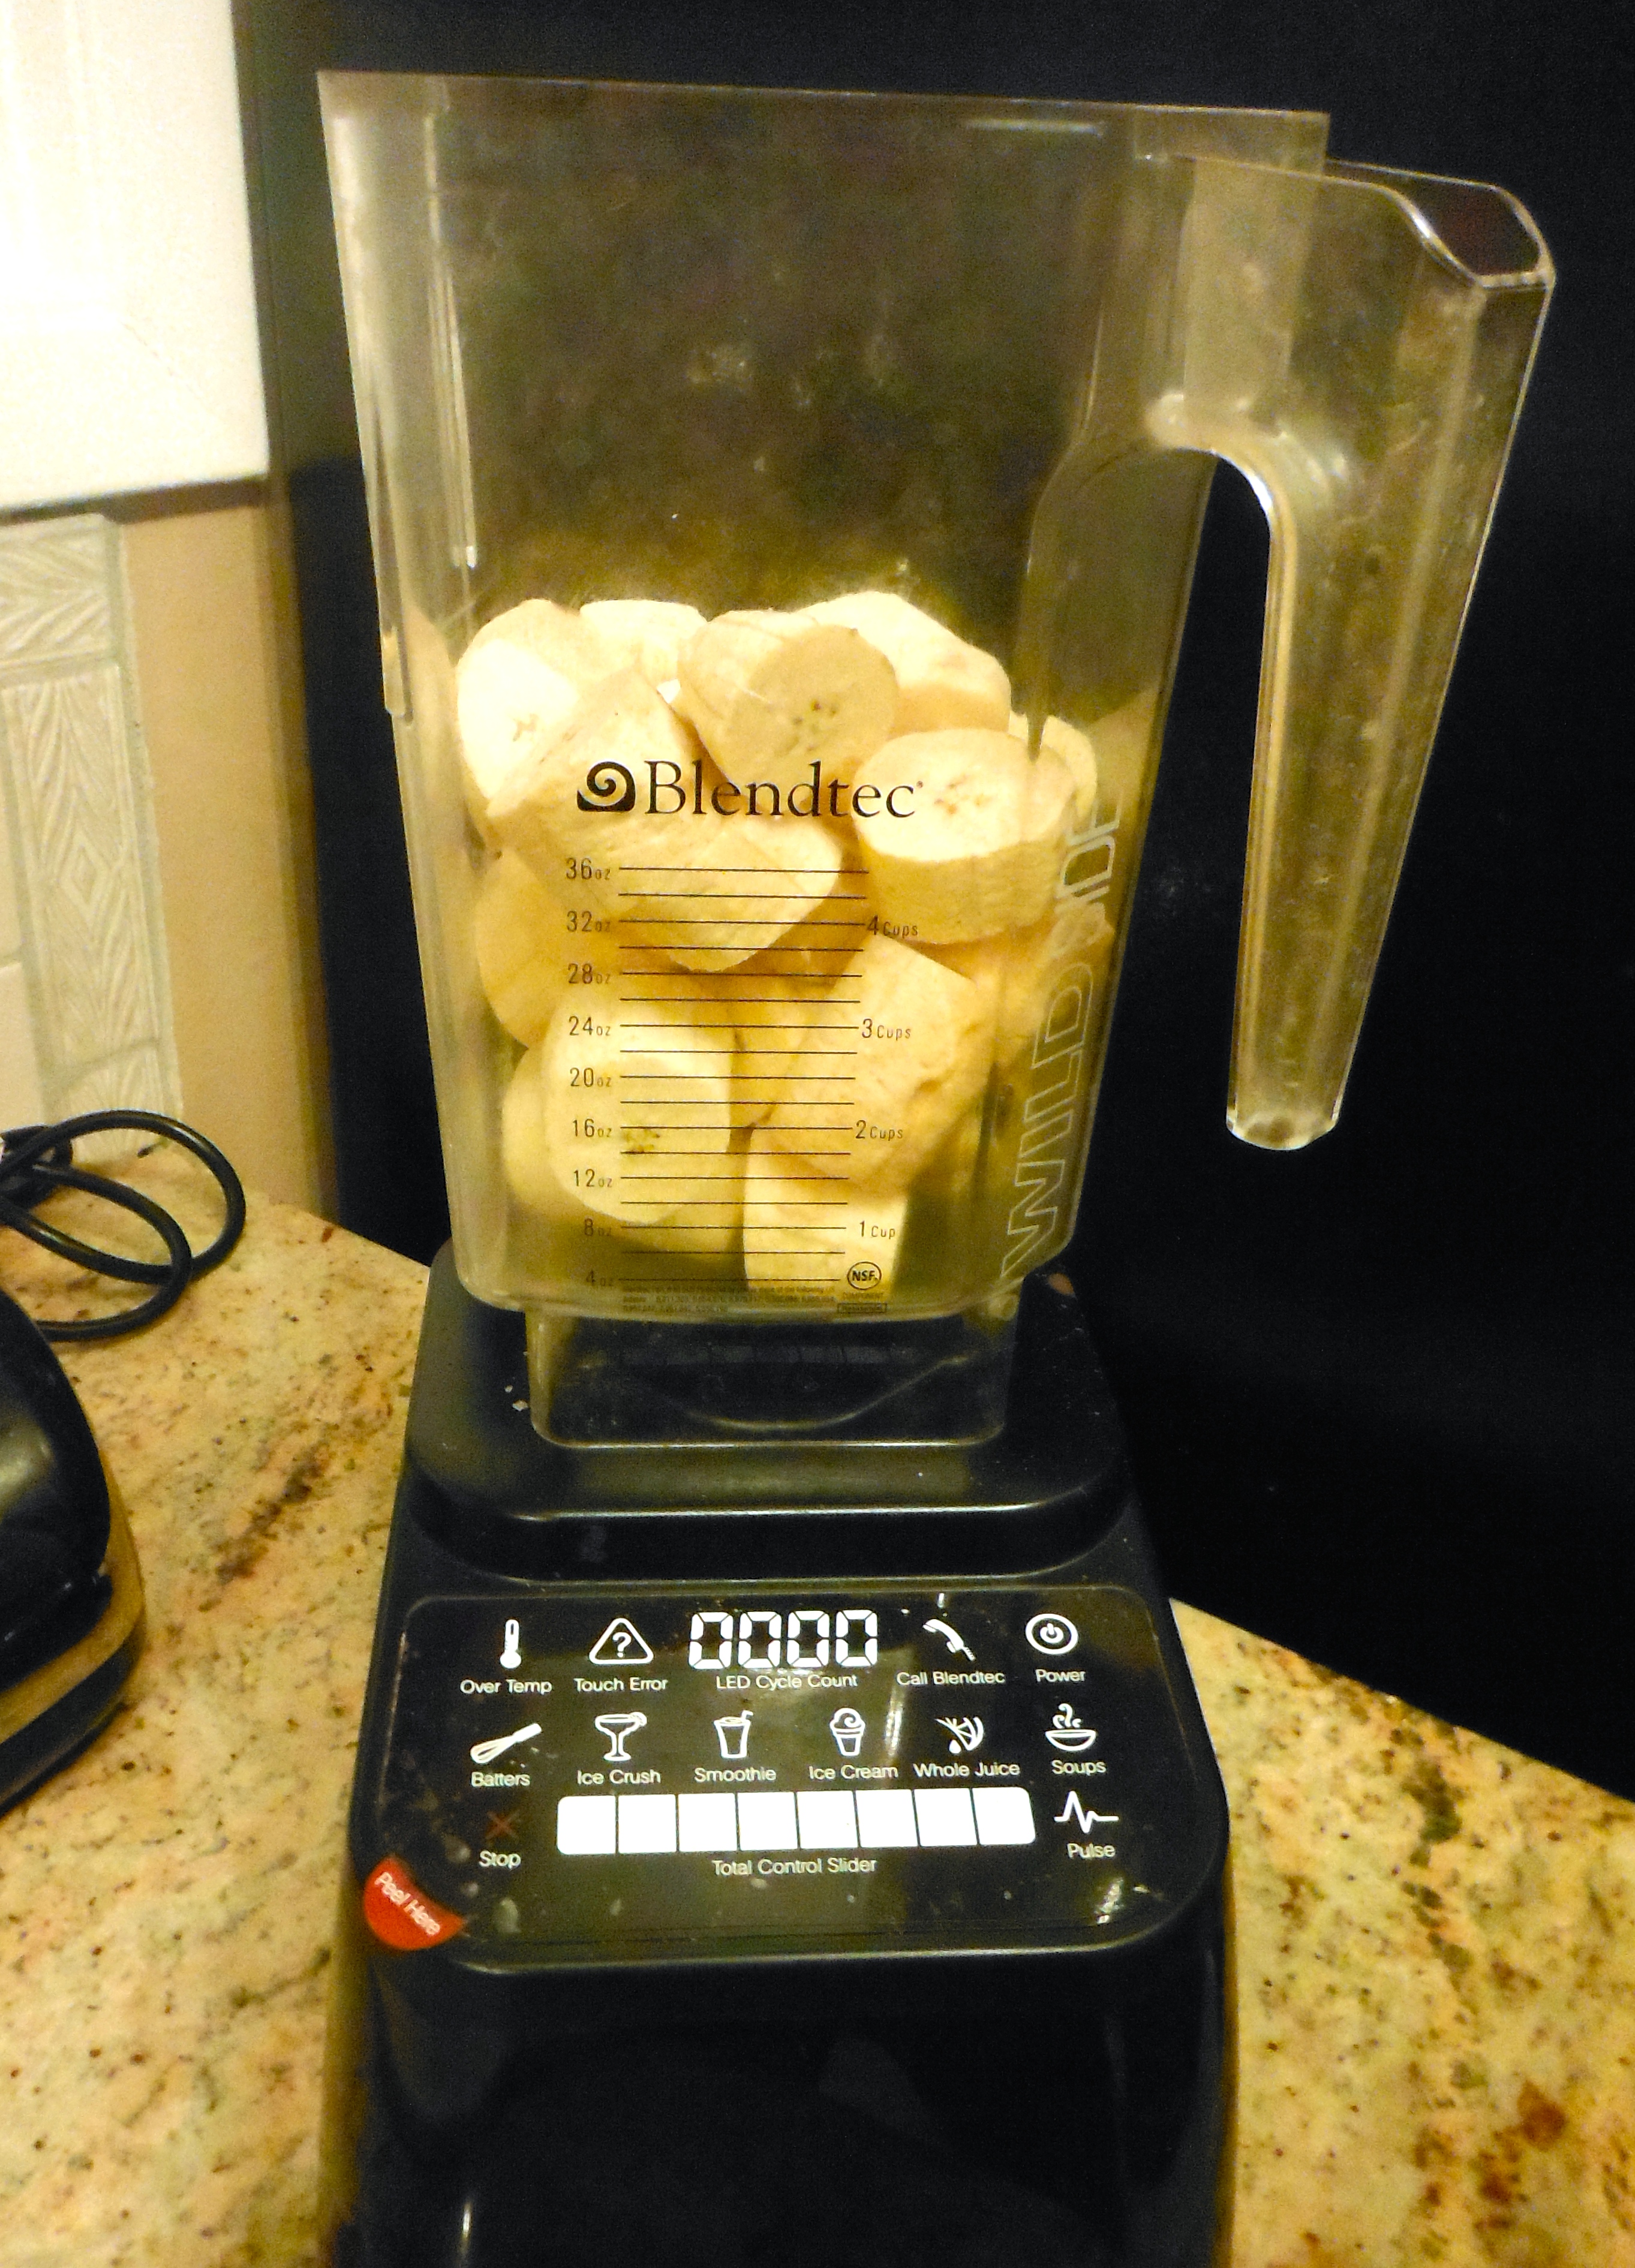
- Peel plantains and chop into pieces.
- Blend in a high powered blender or food processor until almost pureed.
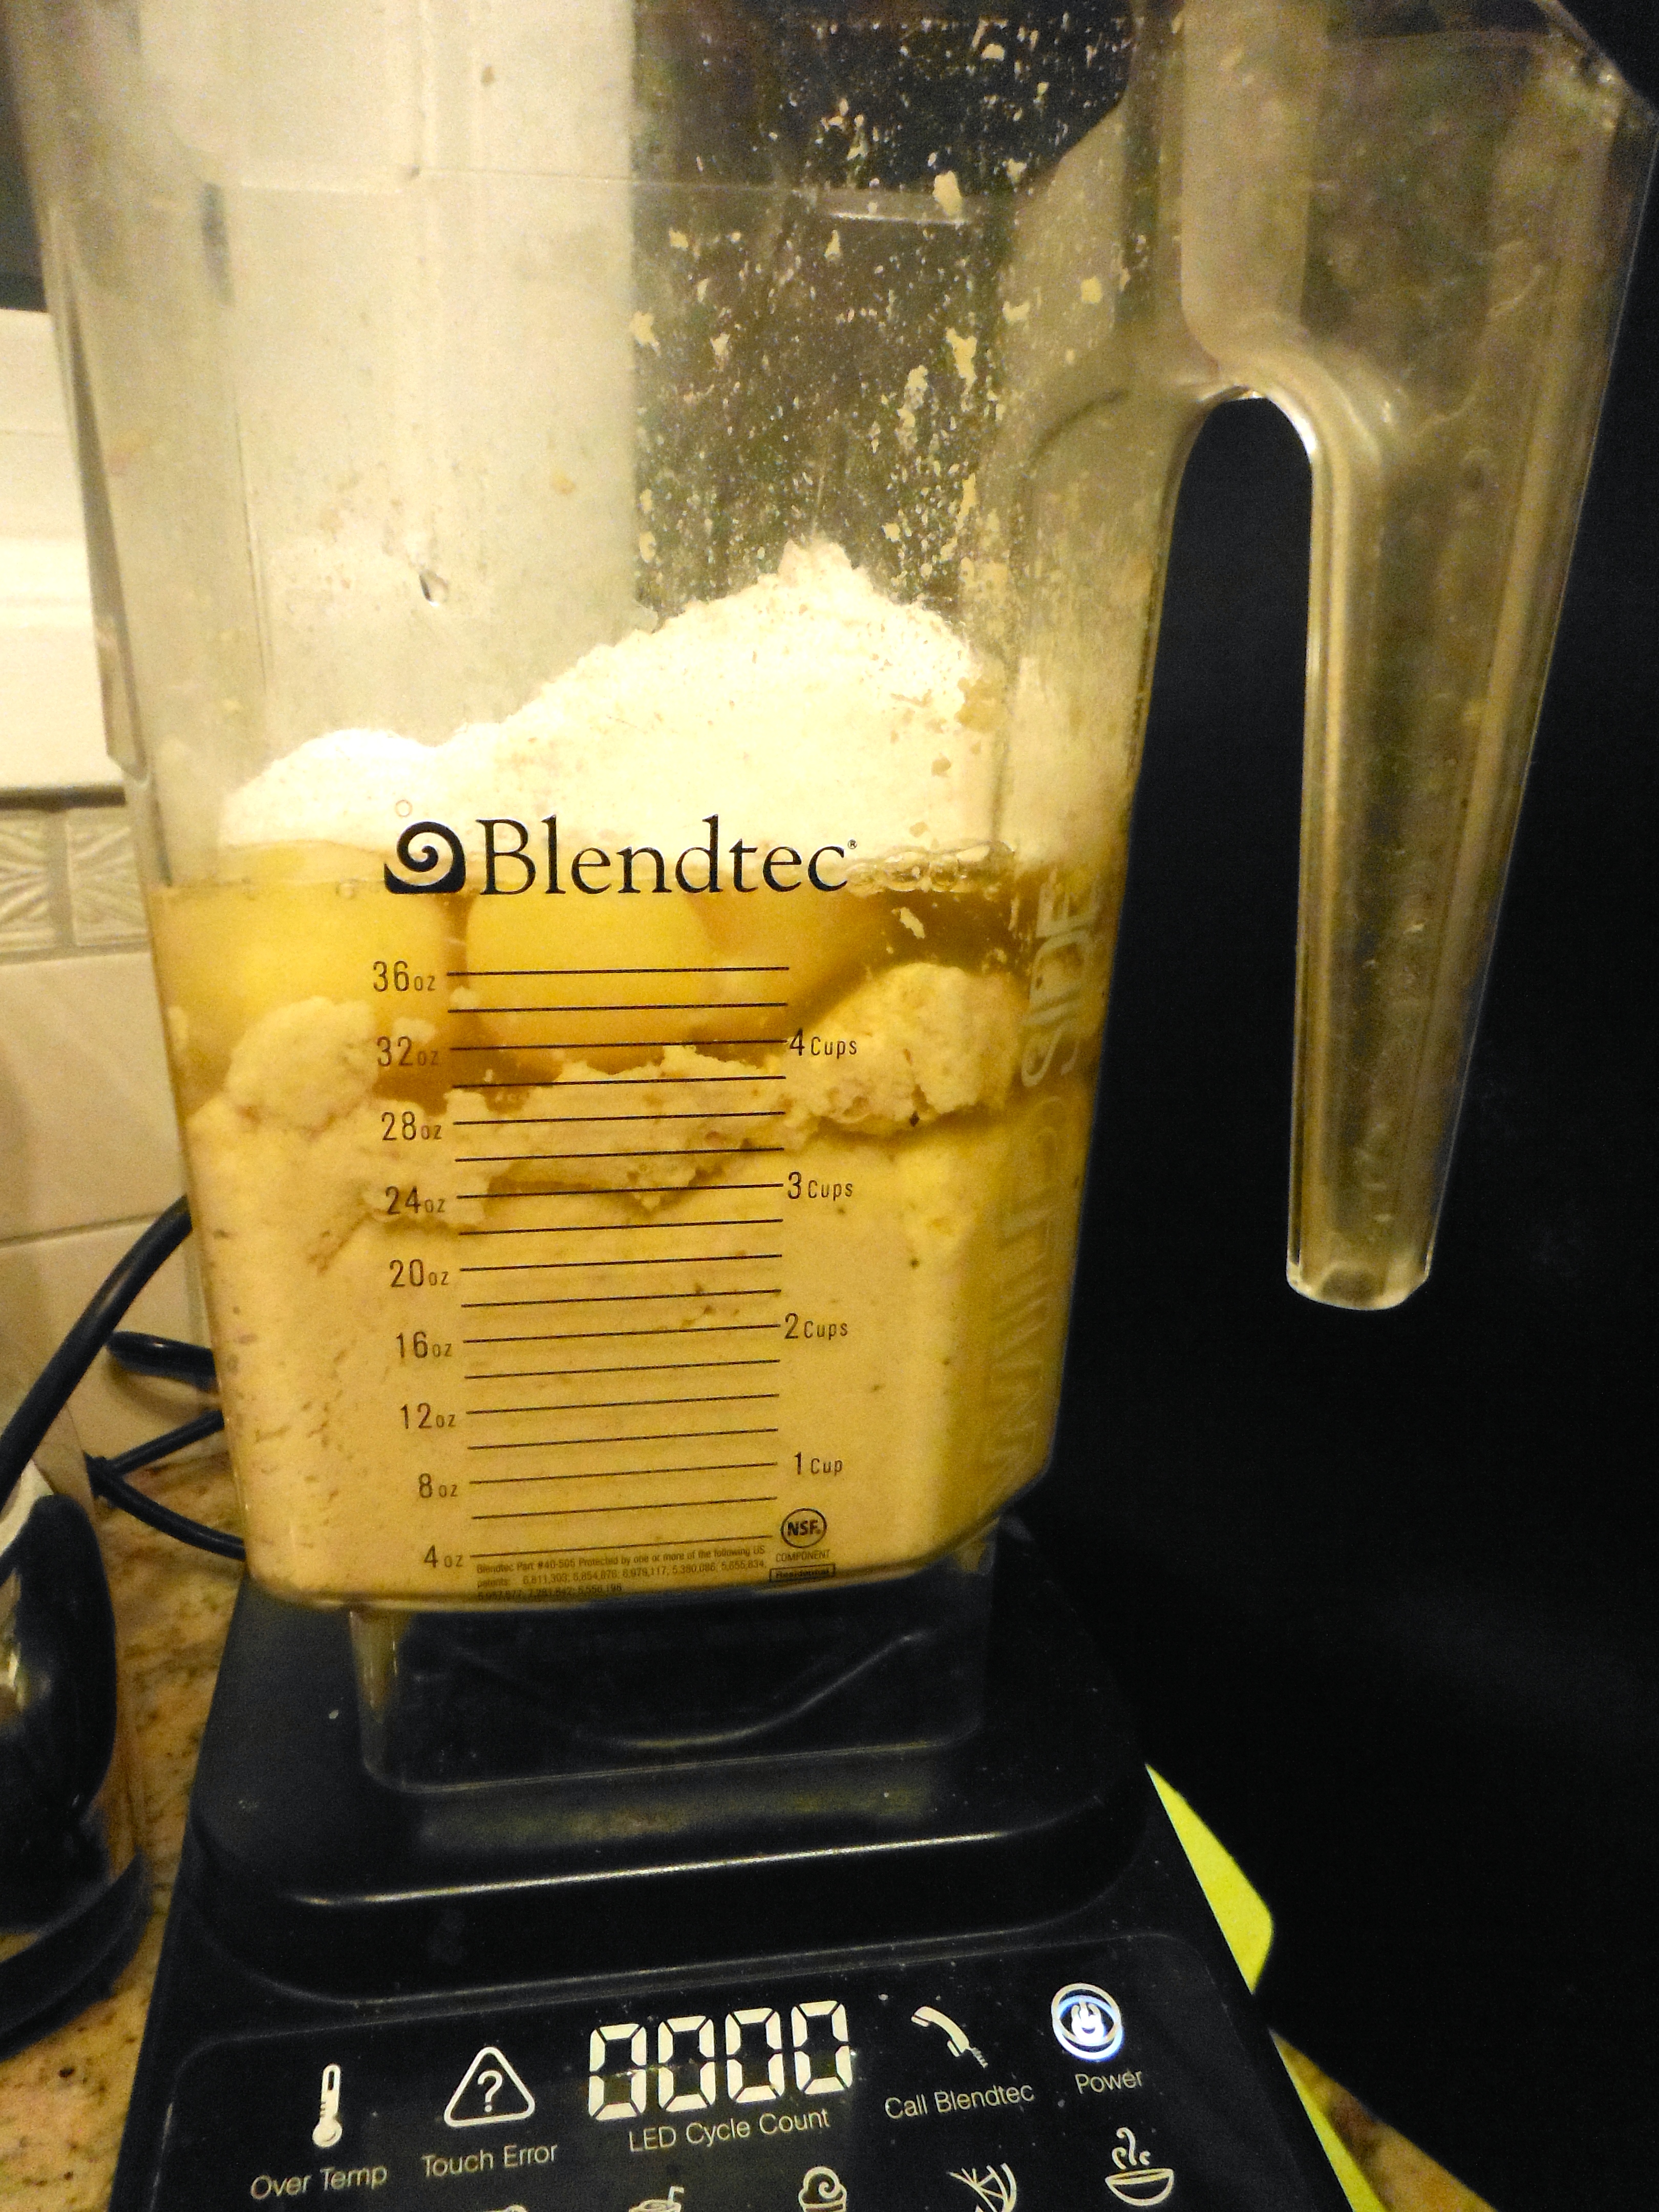
- Add eggs, flour, sea salt and baking powder. Blend again.
- While blending, stream in melted coconut oil. Combine thoroughly.
- Use an ice cream scooper to scoop out 24 biscuits onto the lined baking sheets.
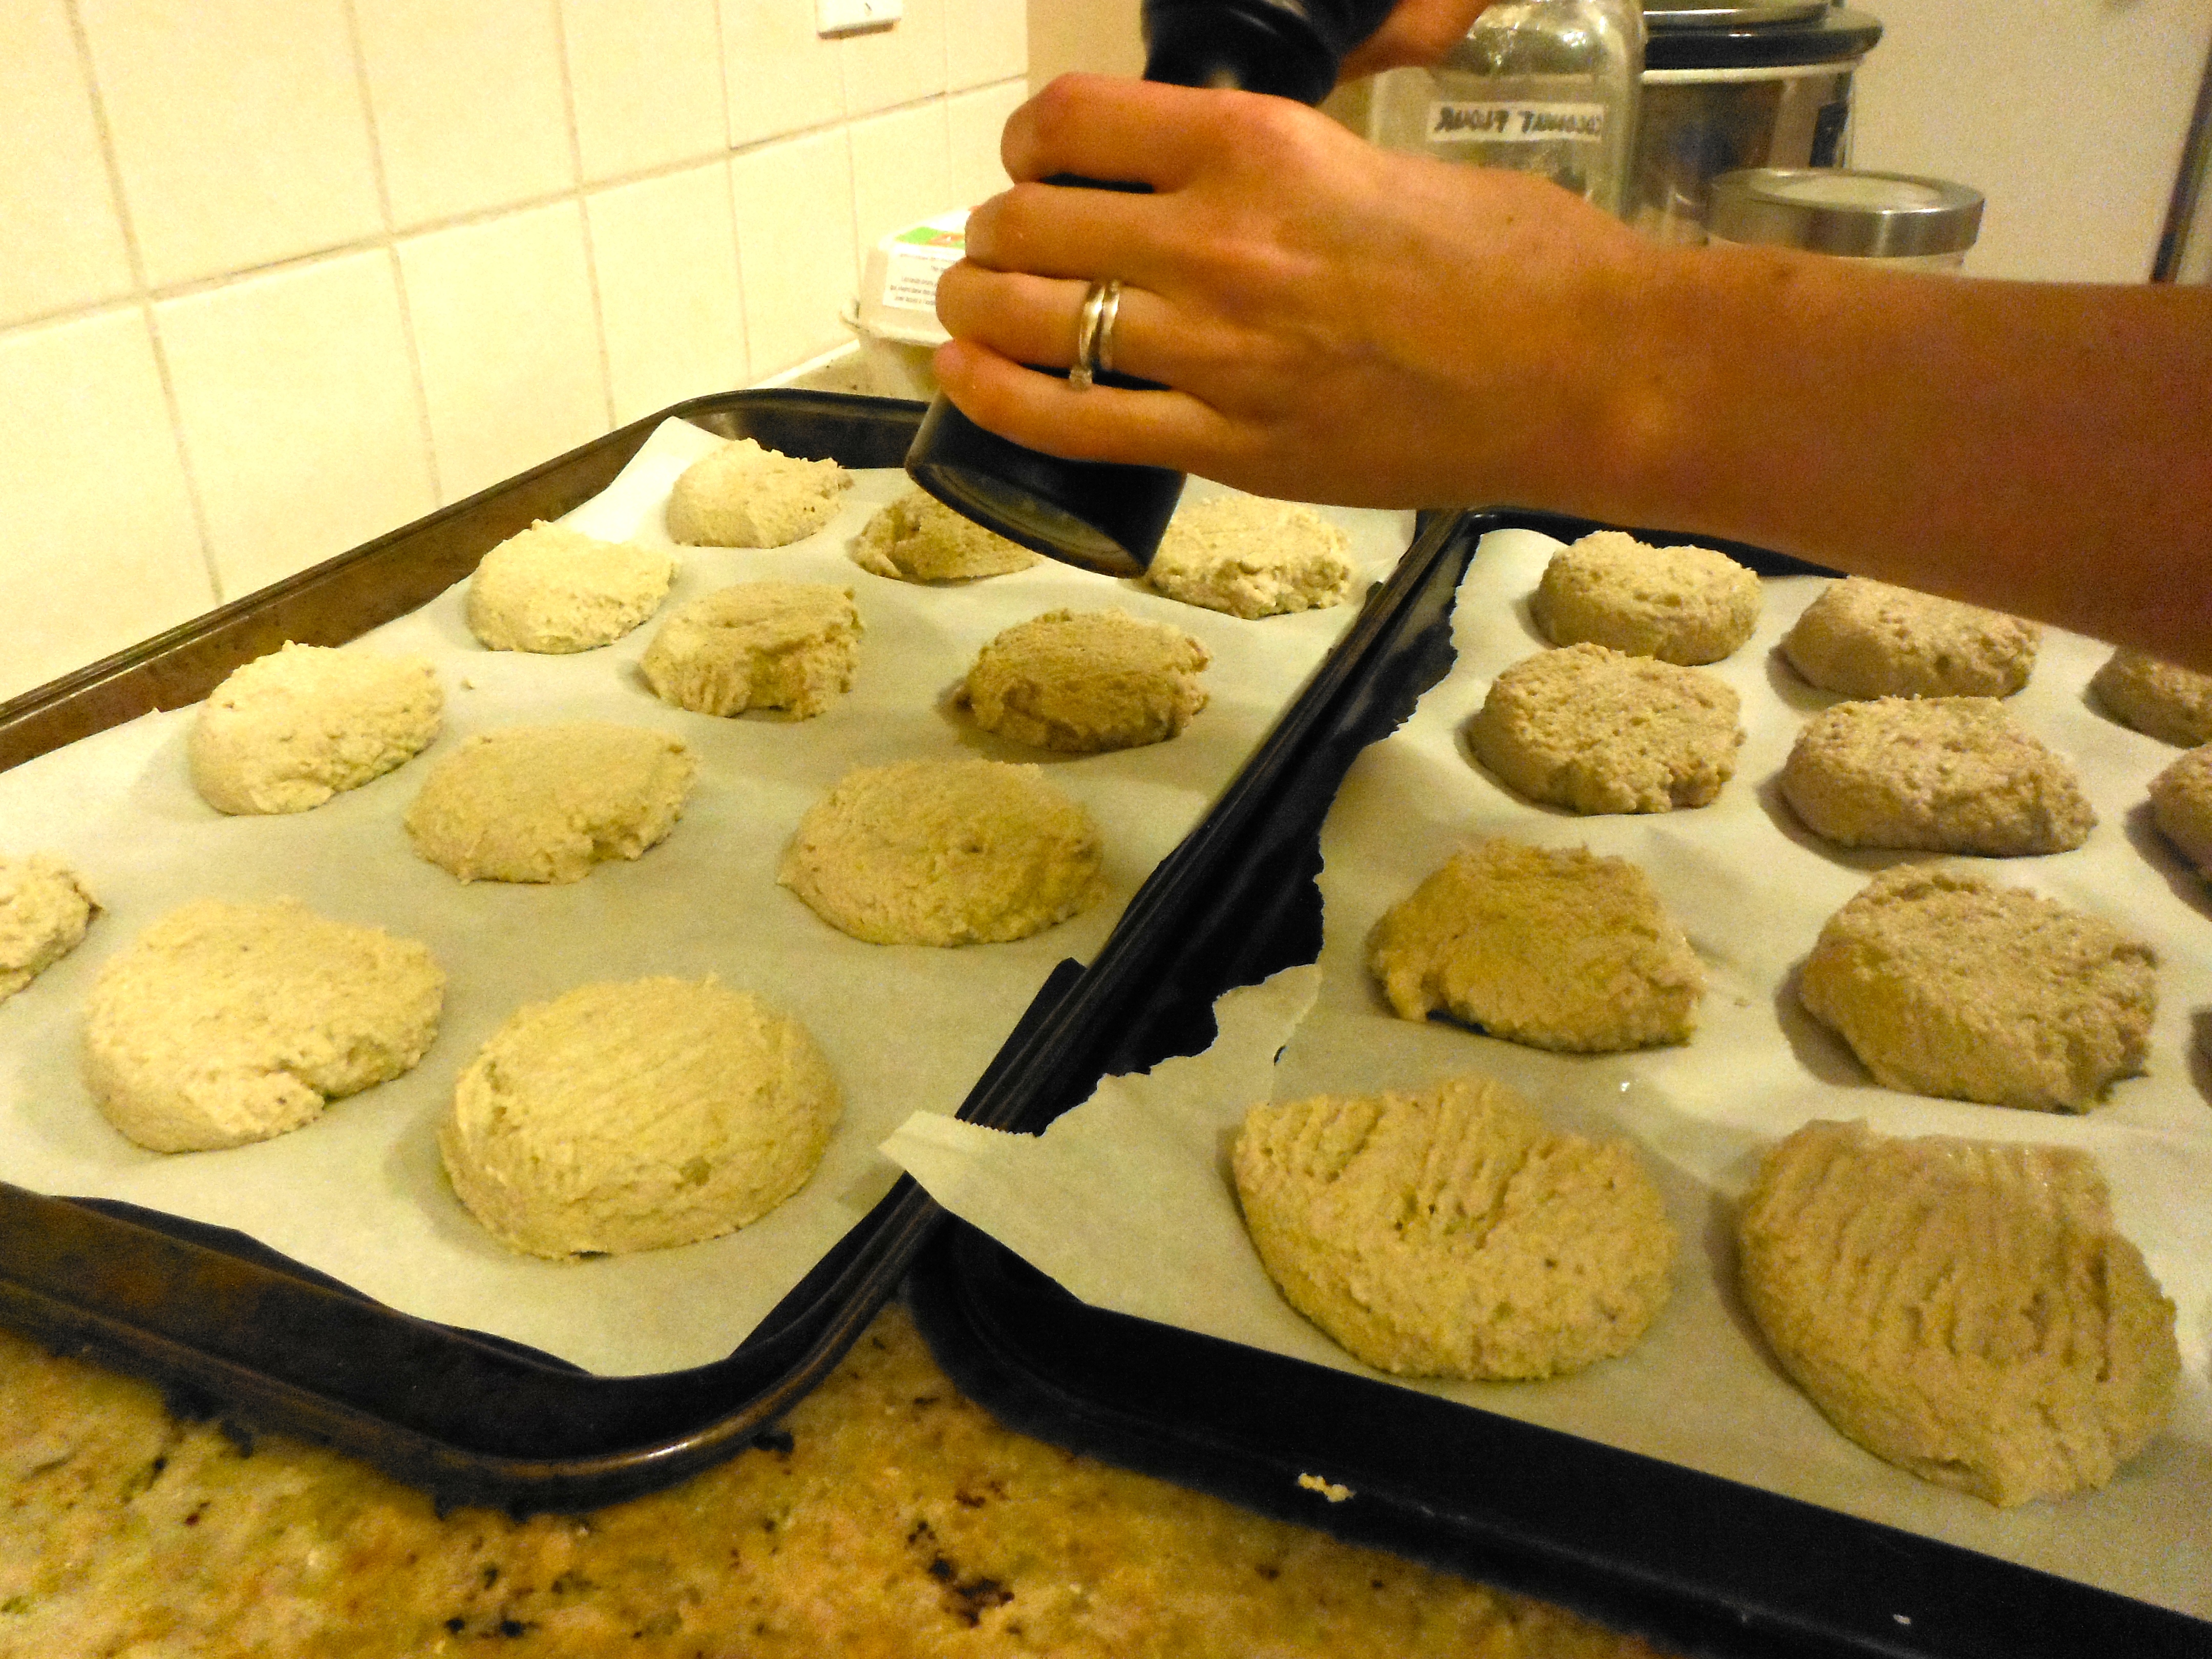
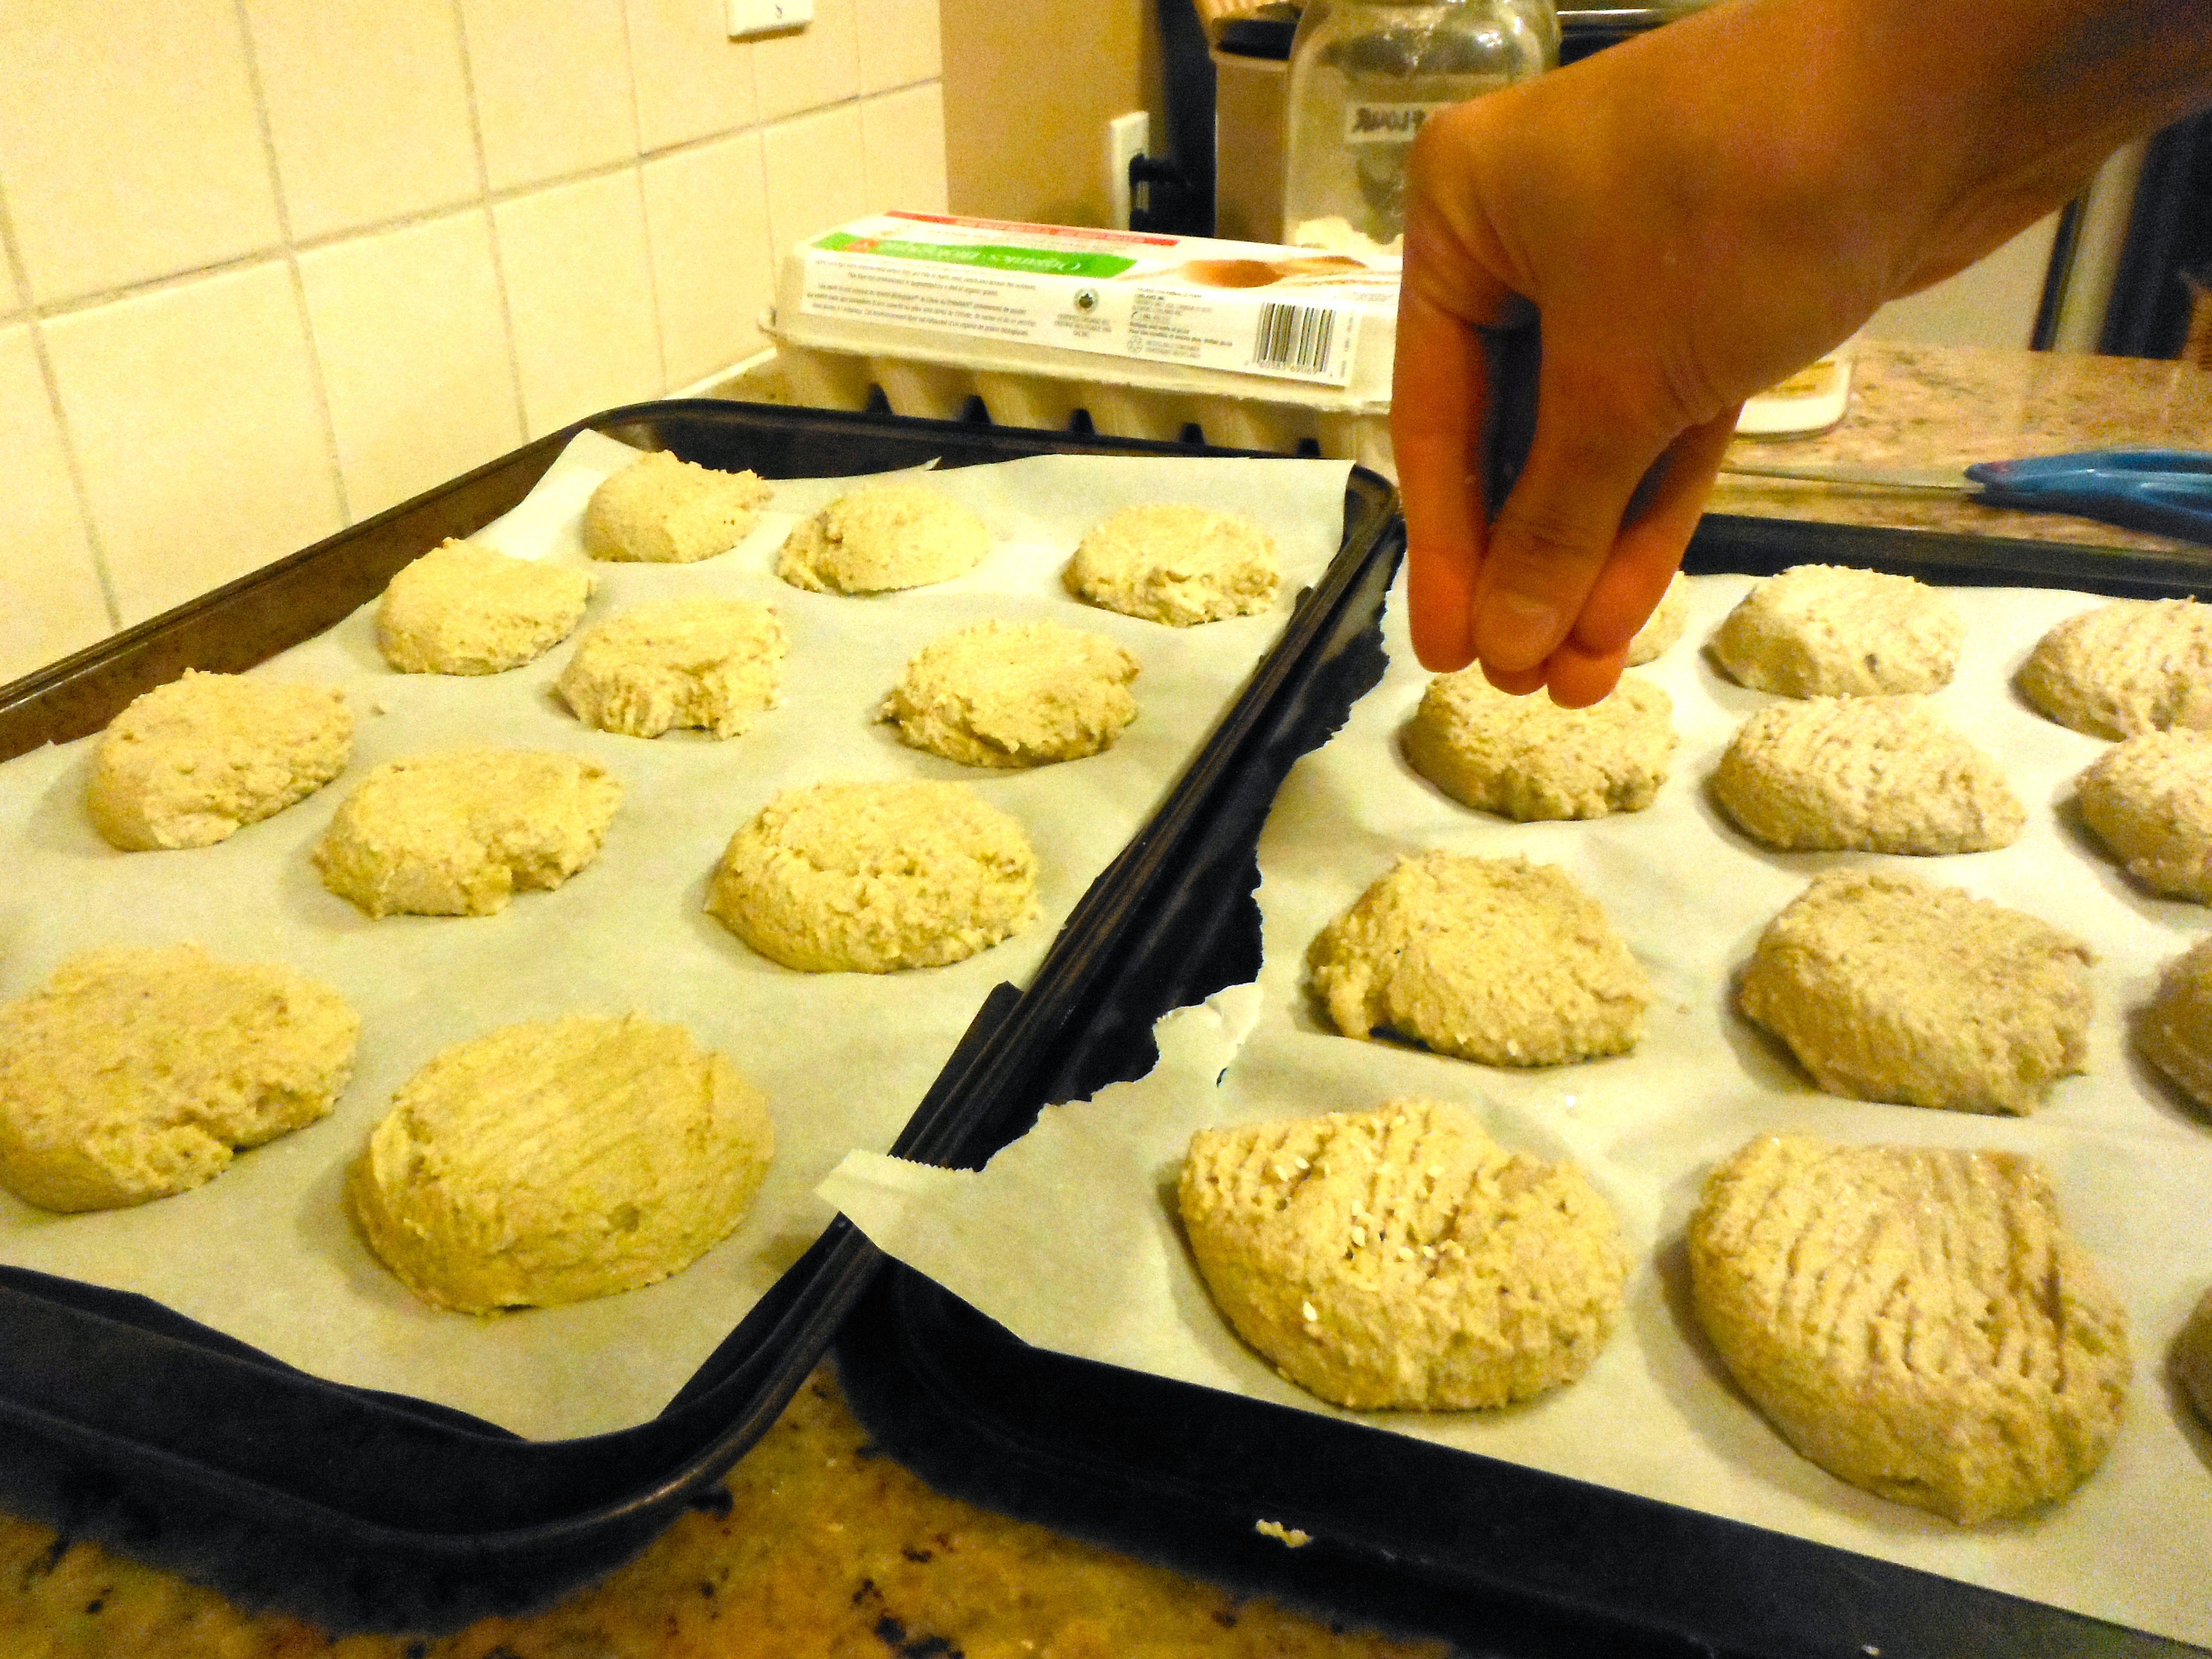
- Gently flatten with a fork and top with additional sea salt or sesame seeds (optional).
- Bake for 25-30 minutes, until slightly golden.
- Remove and eat right away!
- Get creative with this recipe! Add garlic, chives or some spices.
- Use yellow-brown plantains to create a sweet biscuit. Add a pinch of cinnamon or a bit of honey to the batter as well.
- Flash freeze and store in freezer bags or glass tupperware.
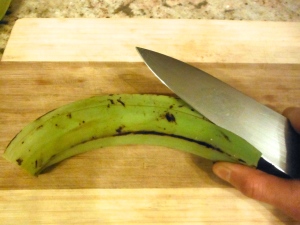
To prepare the plantains, slice off ends, score the skin and use your knife to lift off the skin to make peeling easier.

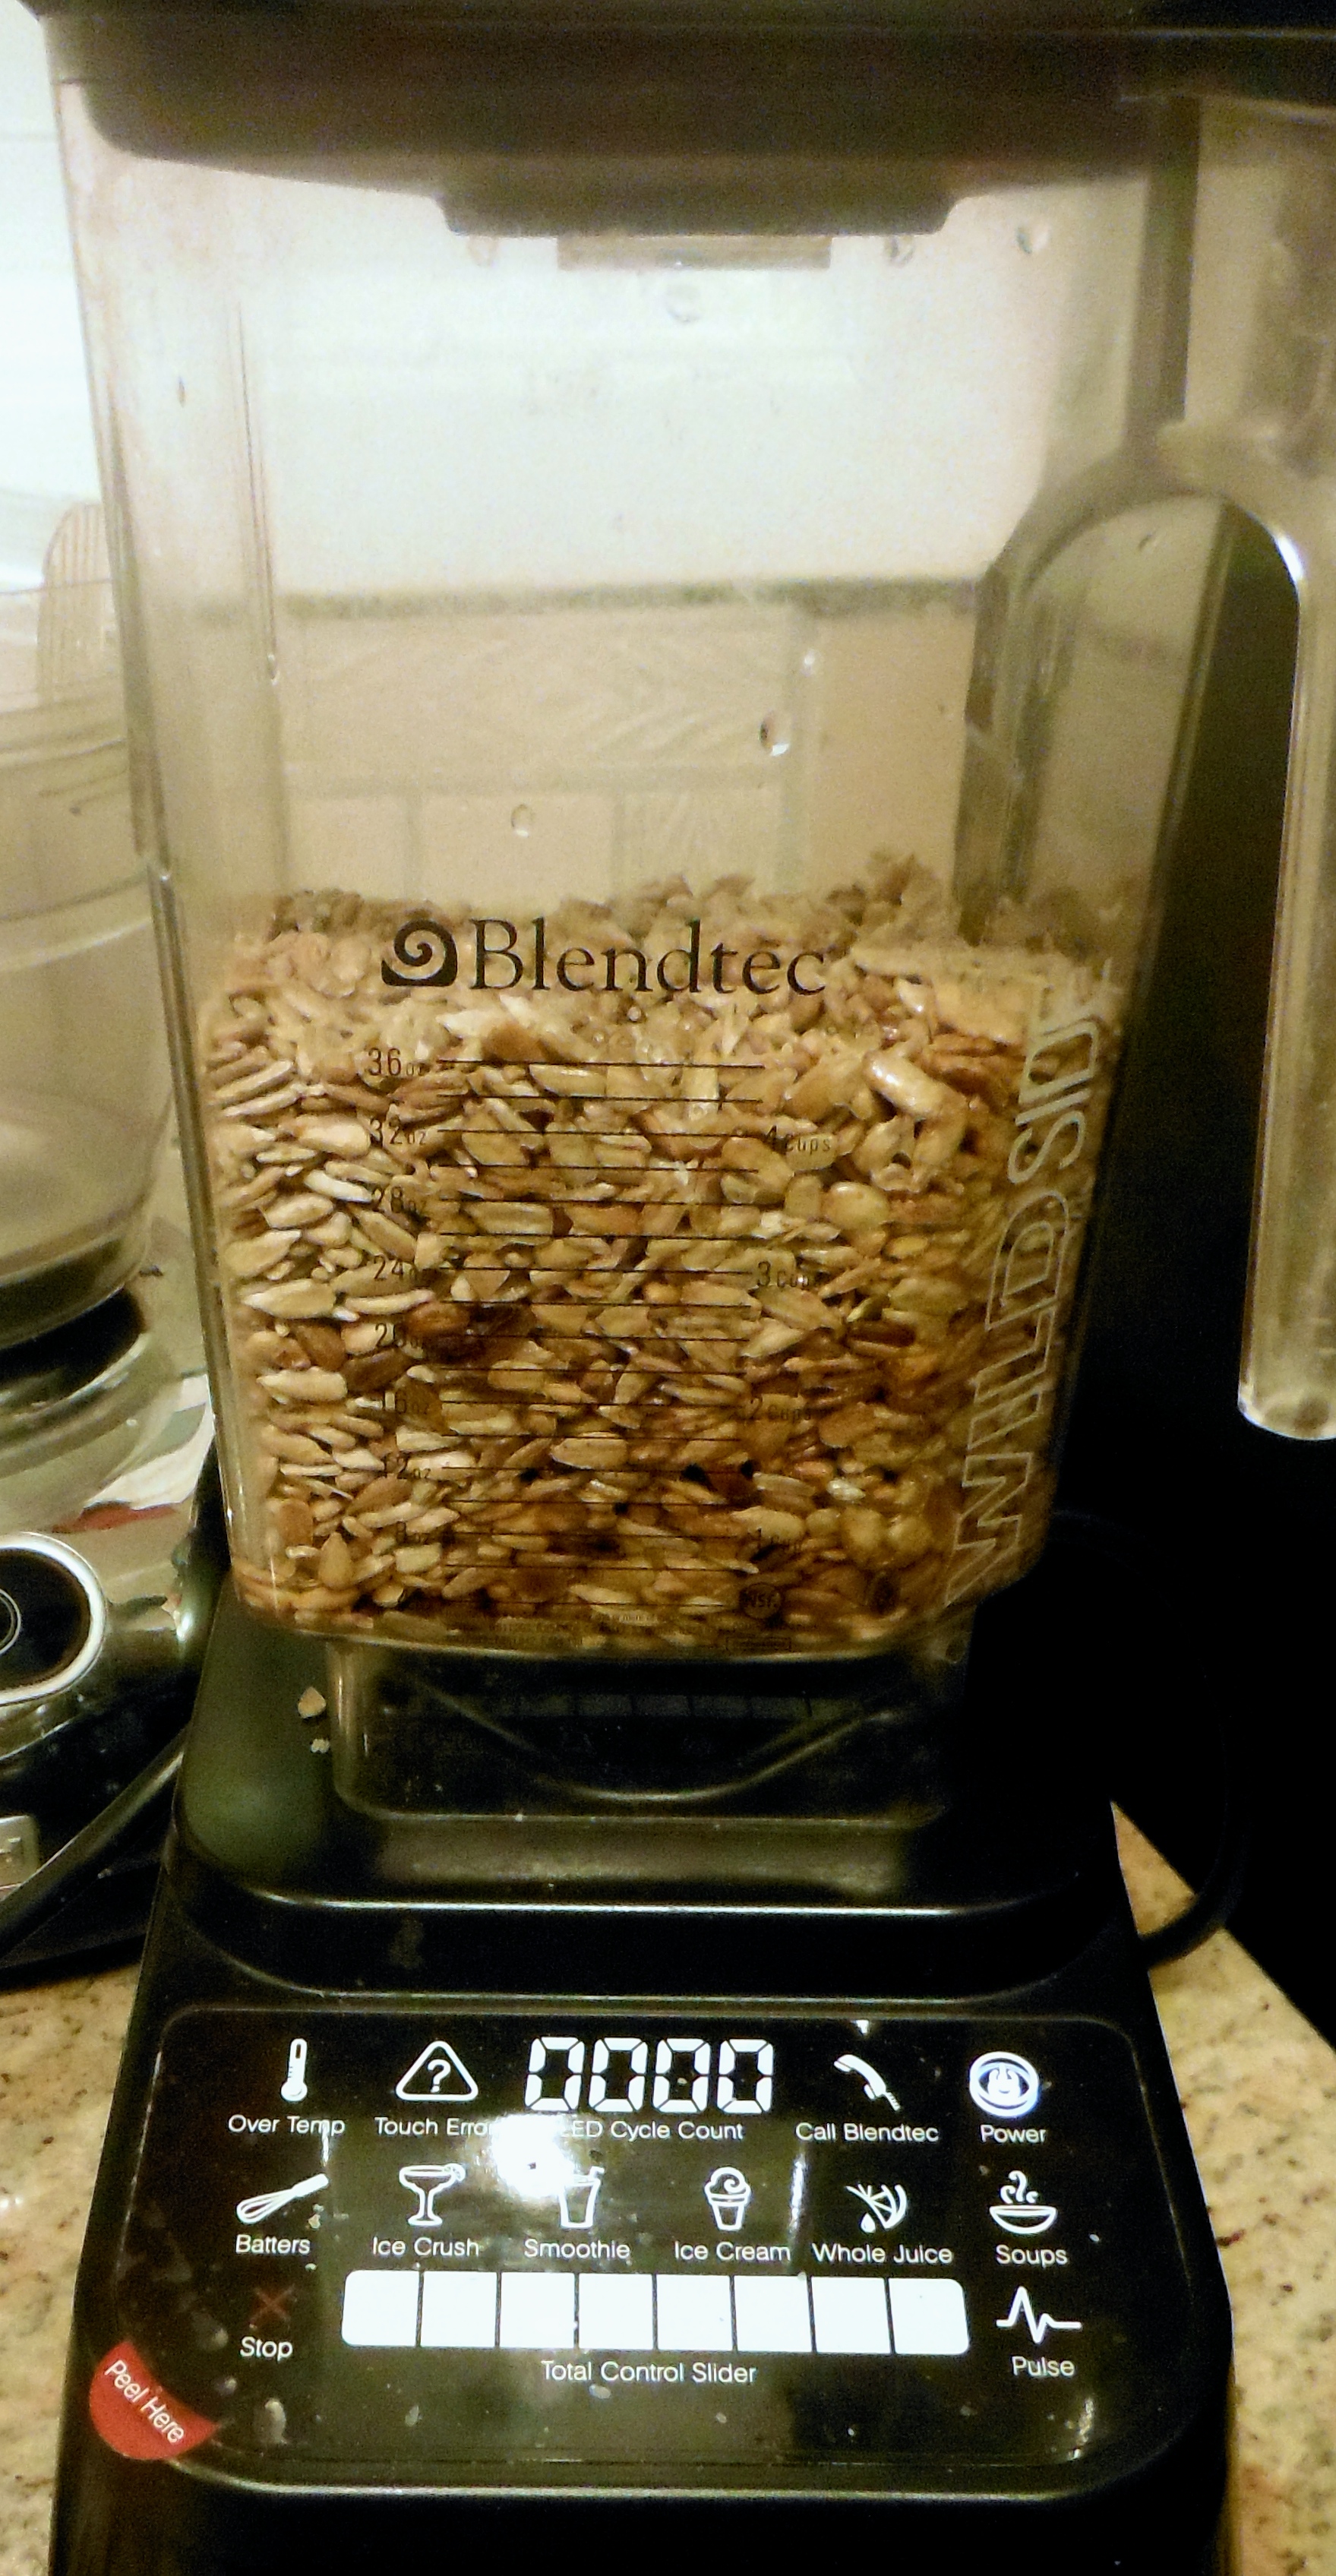
Chop into pieces and blend in a Blendtec or high powered food processor until mostly pureed.

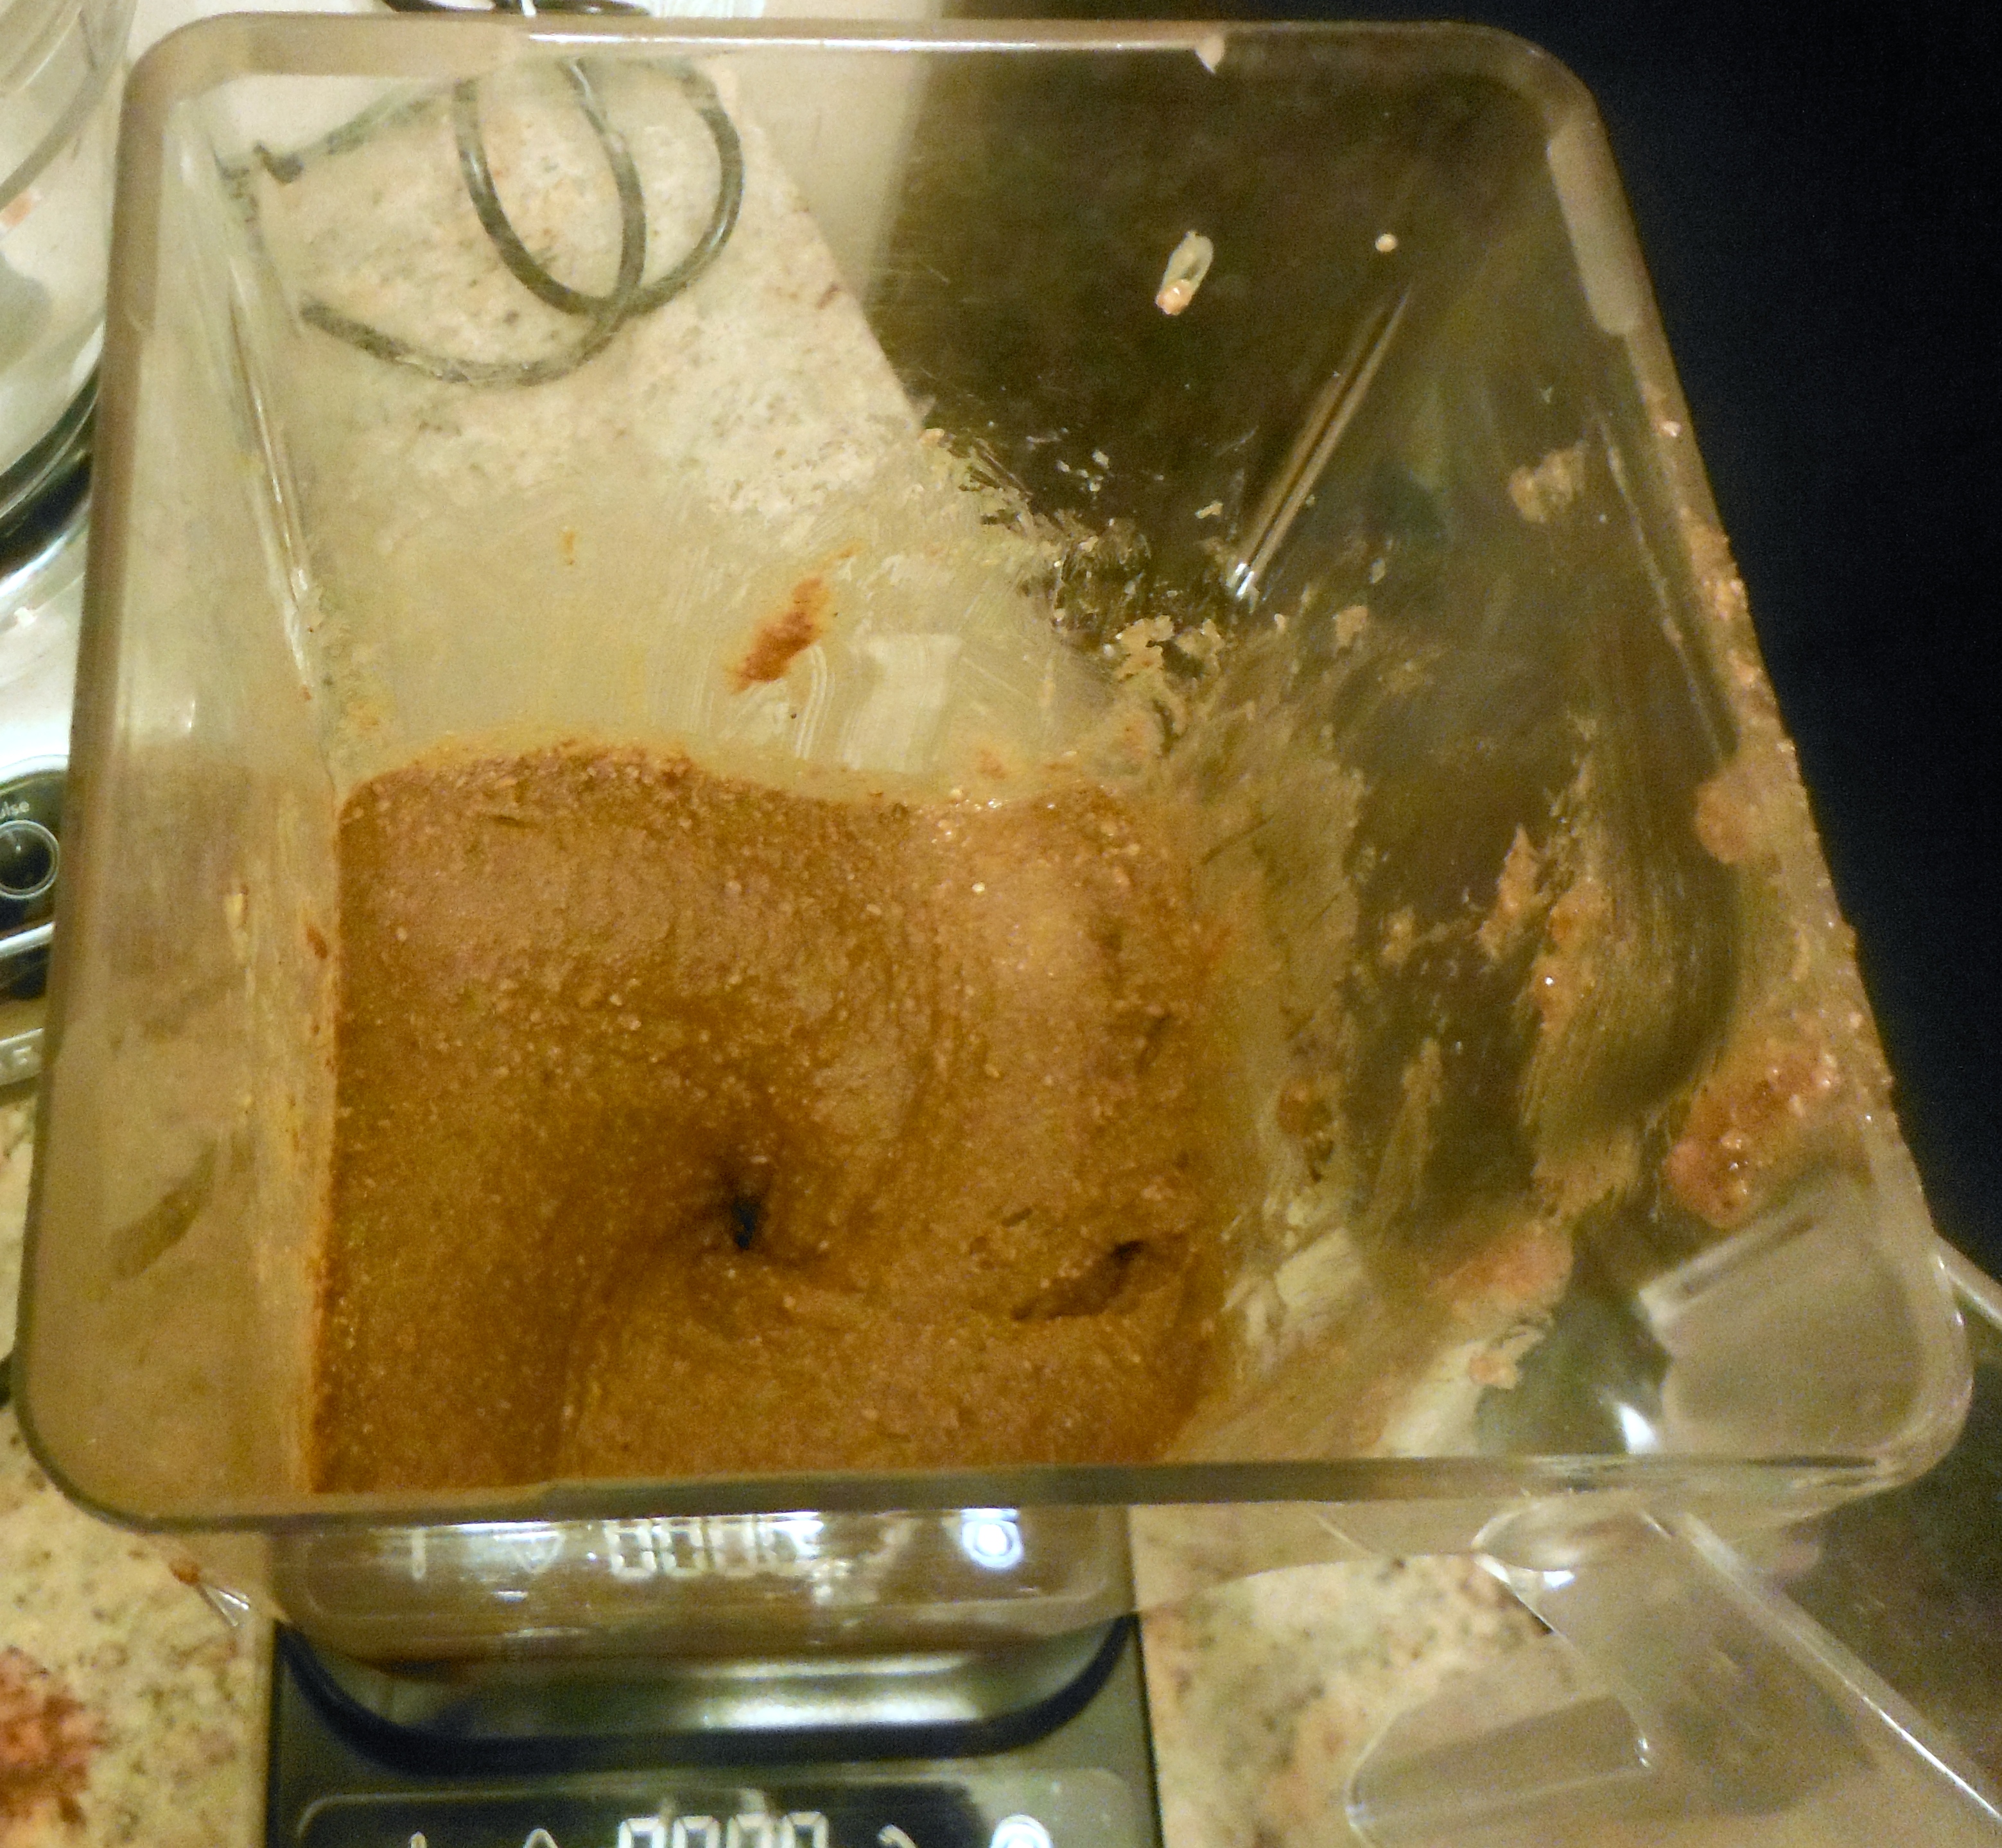
Add all ingredients except the oil. Combine. Drizzle in oil. Combine thoroughly.
Using an ice cream scoop, create 24 biscuits on parchment paper-lined baking sheets. 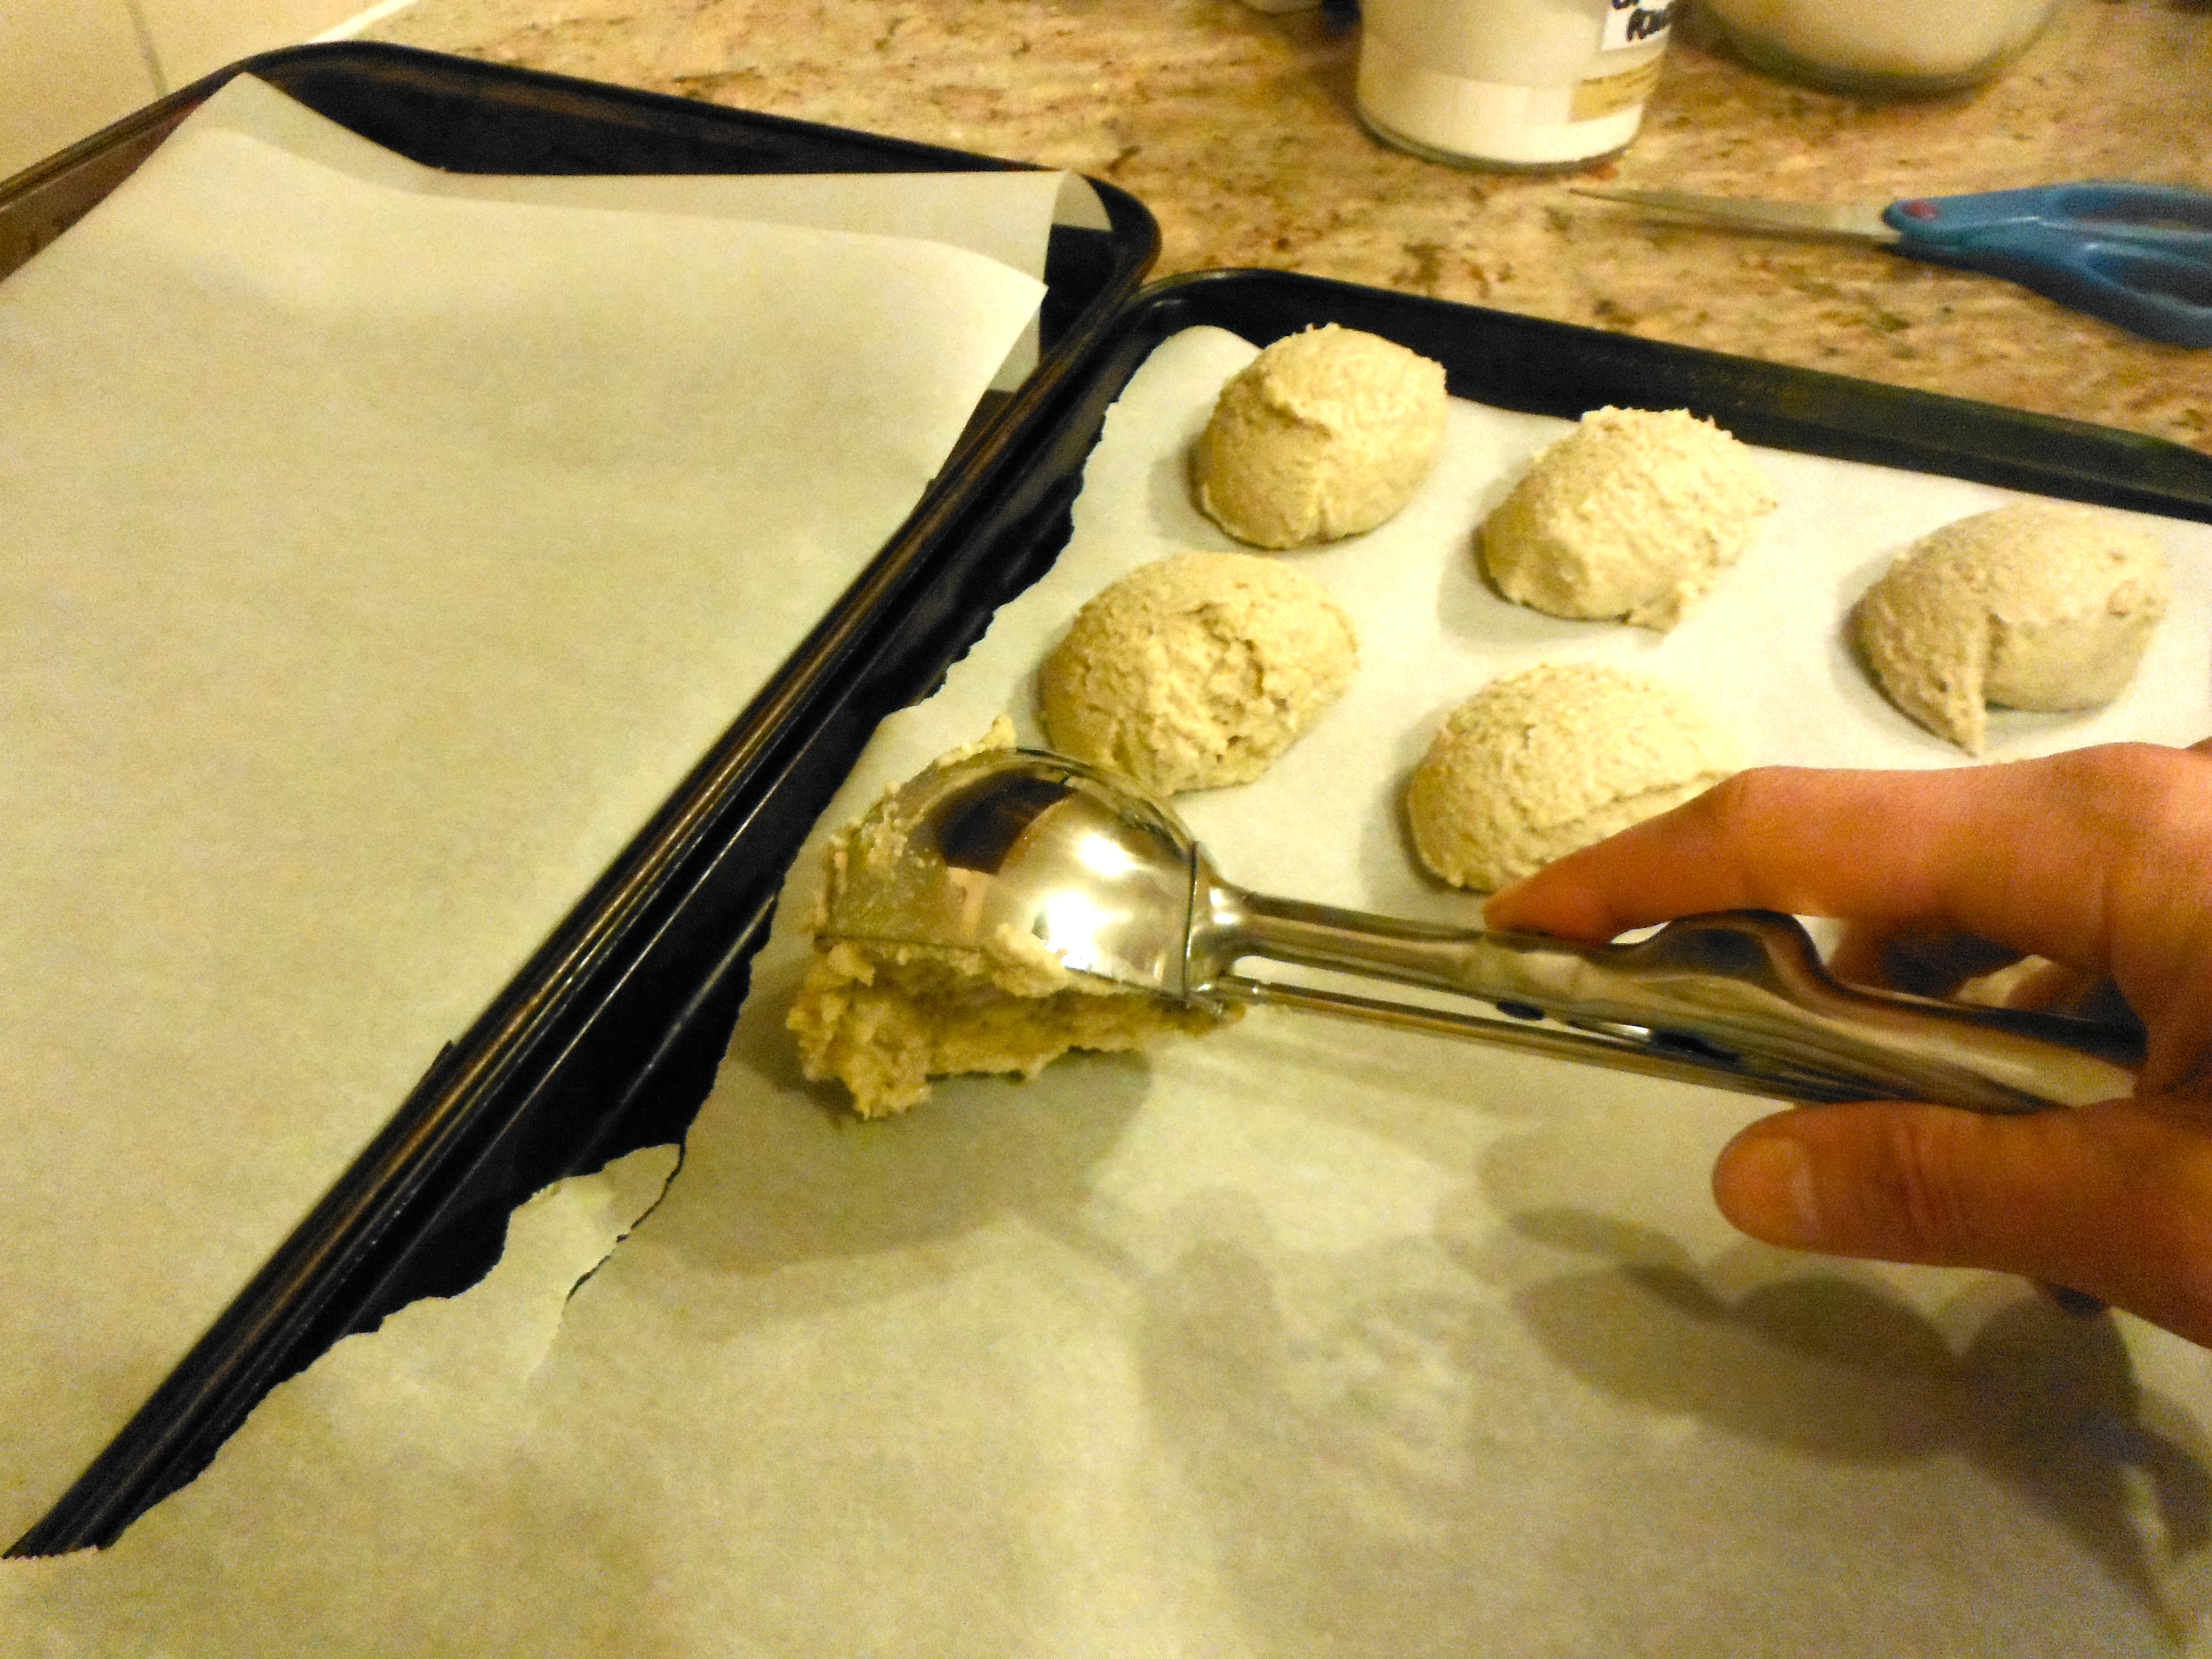
Gently flatten with a fork, top with additional sea salt or sesame seeds.
Bake at 400F for 25-30 minutes. Remove from oven when golden.
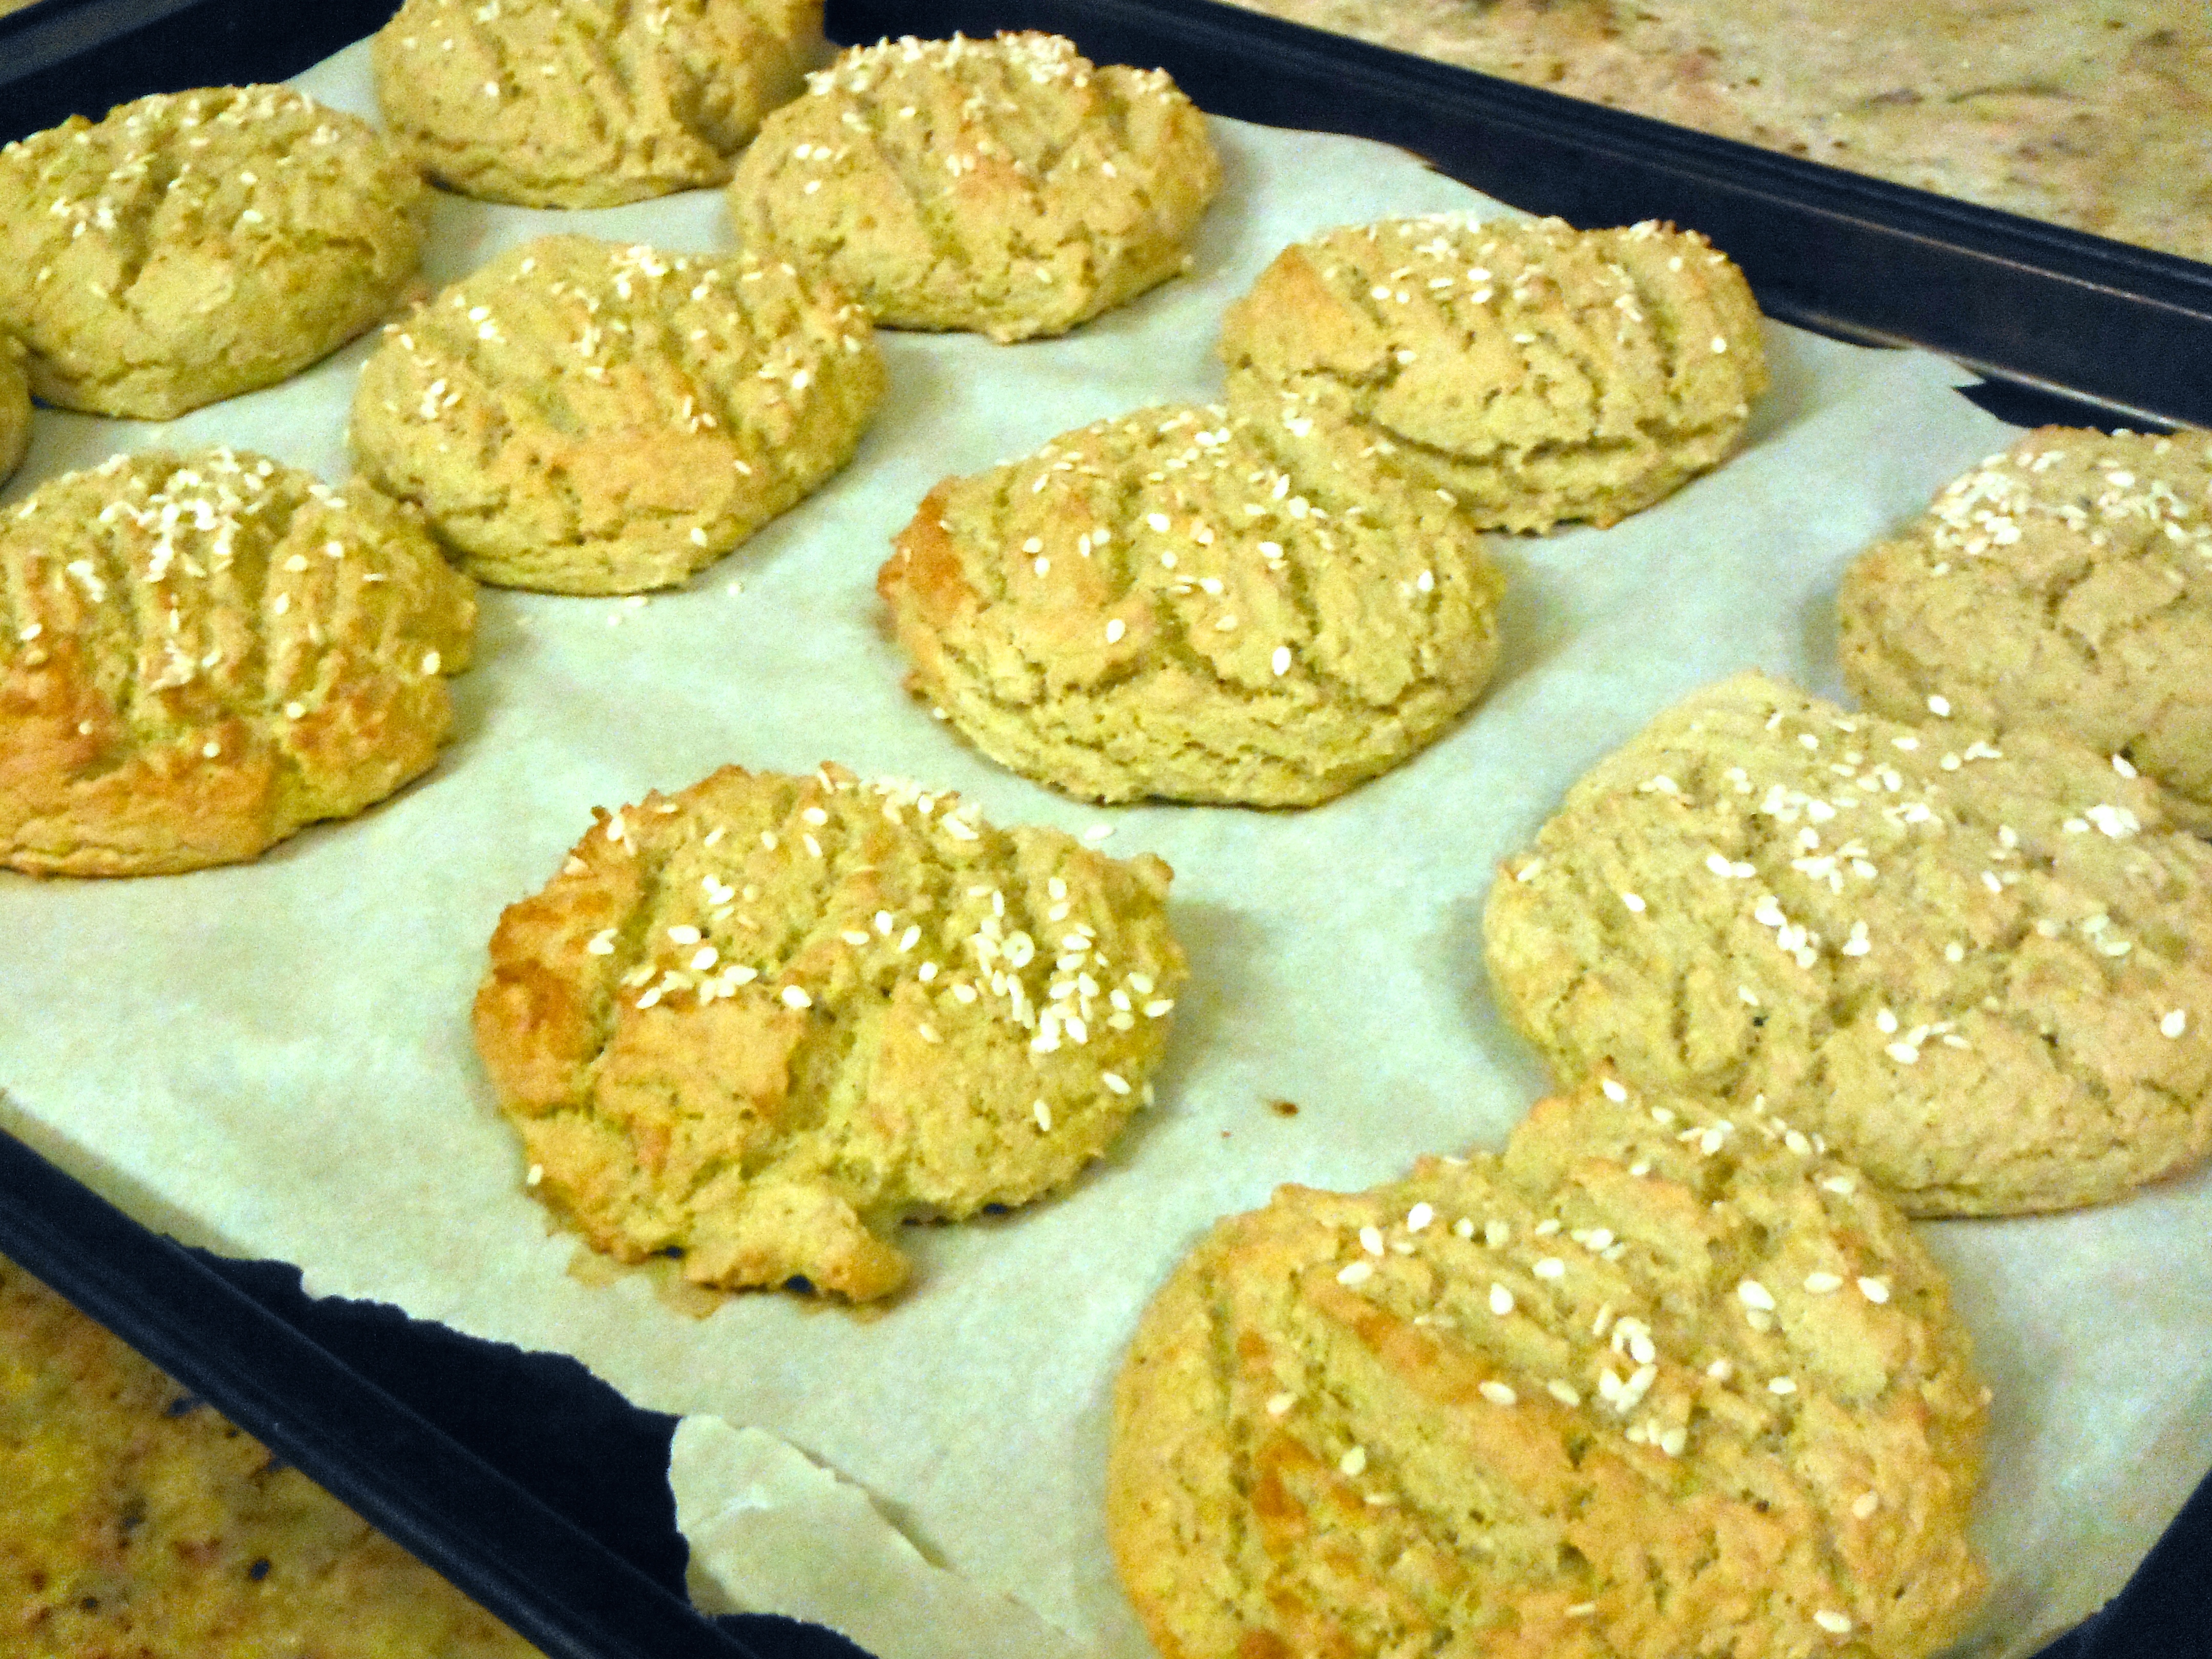
Enjoy immediately or freeze for later.
How would you use these biscuits? As bread? An english muffin? Share in the comments below!