Fermented foods are a staple in every single traditional culture, and their absence in the typical North American Diet, is likely a major contributor to poor health. I’ve written about gut heath and fermented foods many times on this blog already, so feel free to check out those posts:
Sauerkraut was my introduction to fermented foods, and for a lot of people this is an easy add-in to their diet – especially if you like sauerkraut, pickles and olives. However, the combination of fermentation and cabbage can be a little too much for the fermented food rookie. And if you are interested in making your own fermented foods (which I highly recommend for 2 reasons, [1] it becomes inoculated with microbes from your environment and [2] it is a fraction of the price), sauerkraut has a fairly long fermentation period – 3-4 weeks. So instead, I recommend Fermented Carrots.
These are my favourite way to introduce fermented foods to kids and adults alike. A little sweeter for the rookie-palate, and with a 4-7 day fermentation period, they are a great intro to home-fermenting.
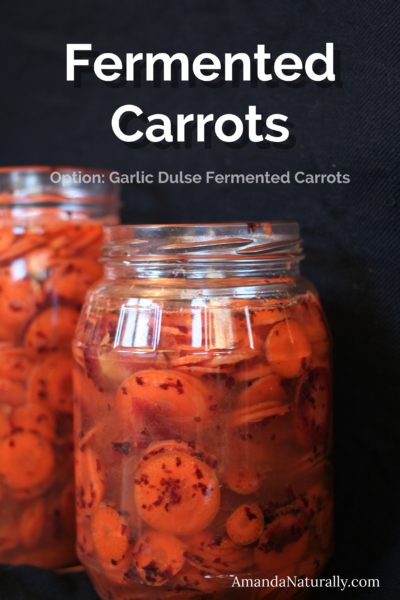
Fermented Carrots
(Option: Garlic Dulse Fermented Carrots)
Ingredients & Equipment
2 lbs carrots
4 tsp fine-ground sea salt, or garlic sea salt (my preference!)
OPTIONAL: 1 heaping tbsp dulse
2 cups filtered water
2 more heaping tsp sea salt, or garlic sea salt
jars
silicone muffin liners (my preference, but you can get creative)
Directions
1. Slice carrots as thinly as possible. I recommend using the slicer attachment on your food processor. (Note: save your carrot tops for making broth!)
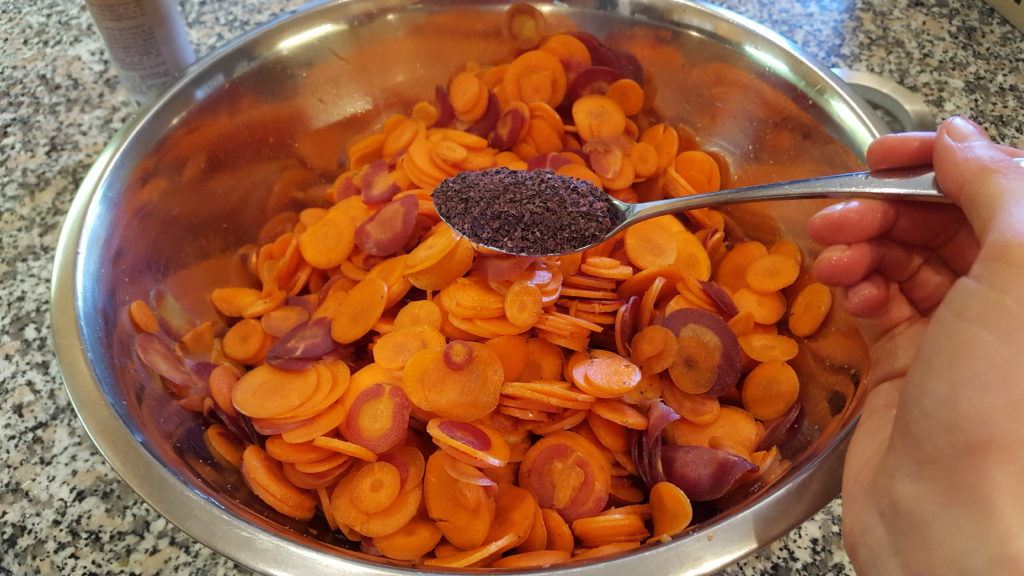
2. Add to a bowl, and toss with sea salt, or garlic-sea salt.
3. Optional – add a heaping tbsp of dulse for extra minerals and thyroid support!
4. Toss well. Spoon into jars, packing carrots down as tightly as you can.
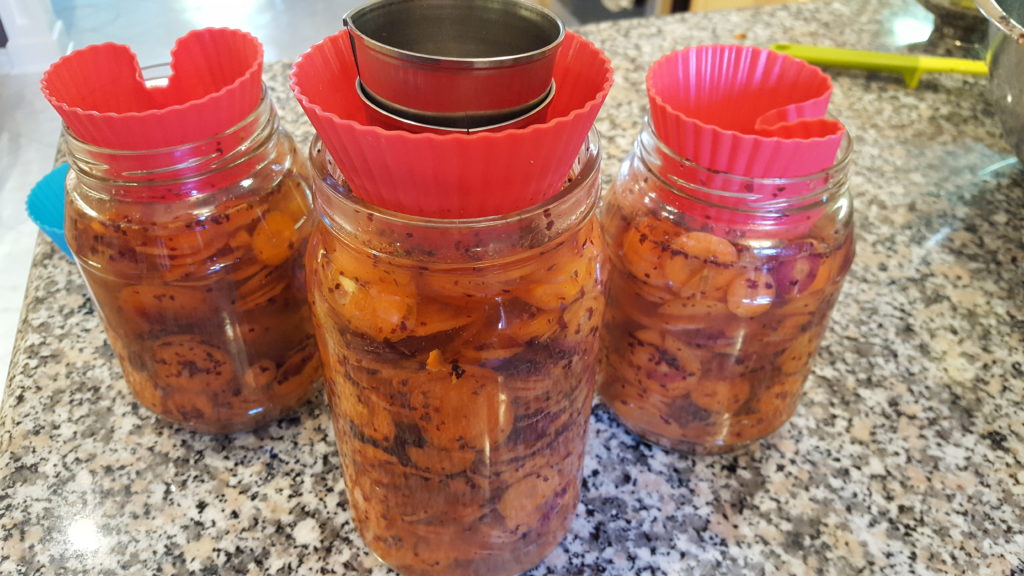
5. Create a brine by mixing 1 tsp salt (garlic salt) with 1 cup of water, and adding to the jars of carrots. Add enough brine to cover carrots completely.
6. Use something to hold the carrots under the water. I like to use my silicone muffin liners!
7. Place in a cool, dark corner of the room, out of direct sunlight. But don’t put them in a closet or cupboard where you can forget about them (learned this one the hard way!). Check on them every day to make sure the carrots are still below the water. If not, add a bit more brine, or push down the muffin liner. Let ferment for 4-7 days. Start checking at 4 days to see if you like the tangy flavour. I usually ferment for 5 days.
I love adding a spoonful to salads, or just on the side of a meal. When I was breastfeeding, my favourite snack was to toast 2 pieces of GF bread, spread half an avocado on each piece and top with these bad boys. Delish!
What’s your favourite fermented food? Have you tried making it yourself? Share in the comments below!
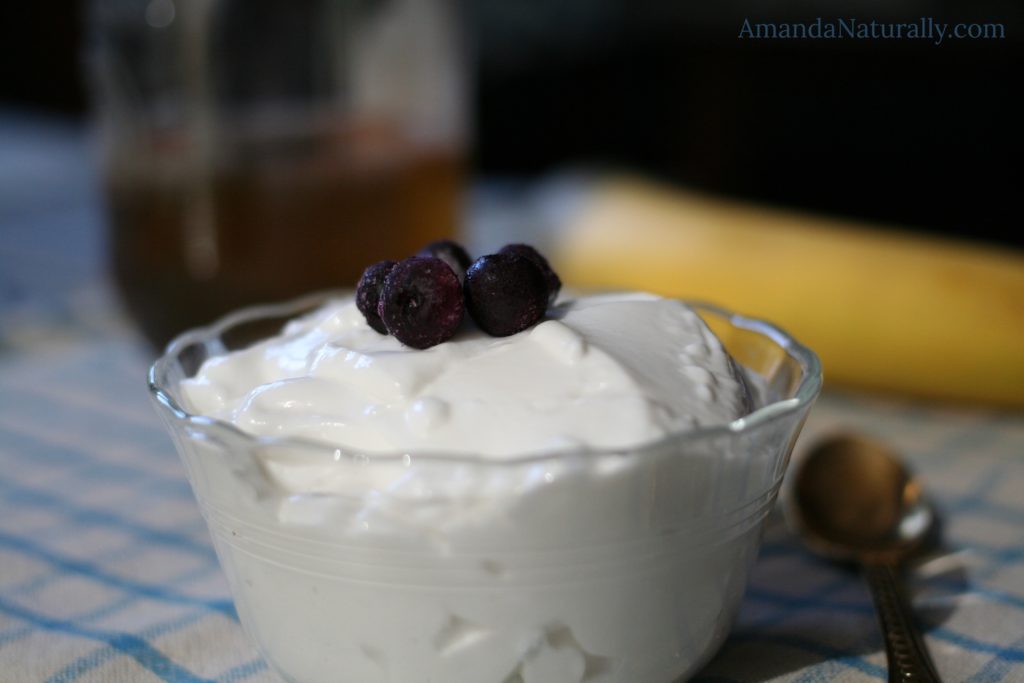
Yogurt is one of the foods I miss the most, since having to avoid dairy. Unfortunately there are no good alternatives out there. And while there are some expensive cultured almond or coconut snacks available, they are filled with stabilizers, gums and other weird ingredients – so I don’t touch them. Not to mention they’re always super low fat, so what’s the point? I had resigned myself to not having any yogurt ever again, until I got an Instant Pot and can now make homemade Coconut Milk Yogurt! I guess I could have used this recipe with a standard yogurt maker, or the old school way of a pot in an oven overnight, but alas, it took me getting this awesome kitchen gadget to figure it out!
Not only is yogurt super delicious, but it is another probiotic rich food. Supporting the gut bacteria through regular consumption of probiotic foods such as yogurt and sauerkraut, is one of the best things you can do for the health of your entire body! And when probiotic foods are as delicious as this coconut milk yogurt, it’s not hard to consume it on a regular basis!
Coconut Milk Yogurt in the Instant Pot
Ingredients
4 cups of coconut milk (I like the brand Aroy D because it doesn’t contain any guar gum or carrageenan. I get it at an Asian Supermarket, but apparently it’s been found at places like Walmart and Superstore.)
2 tsp gelatin (My favourite brand is Vital Proteins green tub, which unfortunately is still on backorder on Amazon at the time of publishing this post, but if you’re in Whitby you can grab some at our office. Great Lakes red carton is a great alternative, available on both Amazon and at stores like Healthy Planet.)
Directions
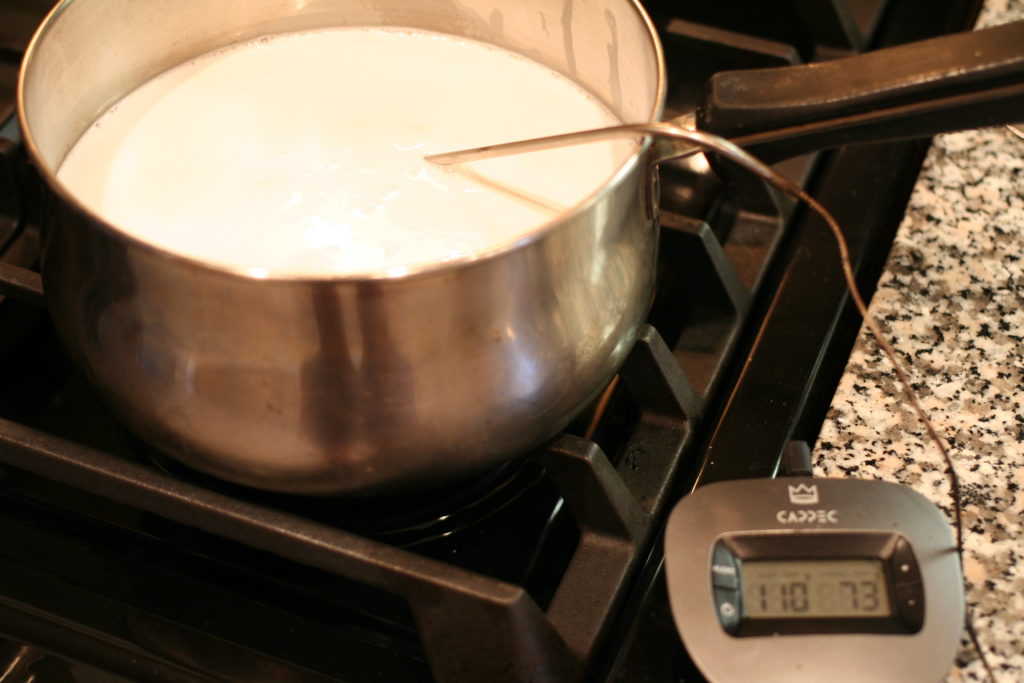
1. Heat 4 cups of full-fat coconut milk (I prefer the Aroy D brand) in a pot, to 110F. Use a candy thermometer, or an electronic meat thermometer ( <– another favourite kitchen gadget). Stir frequently, it only takes a few minutes. As soon as the temperature hits 110F, pull it off the heat.
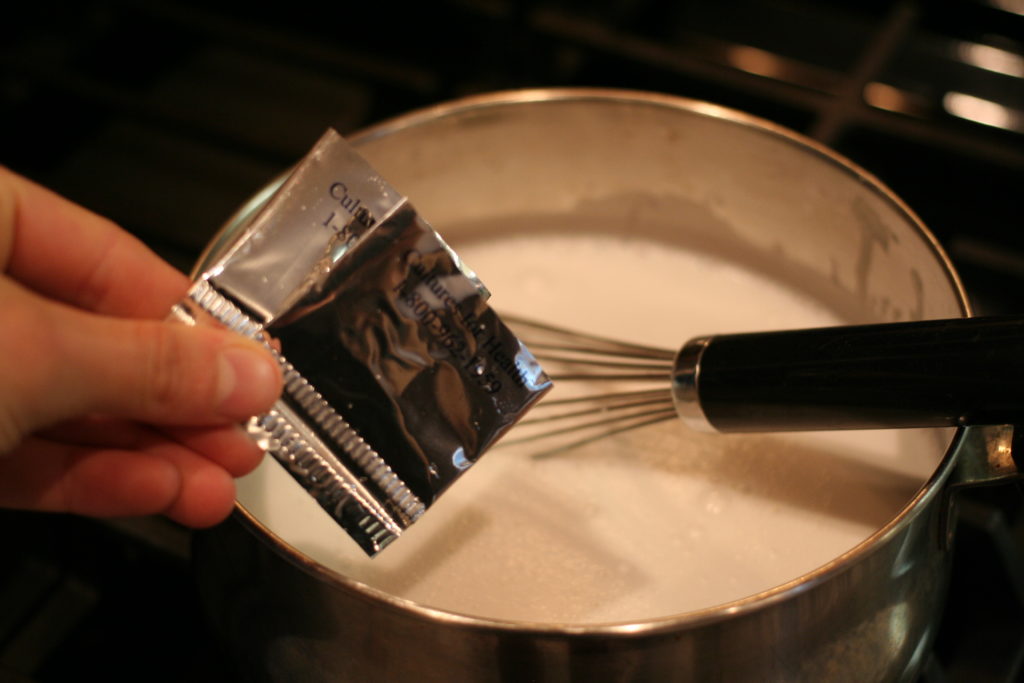
2. Immediately whisk in ½ cup of a previous batch of yogurt (you can use dairy if tolerated, store-bought or your previous batch) or 2 packets of Vegan Yogurt Culture (I love the Cultures for Health product, although it does have a bit of rice starch in it – something to note if you’re sensitive or following the AIP protocol). NOTE:Apparently you can use 2 or 3 probiotic capsules, but I haven’t tried this. (UPDATE: a friend told me she uses ¼ tsp of probiotic powder, or 2-3 capsules, and 1-2 tbsp of maple syrup)
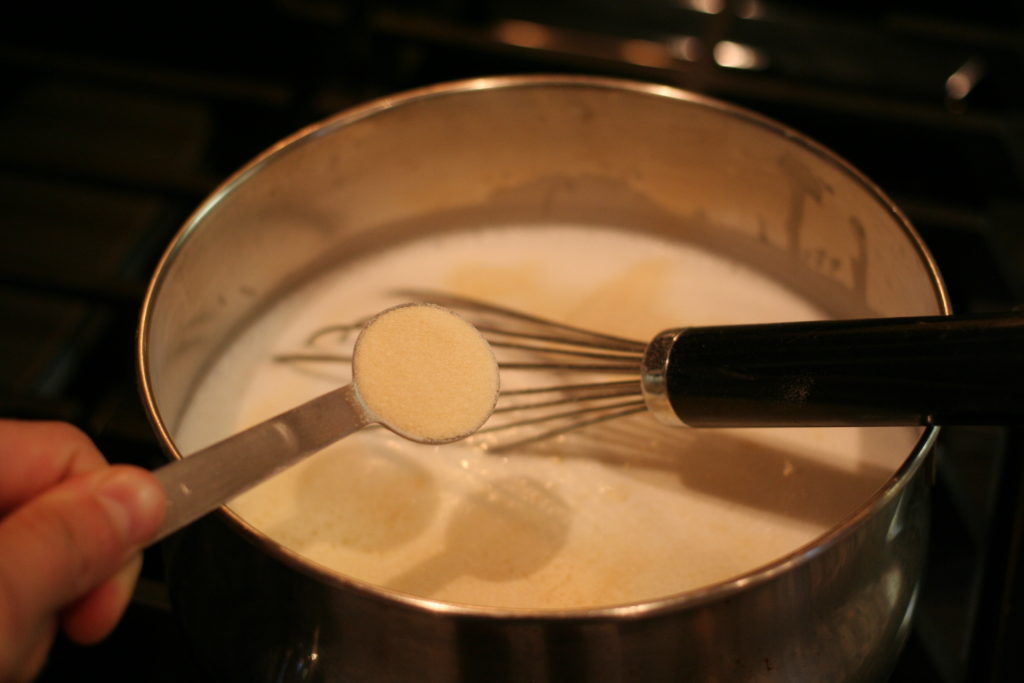
3. Whisk in 2 tsp grassfed gelatin. Without this, it won’t thicken. You will still have a yummy, tangy coconut milk, but it will definitely be milk, not yogurt. NOTE:Apparently you can use agar agar to keep it vegan, but I haven’t tried this since I’m always looking for extra ways to get in gelatin!
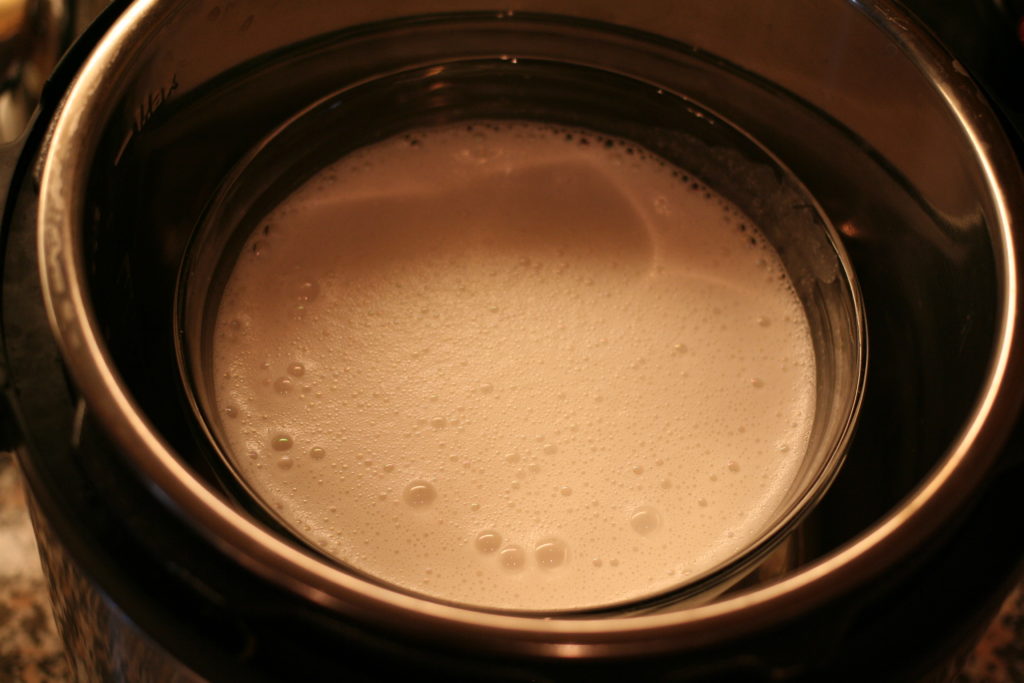
4. Pour into jars, or a glass bowl (that fits in the pot), and place in the bottom of the Instant Pot. NOTE: don’t put the yogurt directly in the Instant Pot. Since it is stainless steel, mine retains a slight hint of what was previously cooked – usually broth. And trust me, broth-flavoured coconut yogurt is not good.
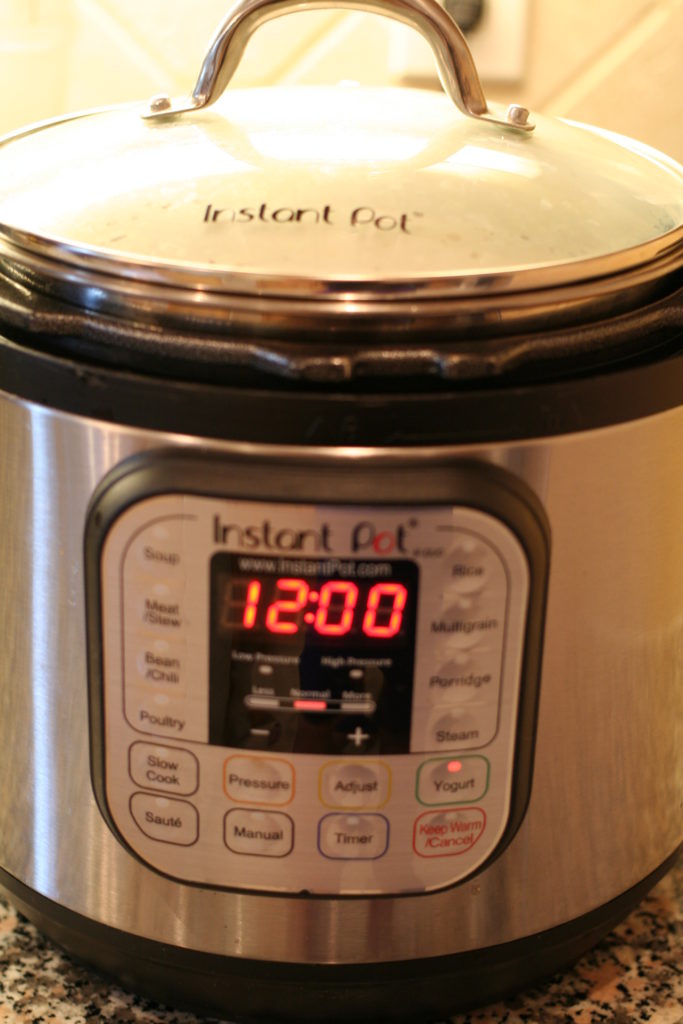
5. Secure the lid (or place the glass lid on), press the “yogurt” button, adjust the time to 12 hours and walk away. NOTE: if you don’t like really tangy yogurt, start checking the flavour around 8 hours.
6. 12 hours later, remove from Instant Pot and store in fridge for a few hours to let set. If you are planning to make another batch, store ½ cup in a separate container to use again later. NOTE: I have found that I can only do this a few times, before I need to reinoculate with a new batch of probiotics/yogurt starter. Likely because there isn’t enough sugar in the coconut milk to support continual growth. You might have success by adding sugar or a simple starch like potato or tapioca, to encourage more growth.
7. Yogurt lasts about 2 weeks in the fridge, although it will start to separate after about a week. That’s just what happens when you don’t use any emulsifiers! It’s perfectly fine to eat!
Add Ins:
In step 3, I also add in a liberal amount of collagen peptides, which doesn’t gel. This adds extra protein and extra gut/joint/skin healing goodness.
In step 5 you can add in additional flavours such as:
– fruit
– honey or maple syrup
– vanilla extract
– cocoa powder
Alternative Methods of Yogurt Prep
I love the Instant Pot because it’s a one-stop shop. It quickly became the most used (and loved) gadget in my kitchen. If you make bone broth regularly, it’s a no-brainer to add to your arsenal. However, it’s definitely not the cheapest item, and there are other ways to make yogurt that don’t require this gadget. Check out the following resources if you want to make coconut-milk yogurt sans the Instant Pot.
NOTE: the directions in the above links use cow milk. With coconut milk, you do not need to heat it to 200F first because there is no bacteria that needs to be pasteurized out.
Dairy Yogurt
If you tolerate dairy, you can absolutely follow the same instructions, just make sure you heat the milk to about 200F first and let it cool before following steps 1-7 above. Cow, goat and sheep milk can all be used! The reason for making your own dairy-yogurt is purely for nutritional value (and cost!). It can be extremely challenging to find quality dairy that is also higher in fat, and since the fat is what contains most of the nutrients from dairy, that’s what you want to be eating! Look for grassfed or organic yogurt that is as high fat as possible. I’m talking at minimum 2-3%, but ideally higher than that. Since that kind of product is hard to come by, purchasing organic or grassfed milk (or goat/sheep milk) and making your own yogurt is a solid option – not to mention friendlier on the wallet!
This recipe sounds fancy. It looks fancy. It tastes fancy. But it’s so darn easy. Which is amazing, since over or under cooking fish is the worst!!
If you follow me on Instagram, you might be familiar with our #TacoTuesday tradition. Since we work late on Tuesdays, we need to make something quick for dinner. Lettuce Wrap Taco‘s have been our go-to for years, however with the recent changes in my life (a.k.a. pregnancy) I’ve been doing everything possible to get as much seafood in my diet as I can.
“Why fish?”, you might ask… well the omega-3 fat found in fish, especially cold-water fish like salmon, is one of the most important (and least consumed) nutrients in our diet. The particular omega-3’s found in fish are EPA and DHA and are absolutely essential for proper development, not to mention all around heath. Here’s why:
EPA & DHA make our cell membranes function better. Since our cell membranes are the brain of the cell (yep, that’s a major dogma shift from what most of us were taught back in highschool/university. The nucleus is in fact, NOT the brain of the cell, it is simply the gonads) if our cell membranes work better, cells work better, which means the tissues that they are a part of work better. All of our organs and systems in our entire bodies work better when our individual cell membranes work better. (note: this is also why we want to avoid vegetable oils because they do the exact opposite)
EPA & DHA have a critical role in the development of the nervous system (brain, spinal cord, nerves, eyes).
EPA & DHA are powerfully anti-inflammatory. They provide the building blocks for our endogenous anti-inflammatory molecules known as cytokines. (note: vegetable oils do the opposite, they feed into our pro-inflammatory pathways)
There are 2 very important things to note about omega-3 oils:
The omega-3’s found in plants (flax, walnuts, chia etc.) are not the same. They are a different kind of omega-3 known as ALA. And while we can convert some to the usable form, the amount we can convert is in the range of 1-3% – and that’s with an optimally functioning body, which most people do not have. Which means it would take a cup of flax oil to provide the same health benefits as a few bites of salmon.
Fish oil supplements only work in the short term. Once you pass 6 weeks, the benefits peter out. So a supplement will not suffice.
So what does that mean? Well, it’s time to start eating fish my friends. Not a fan? At risk of sounding like a total jerk, that’s kind of not an option if you want to make sure you’re hitting your required nutrients. Now I appreciate that some people have fish/seafood allergies, so that definitely is a roadblock, but unless that’s your case, start learning and wanting to develop a taste for it (trust me – I get it. I did not like liver. But I knew how important it was, so I set my mind to it and learned to like it.) If you are in the transition of learning to like fish, or you are allergic, the only other places you can find usable omega-3 fats in are grassfed beef and pastured egg yolks.
As with all food, the better the quality, the better the nutrition. For fish you want to try and purchase wild, sustainably caught species whenever possible. That can be challenging to find (and crazy expensive) in the middle of the continent, but luckily demand is going up, so places like Costco (where I get my frozen, wild salmon) are carrying more of this type of product! Though it definitely comes at a price, so you want to make sure you cook it up nicely!
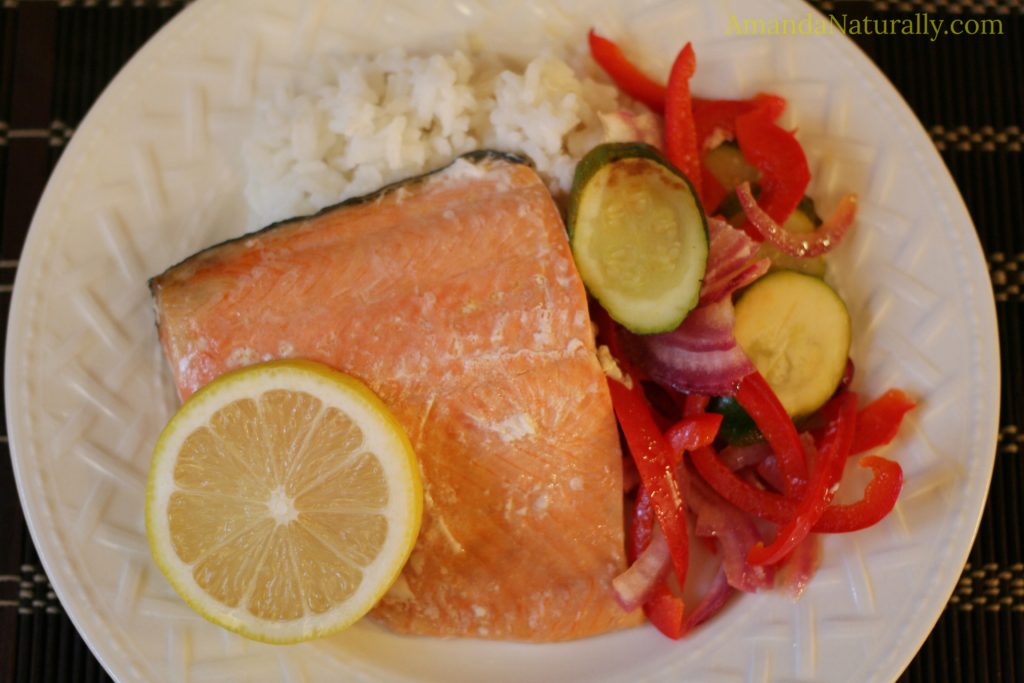
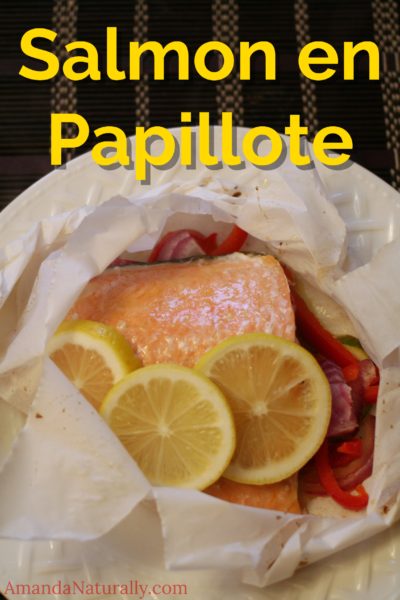
Enter: Salmon en Papillote
This meal can be pulled together in 15 minutes flat – as long as the fish is thawed. It pairs beautifully with rice (cooked in bone broth of course!), cauli-rice, steamed potatoes or a simple salad.
Aside from being incredibly heathy and the minimal prep/cook time, one of the best features of this meal is it is super scalable. Last night I made it for just me (not too shabby for a solo dinner eh?) and I’ve also made it for a large dinner party.
The ingredients are very flexible as well, although I am partial to the ones I use! However if you need to avoid nightshades, simply omit the red peppers and if desired, sub another vegetable like yellow squash or bok choy.
Finally, while I made this particular one in the oven, you have the option of using the BBQ as well. We often do that in the summer to keep the house cool!
Salmon en Papillote
2016-05-11 09:38:24
Serves 1
Sounds, looks and tastes fancy - actually super simple! Not to mention delicious and nutritious!
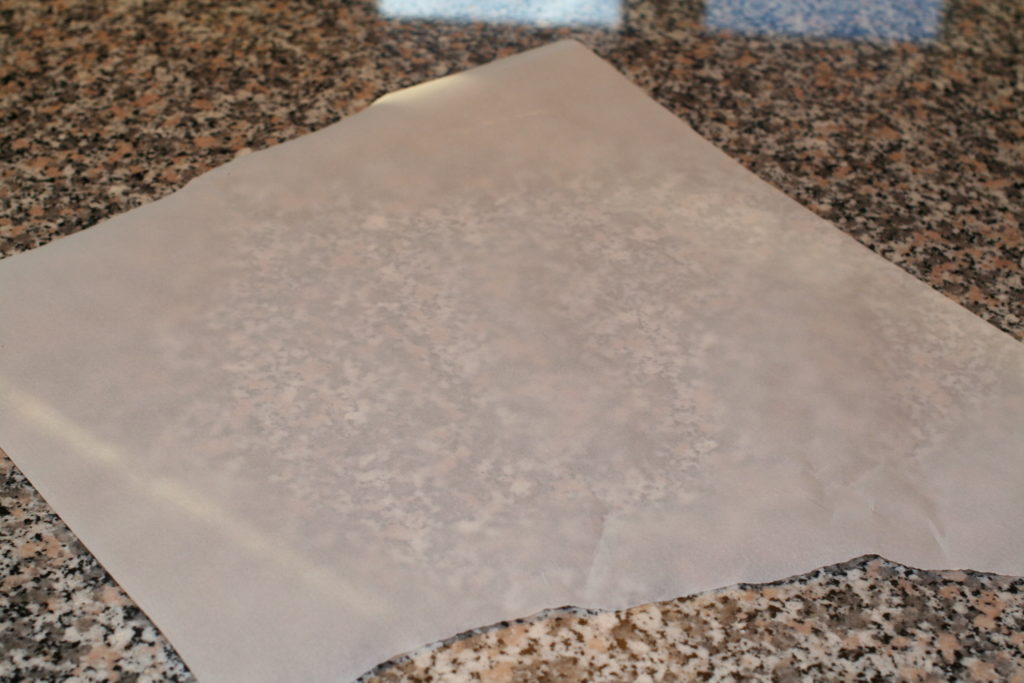
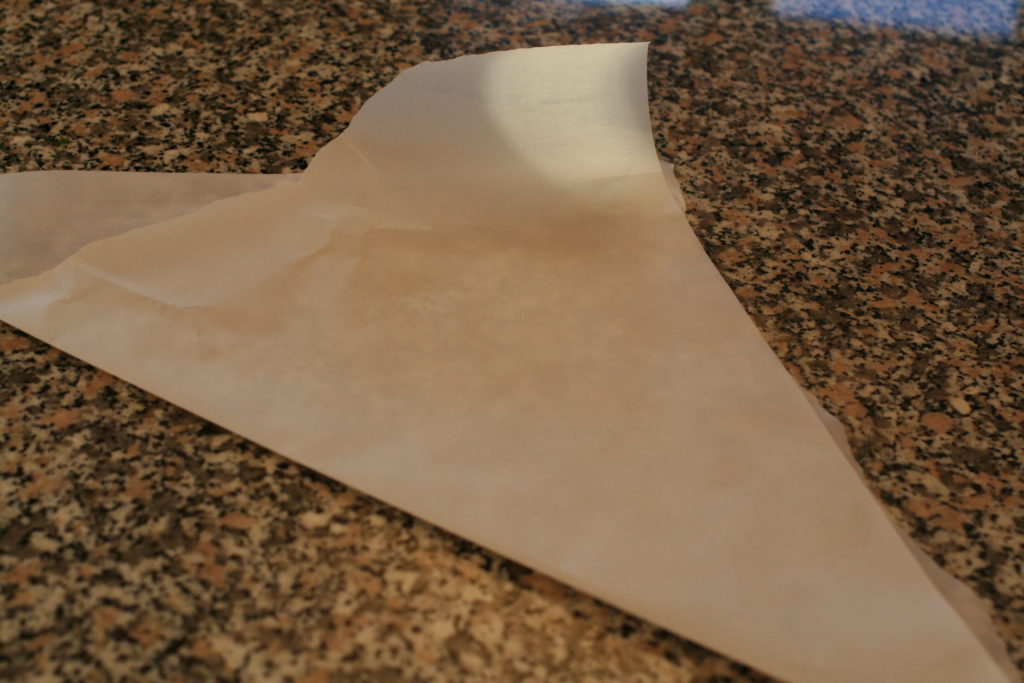
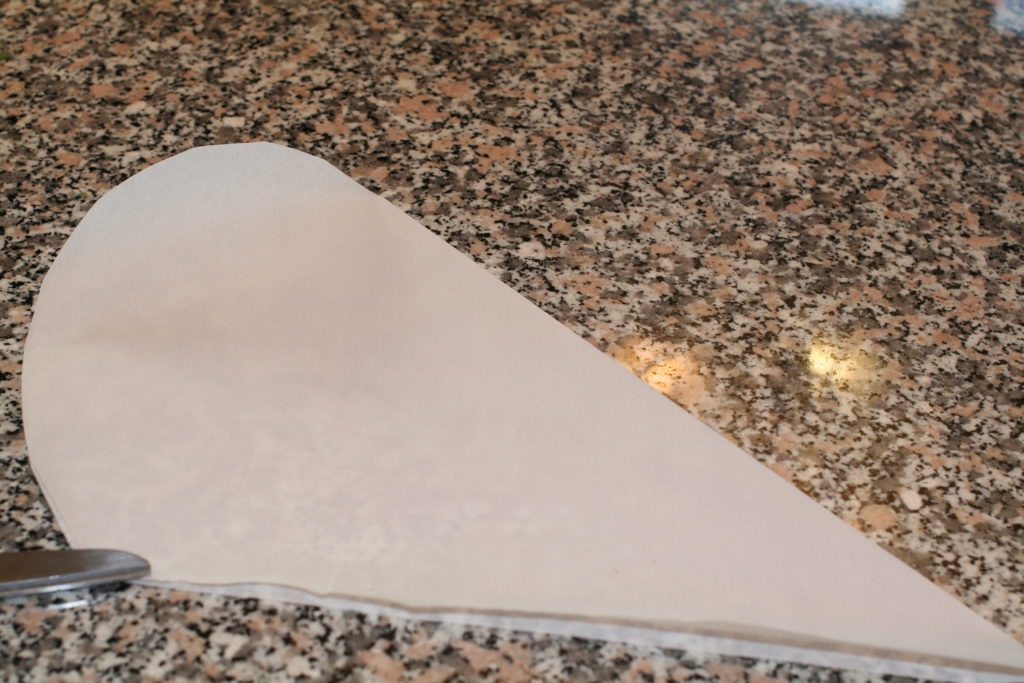
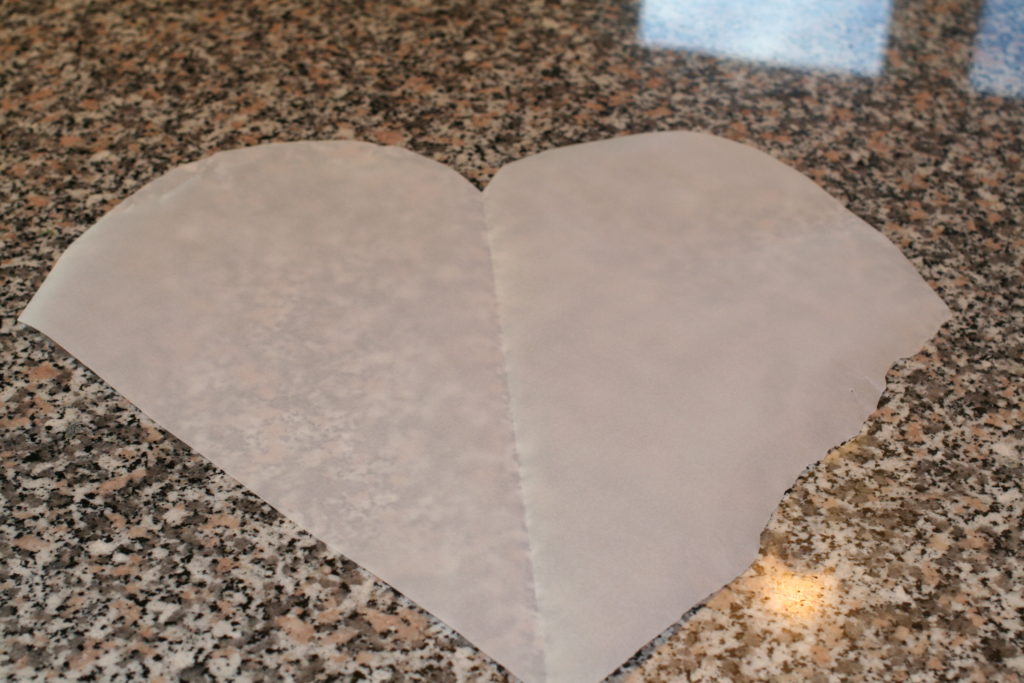
Cut a piece of parchment paper into a heart shape, folded in half.
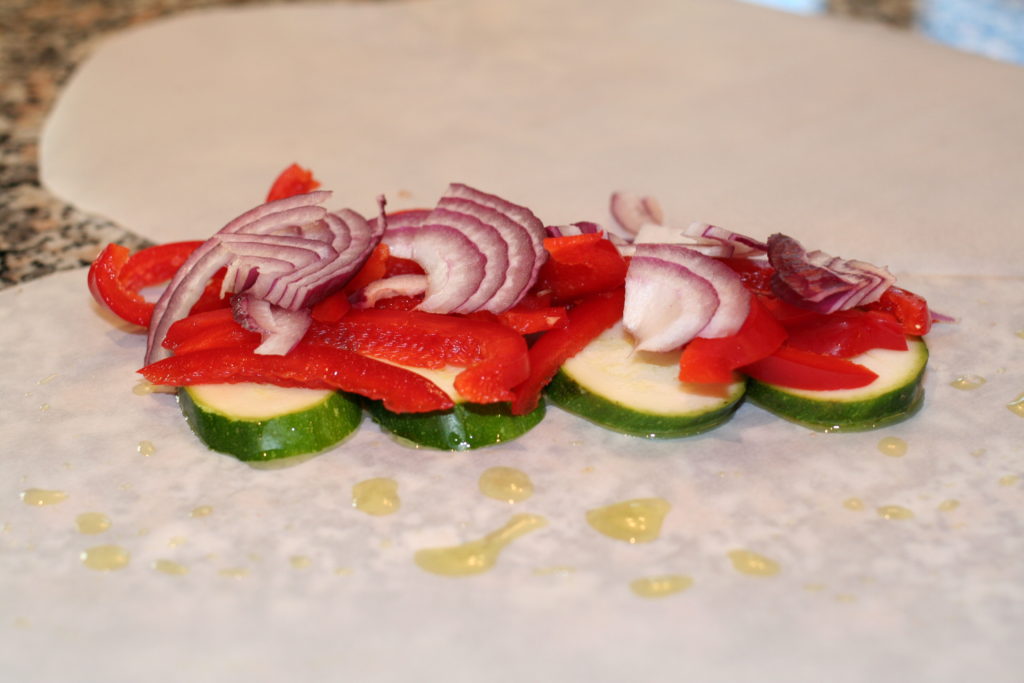
Drizzle a little olive oil under where the salmon will go. Top with zucchini, then onions & peppers.
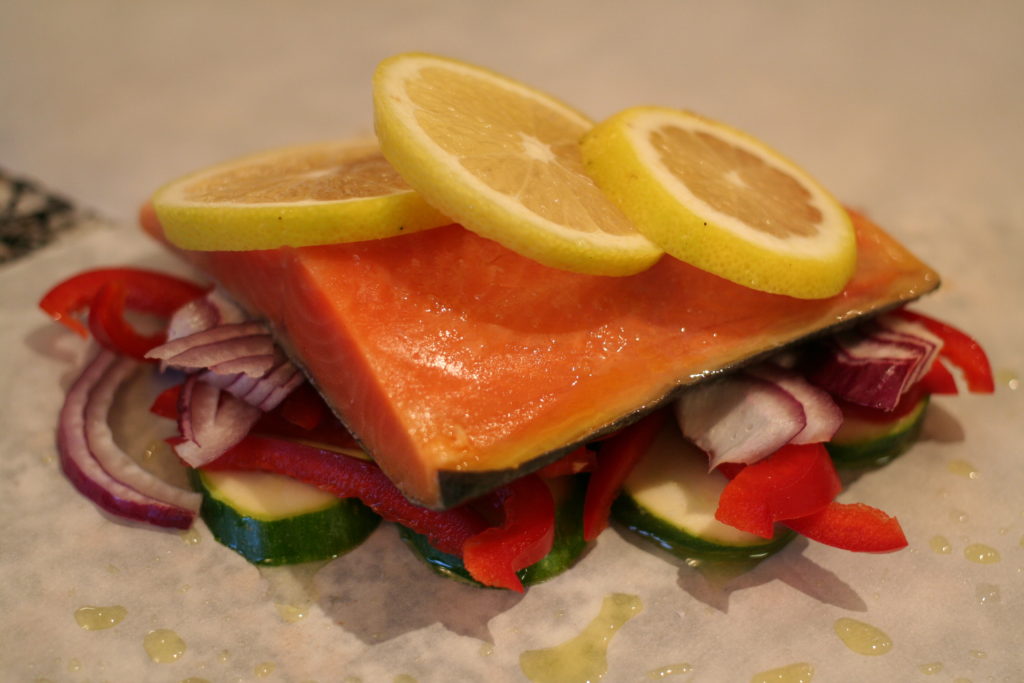
Place salmon on top of veggies.
Drizzle with olive oil, squeeze a bit of lemon on top and season with sea salt.
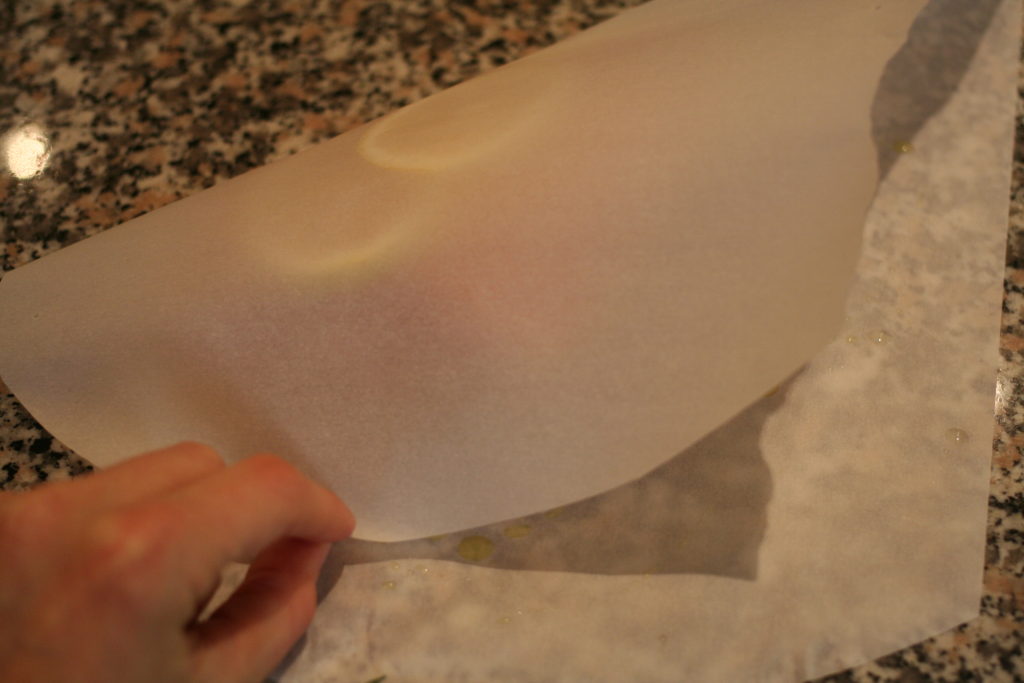
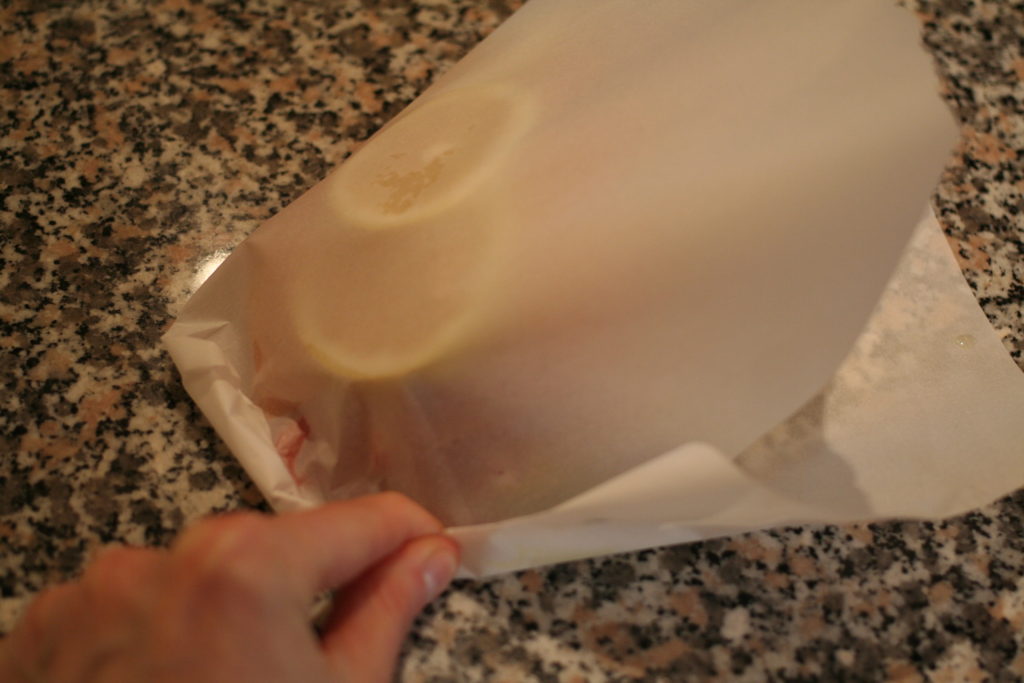
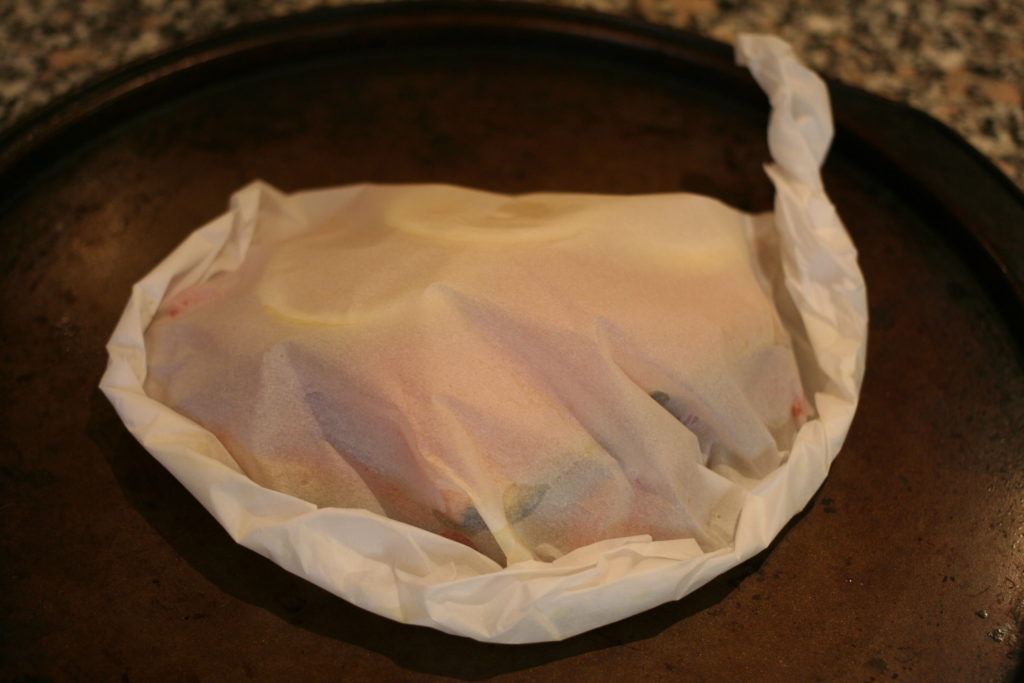
Starting at the furthest point away from the point/bottom of the heart, start rolling the edges together, moving all the way to the point.
Bake for 10 minutes.
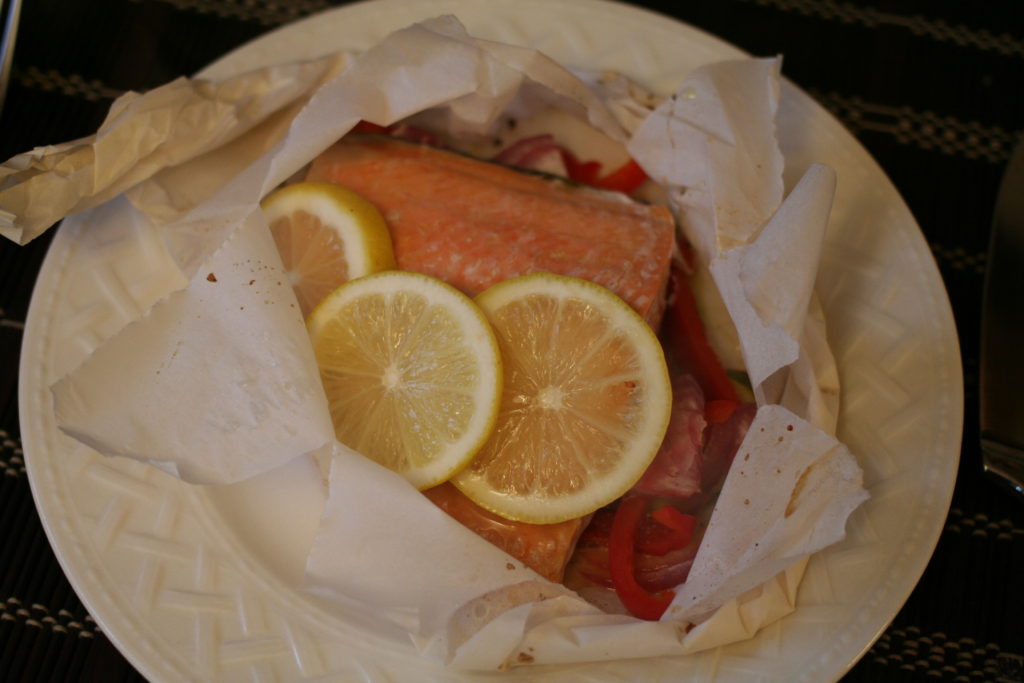
Cut open parchment paper (don't get burned by the steam!) and serve!
Notes
You can also do the same thing the BBQ. Simply use tin foil (don't worry about the heart/rolling method - just make sure to secure the tin foil tightly) and BBQ at medium high heat for 10 minutes.
Scale up for the number of meals you need!
For AIP friendly, omit the red peppers. Sub in yellow squash or bok choy.
By Amanda Naturally
Amanda Naturally http://www.amandanaturally.com/
Directions in Pictures!
1. Preheat oven to 400F. Cut a piece of parchment paper into a heart shape, folded in half.
2. Drizzle a little olive oil under where the salmon will go. Top with zucchini, then onions & peppers.
3. Place salmon on top of veggies. Drizzle with olive oil, squeeze a bit of lemon on top and season with sea salt.
4. Starting at the furthest point away from the point/bottom of the heart, start rolling the edges together, moving all the way to the point. Bake for 10 minutes.
5. Cut open parchment paper (don’t get burned by the steam!) and serve!

 Fermented foods are a staple in every single traditional culture, and their absence in the typical North American Diet, is likely a major contributor to poor health. I’ve written about gut heath and fermented foods many times on this blog already, so feel free to check out those posts:
 Yogurt is one of the foods I miss the most, since having to avoid dairy. Unfortunately there are no good alternatives out there. And while there are some expensive cultured almond or coconut snacks available, they are filled with stabilizers, gums and other weird ingredients – so I don’t touch them. Not to mention they’re always super low fat, so what’s the point? I had resigned myself to not having any yogurt ever again, until I got an
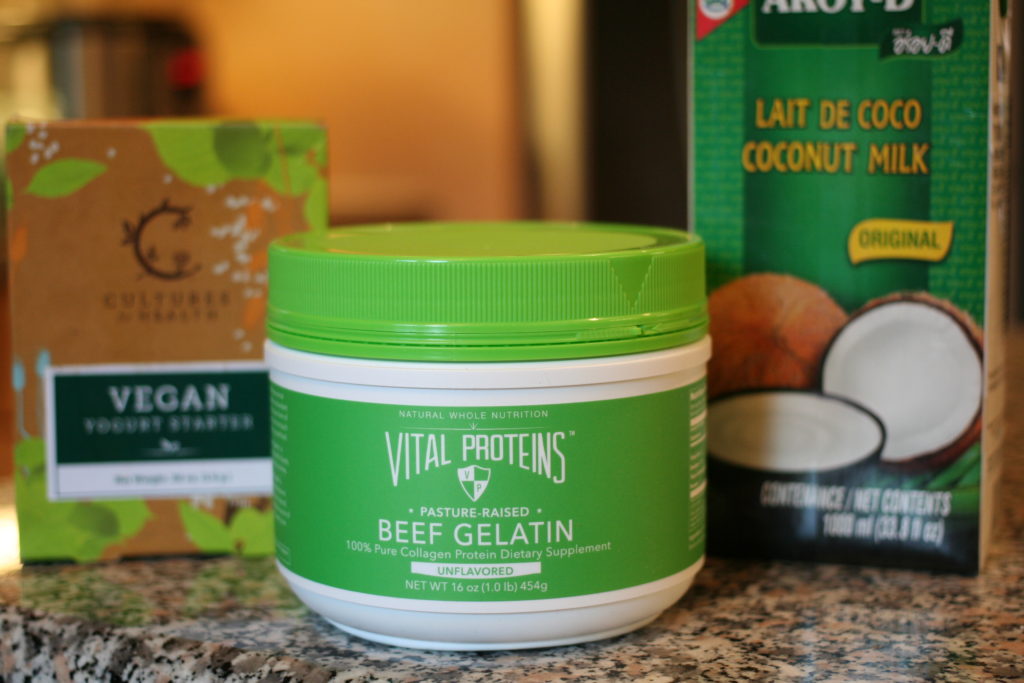
 This recipe sounds fancy. It looks fancy. It tastes fancy. But it’s so darn easy. Which is amazing, since over or under cooking fish is the worst!!