Category Archives: Kitchen Tutorials

Helping you navigate cooking and creating healthy habits in the kitchen!

Squash Tutorial

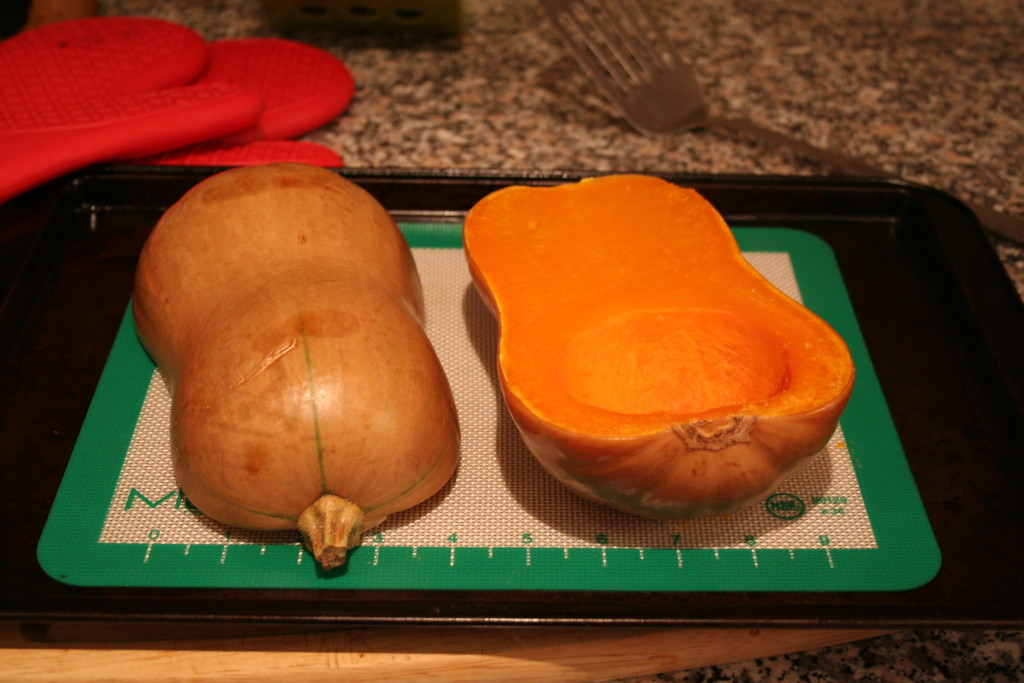
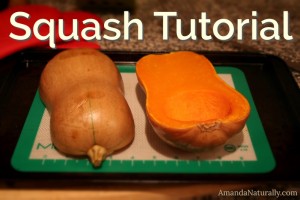
Squash Tutorial | AmandaNaturally.comWith yesterday being the first day of October, I thought it would be timely to post a simple tutorial for cooking squash! Winter squashes of all varieties are one of my favourite foods, which is interesting because they literally made me gag as a kid – I wouldn’t even carry the squash dish to the Thanksgiving table. There are so many varieties of squash, each with their own flavour profile, all of which are packed with nutrients. High fibre, lower in carbs than the typical starchy veg (if that’s important for you) and containing powerful antioxidant carotenoids (eg. lutein, zeaxanthin, beta-cryptoxanthin), they are a great food to consume on the regular. 

However squash does come with one downside. They’re hella hard to get into! For anyone who has attempted to cut into a large butternut squash, you know the feeling of hoping you don’t lose a finger! For anyone who hasn’t attempted, I can see why you’re waiting. Well fear no more! This here is my technique that I use to preserve all of my fingers. It has worked on every type of squash I’ve tried it with – butternut, acorn, pumpkin, kabocha, buttercup, spaghetti and other varieties I scored at farmer’s markets or in my food bin that I have no idea what they actually were!

Squash Tutorial

1. Place the entire squash in your oven.
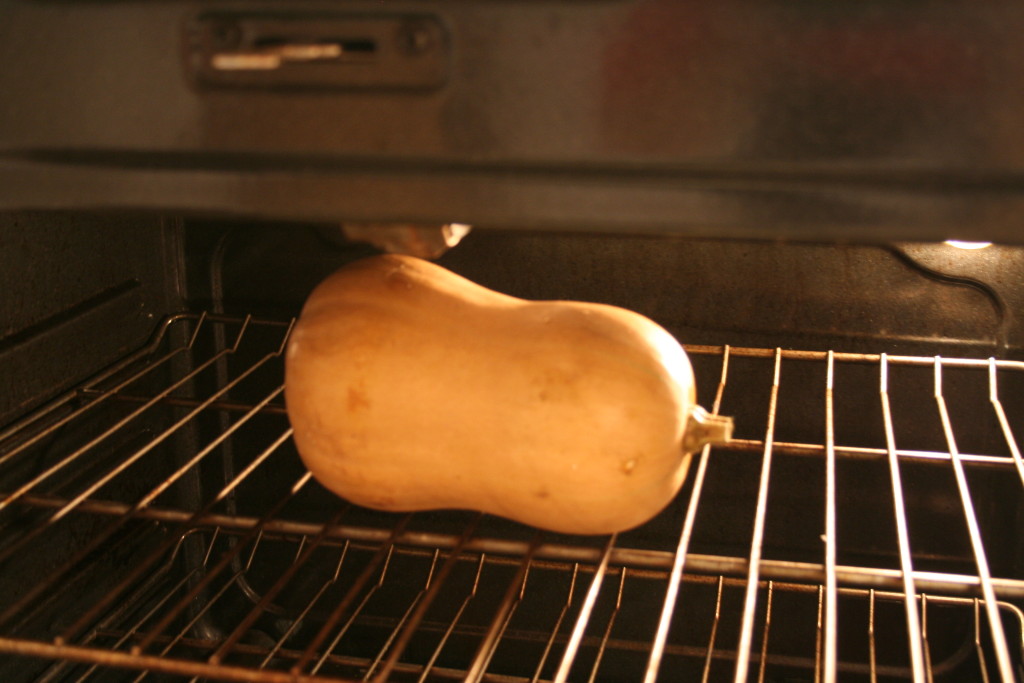
2. Close oven door, preheat oven to 400F and set the timer for 25 minutes. No need to poke holes or check on it – it won’t explode!

3. After 25 minutes, you should be able to cut into the squash much more easily than if it was raw. However, it’s not cooked too much that you lose the flesh when scooping out the seeds. Scoop out the seeds and if you want to cube it, do so now. The skin should come off easily with a vegetable peeler or a sharp knife, and cubing the squash should be quite easy because it’s partially cooked! If you don’t want to cube it, go to the next step.
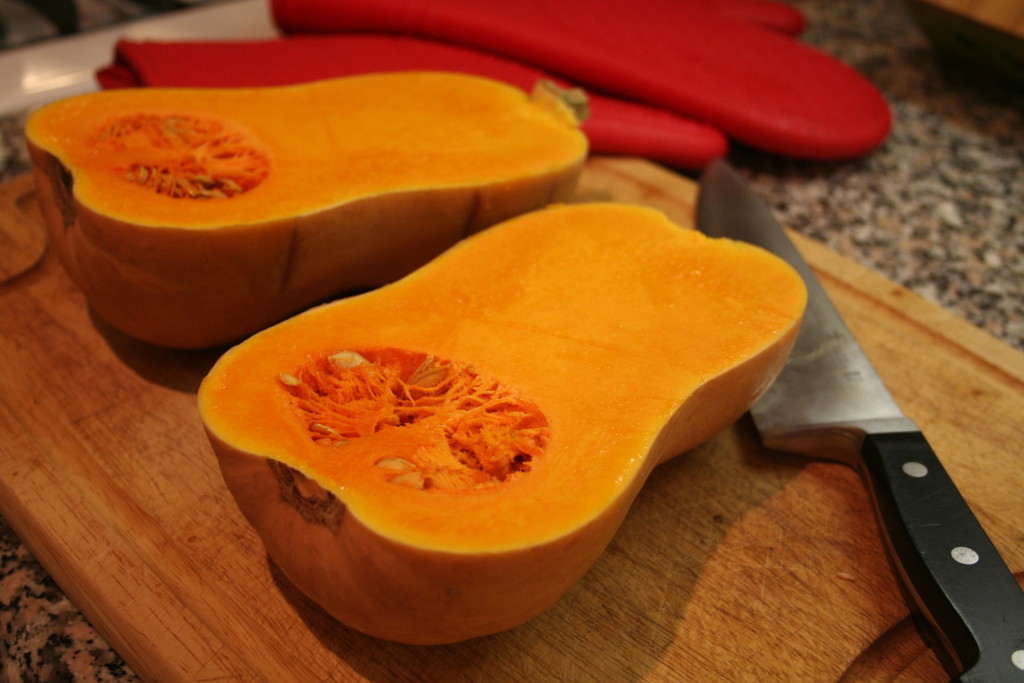
4. Place face down on a baking sheet and return to the oven for another 20-30 minutes, depending on the size of the squash. Start checking at 20 minutes to see if the flesh gives to pressure.
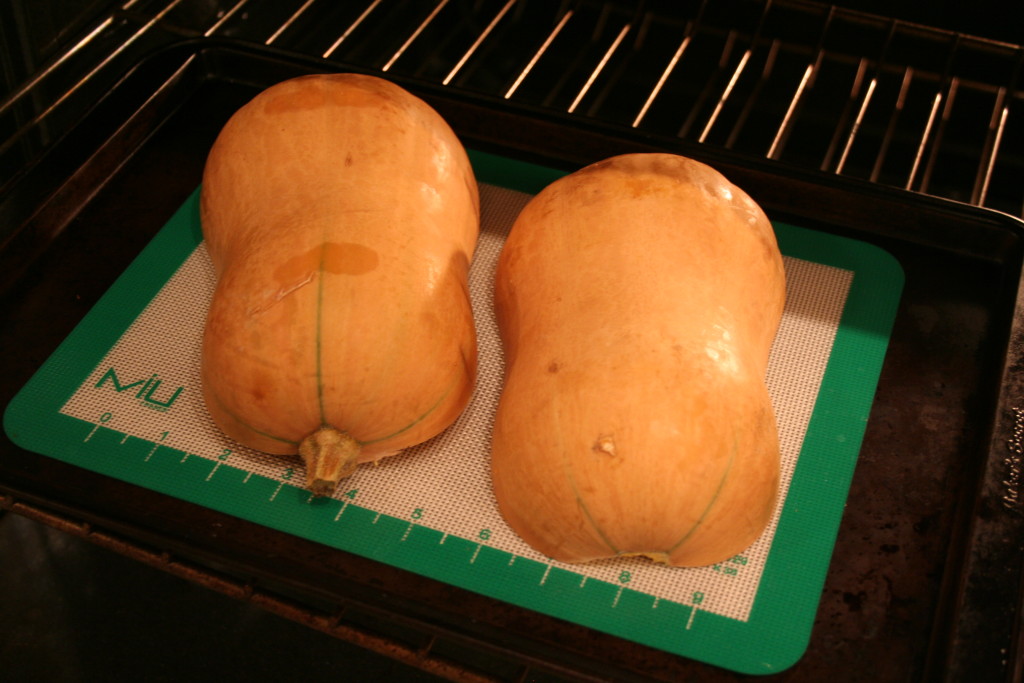
5. When the squash is done to your liking, remove it from the oven. See the beautiful orange colour it turned? At this point, do what you like with it! Turn it into a roasted Butternut Squash Soup; stuff it with ground meat and cauli-rice; shred it (if it’s spaghetti squash) and top with bolognese or toss with sausage and mushrooms; or simply mash with some ghee, butter or coconut oil and season with sea salt (add extra flavour by adding maple syrup and orange juice – that’s a secret family recipe btw).


UPDATE: If you have an Instant Pot, you can cook a squash WAY faster. However, it won’t have that caramelized, roasted taste. It’s fabulous for soups and spaghetti squash though! Here’s how:

  1. Slice squash in half, remove the seeds.
  2. Place trivet in the bottom of the Instant Pot. Add 1 cup of water.
  3. Place squash on top of trivet.
  4. Close lid. Set to “Manual” for 5 minutes (for spaghetti, acorn… for a large butternut, you might need to do 7 minutes).
  5. Use the “Quick Release” method when the 5 minutes is up!

I hope you find this tutorial beneficial!

Guacamole Recipe + Avocado Tutorial

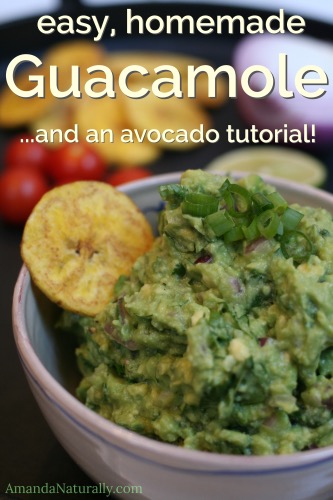
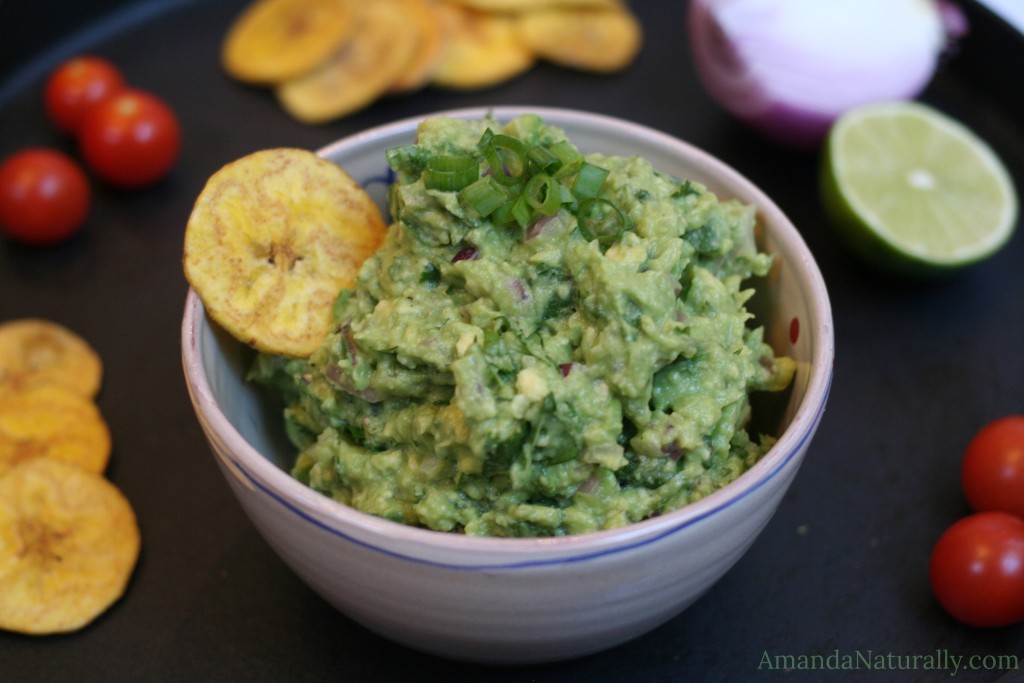
Guacamole & Avocado Tutorial | AmandaNaturally.comAvocado’s are the best. They are jam-packed with nutrients, fibre and healthy fat. And they’re freakin delicious too!!! Adding half an avocado to your eggs, salad, or burgers, is the perfect way to not only get in some additional nutrition, but to make sure your meal will be filling for hours. Also, please note that the fat/calorie content of the avocado is not to be feared. The era of “1/8th avocado per day” is long gone. Avocados are not going to jack up your cholesterol. They’re not going to make you gain weight (unless you go bananas on them, but that can happen with any food) – I regularly eat 2-3 halves/day, often more if I’m hungry. Enjoy this yummy food free of worry forever and ever! 

A lot of people are a little nervous the first time they buy an avocado. That’s totally normal. It’s a weird little fruit that requires a few tricks to peel/open it and not destroy it in the process. This article is designed to help de-mistify the avocado and teach you how to make the food that avocado shines in…guacamole!

Step 1 – Determining if Your Avocado is Ripe!

Okay so this is probably the trickiest part of the whole process and it is pretty important. Once you cut into that avocado, it will no longer ripen. If you open it up and it’s really tough inside, there’s nothing you can do but toss it. So how do you determine if your avocado is ripe? I personally use the squeeze test: 

Not Ripe: avocado is hard as a rock and bright green

Almost Ripe: avocado gives slightly when you squeeze it, but still fairly hard

Salad Ripe:  avocado gives when you squeeze it and leaves a slight indent. Perfect for salads and burger toppings.

Guac Ripe: avocado easily gives when you squeeze it and stays indented. Fabulous for guacamole, and still totally great on salads and burgers!

Over Ripe: avocado is black; you squeeze and it easily gives way to the pit inside; the inside feels like liquid; or there’s mould on it.

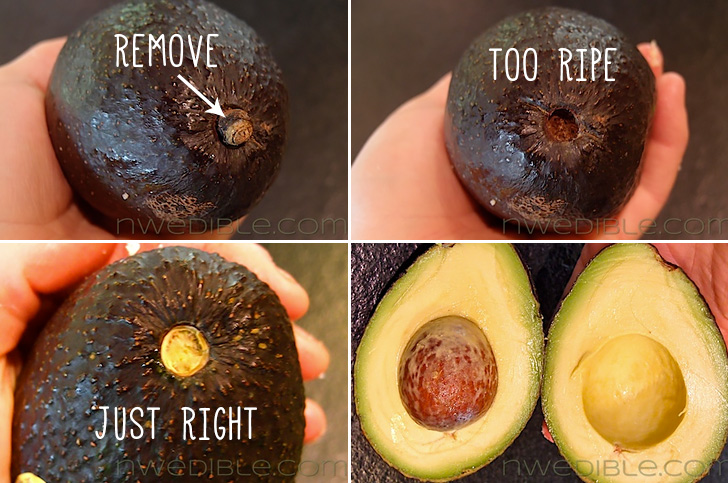
The more you use the squeeze test, the better you’ll become at determining if the avocado is ready to go or not! However, if that’s a little too subjective for you, I recently saw this neat trick floating around Facebook. Originally from Northwest Edible Life – this photo shows how removing the stem will tell you if the avocado is ripe or past its prime:

Step 2 – Storing Your Avocados

If your avocados are hard as rock, store them on the counter for a few days to let them ripen. Speed ripening by keeping them near other fruit such as bananas and apples. (Warning: this will also ripen the fruit faster!)

If your avocados are perfectly ripe, or when they reach that desired ripeness on your counter, move them to the fridge. You get a few extra days out of them this way – unless of course you want to eat them all at once! I find if I move the avocados to the fridge as soon as they hit the “salad ripeness” (ie. as soon as they give a bit under pressure), they last a good week before they move into that over-ripe zone.

Step 3 – Opening Up The Darn Thing

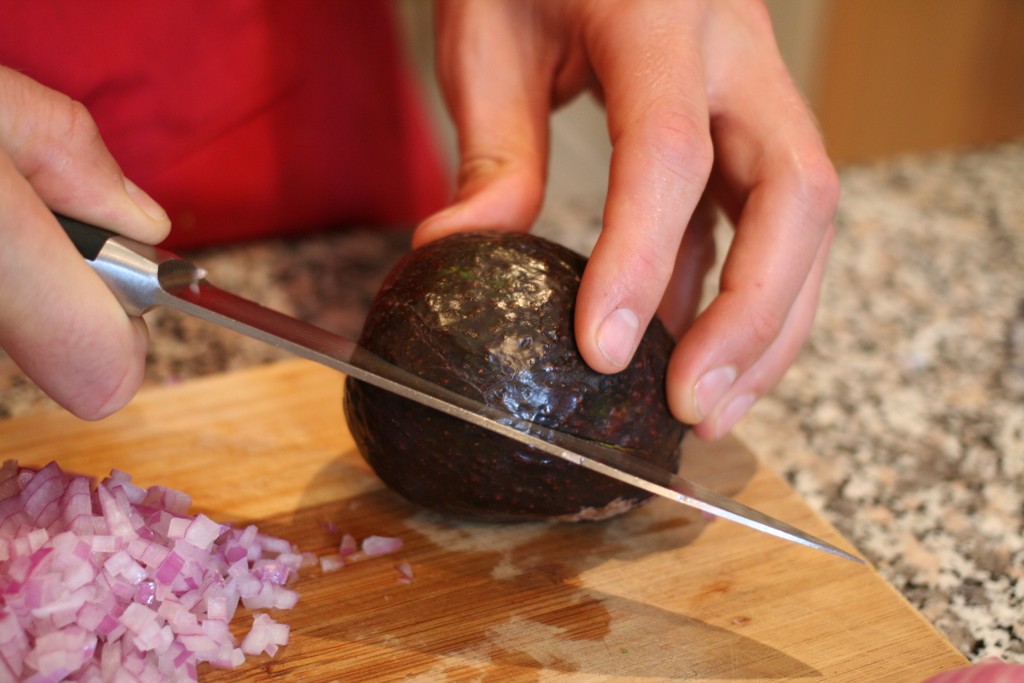
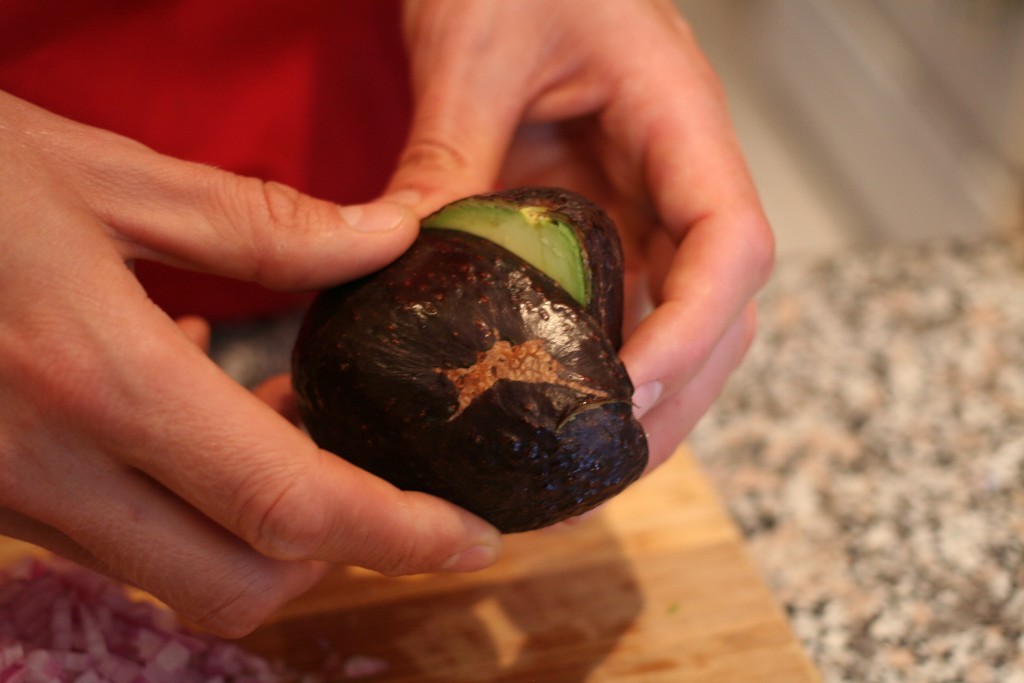
1. Using a sharp knife, cut into the avocado, lengthwise. The pit will stop you from going further. Rotate the knife all the way around the pit.
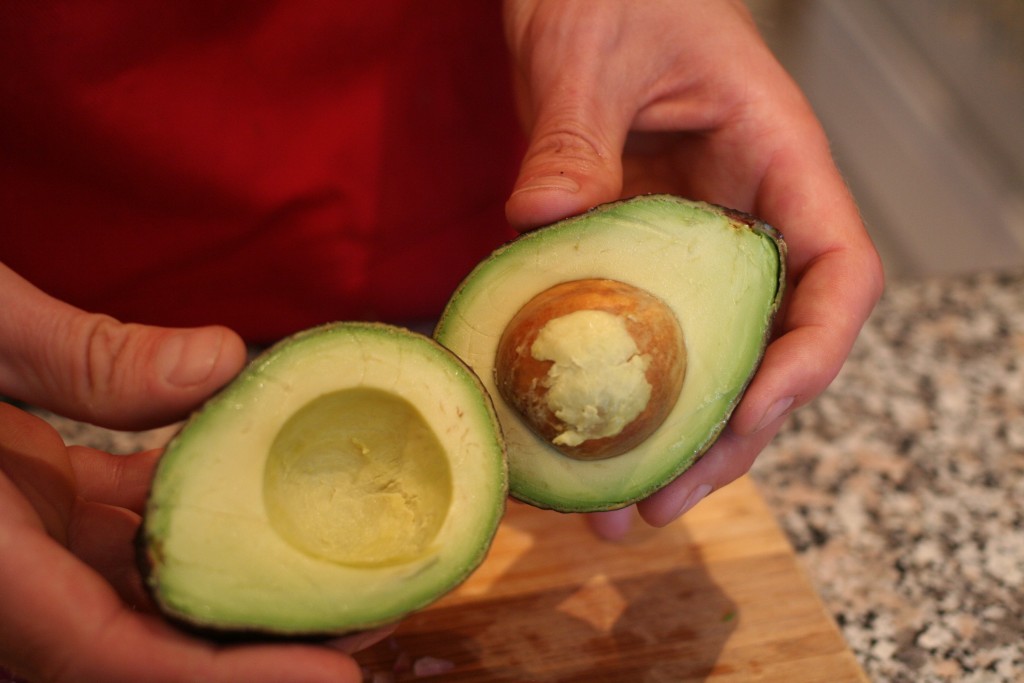
2. Twist the 2 halves in opposite directions.
The pit will stay in one half. If you are only eating half, choose the one without the pit. Store the half with the pit still in it, in the fridge. This will prevent it from browning.
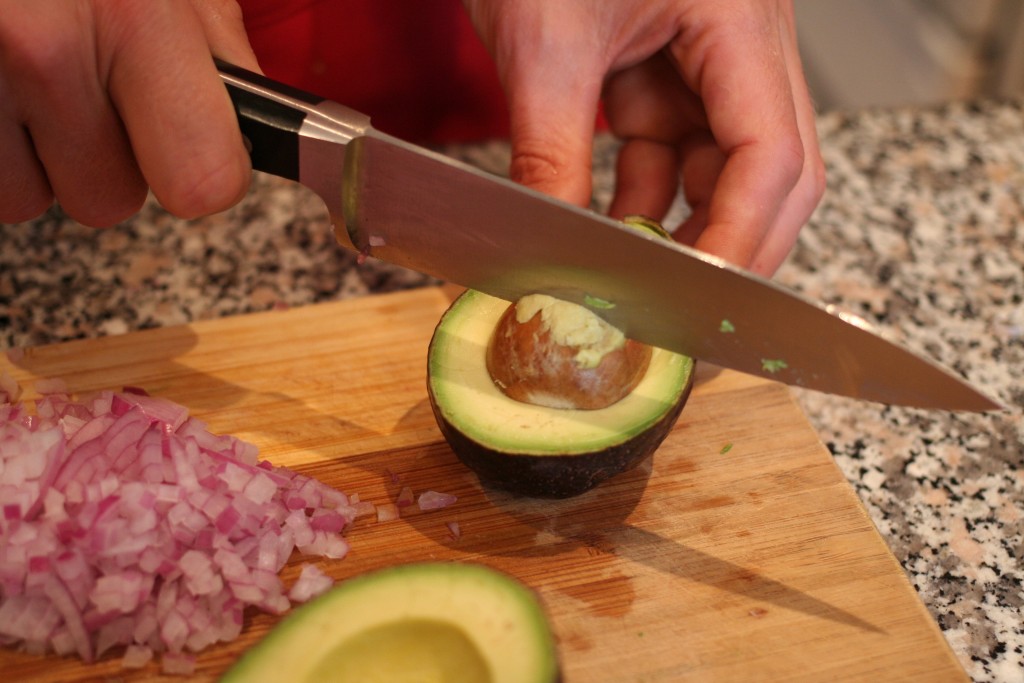
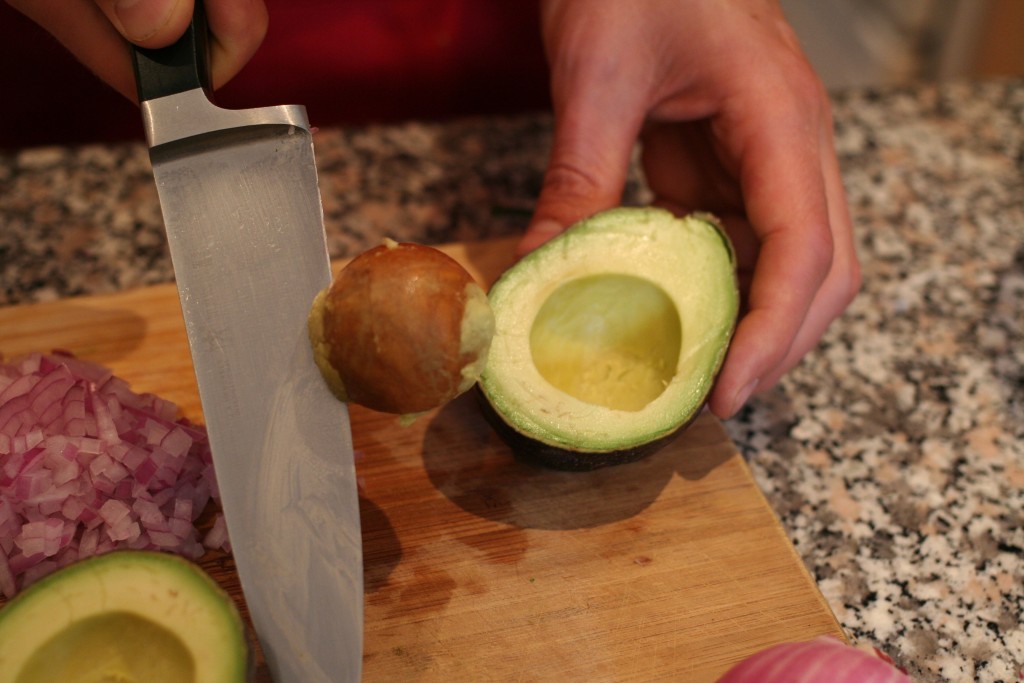
3. Using a chef’s knife, sharply strike the pit with the sharp side of the knife. The knife should stick into the pit.
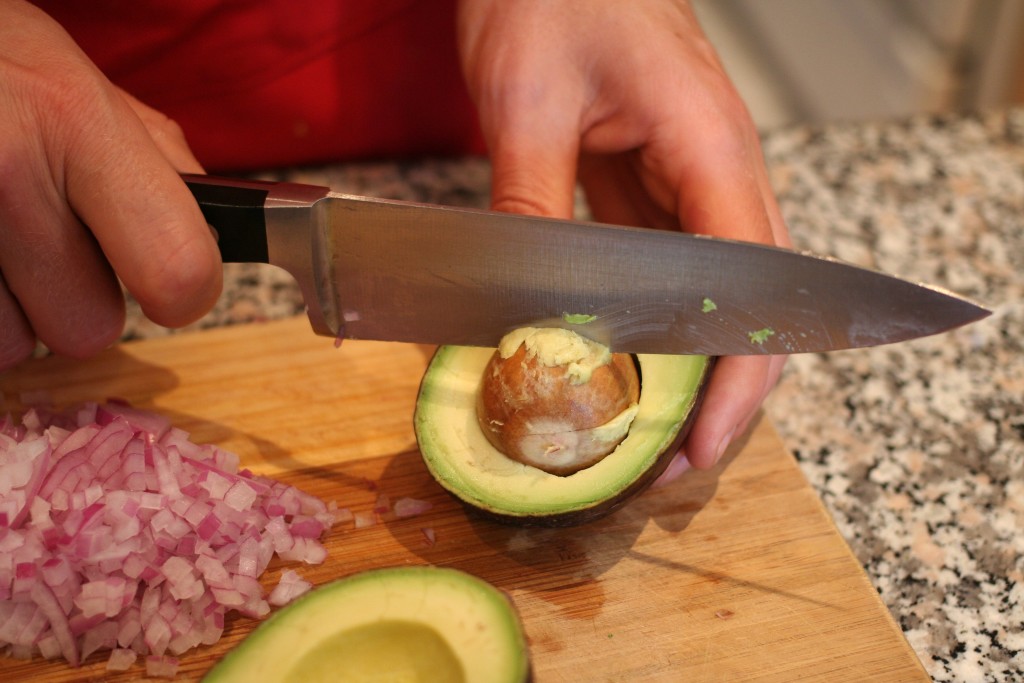
4. Hold the avocado steady and twist the knife (as it’s attached to the pit).
Voila!


Step 4 – Making Guacamole

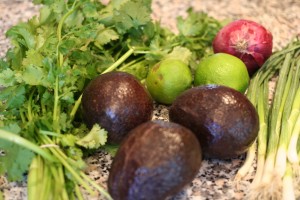
Ingredients:Guacamole & Avocado Tutorial | AmandaNaturally.com

  • 3 ripe avocados 
  • ½ red onion (or 1 small onion)
  • juice of 2 limes
  • 1 cup loosely-packed cilantro
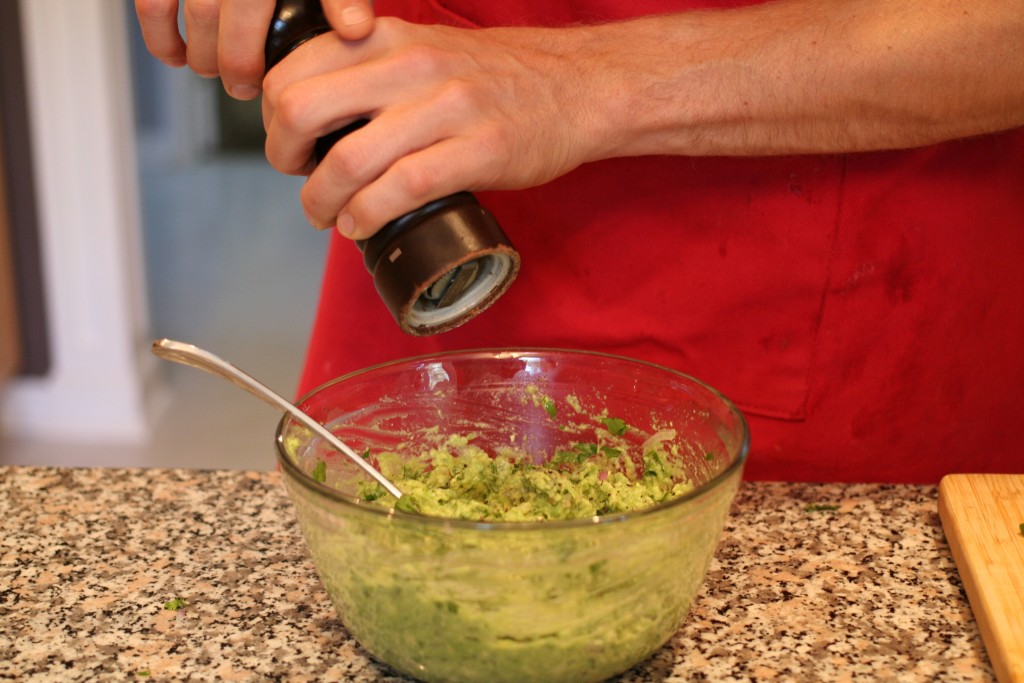
  • sea salt, to taste
  • green onion to garnish (optional)

Directions:

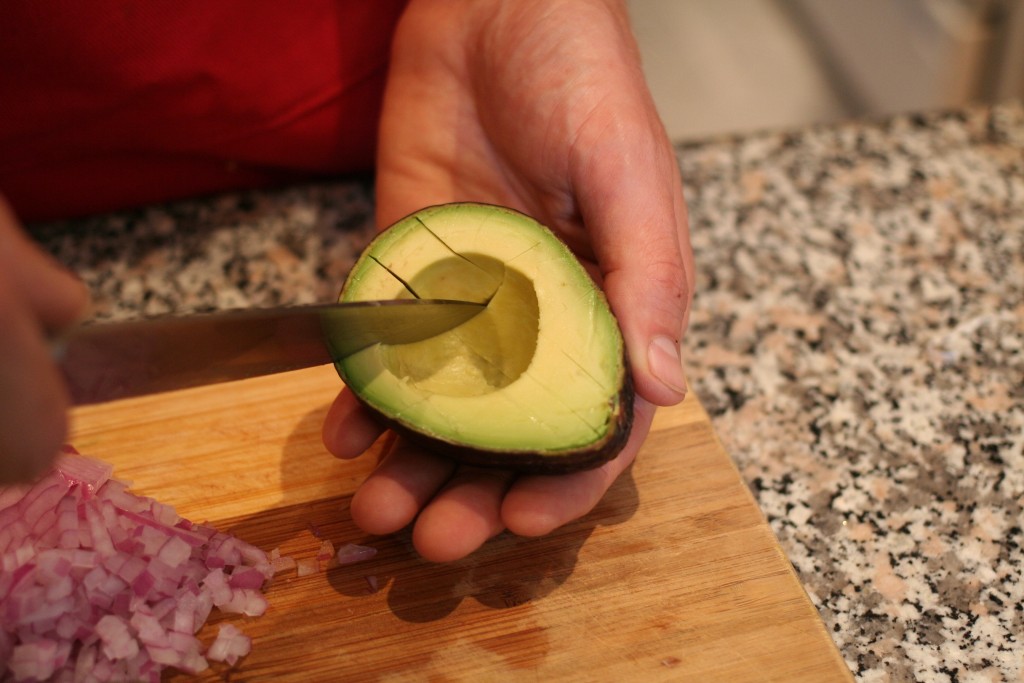
1. Cut open avocados. Slice avocado horizontally and vertically (a.k.a. make a grid with the knife).

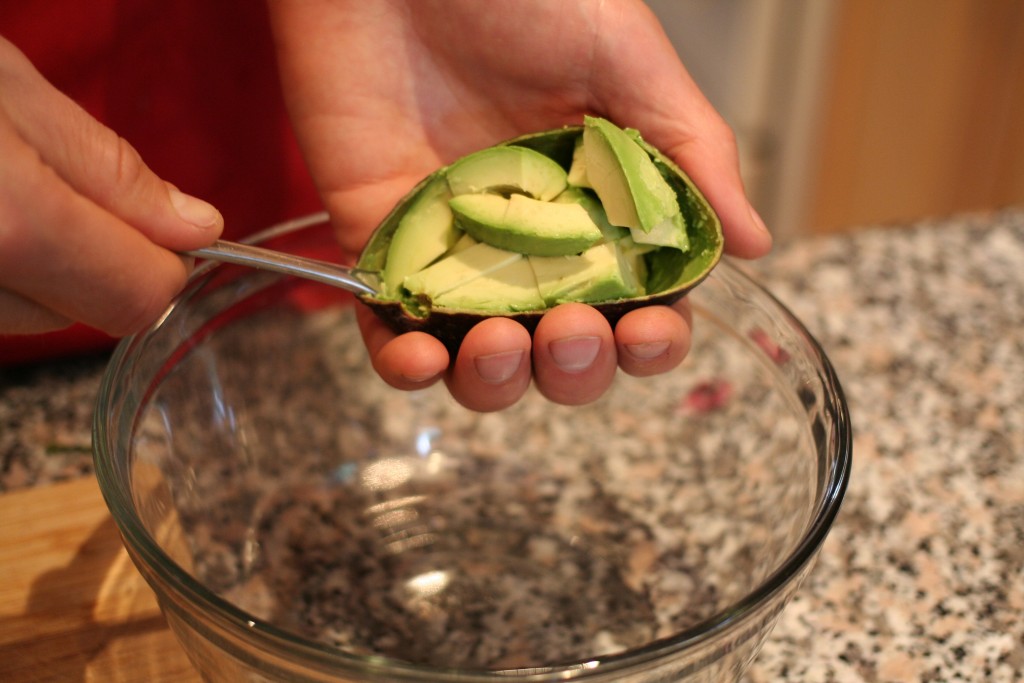
2. Use a spoon to scoop out the avocado into a bowl.

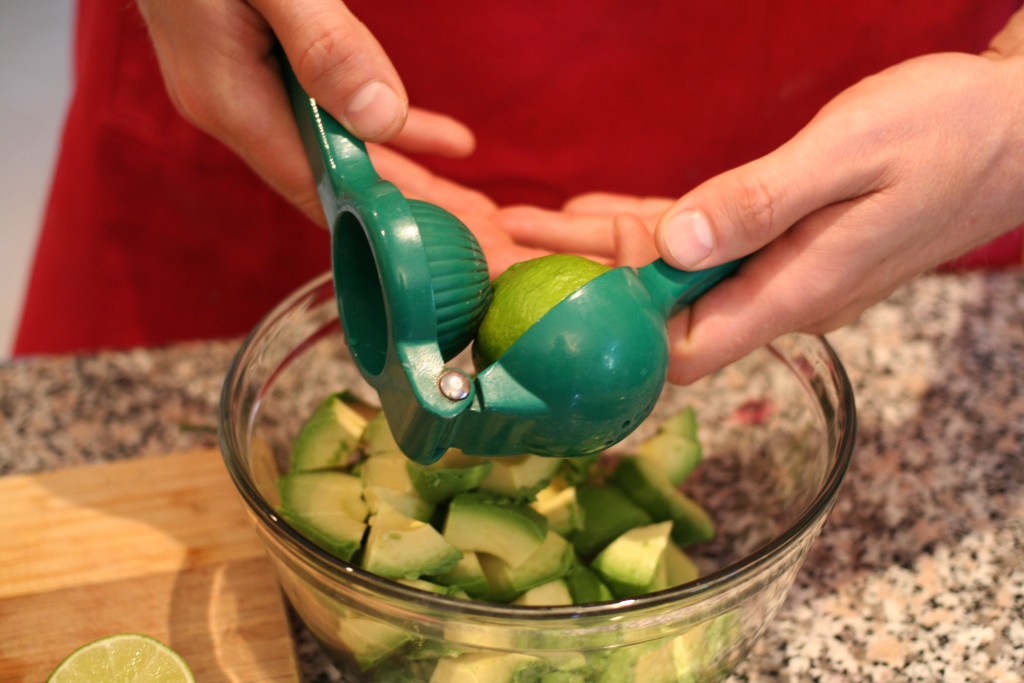
3. Juice 2 limes and add to the bowl.

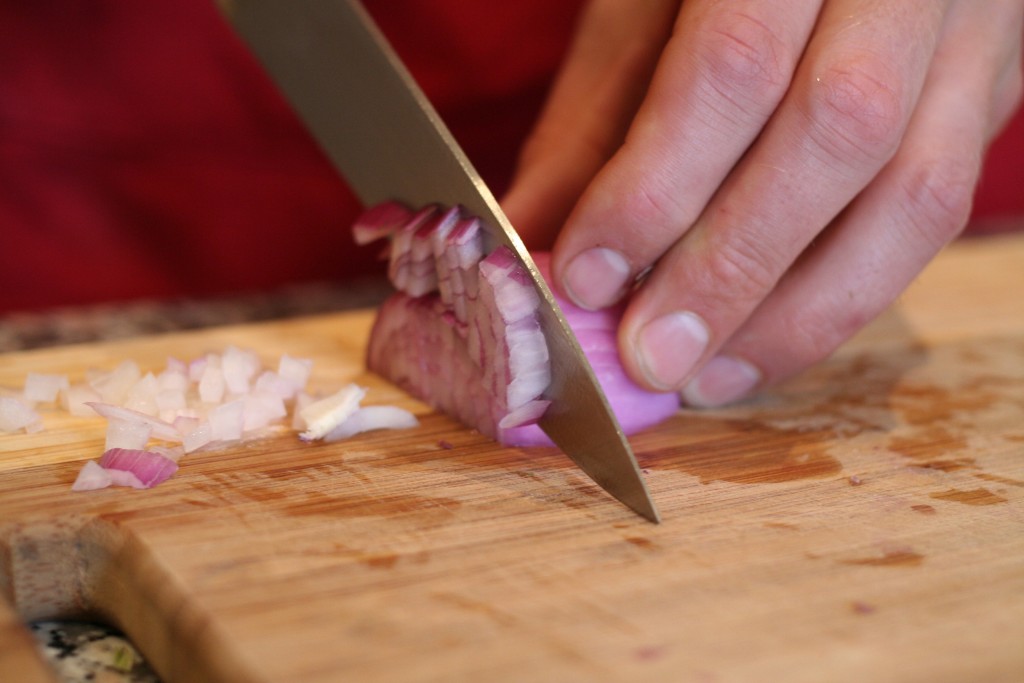
4. Dice red onion finely and add to the bowl.

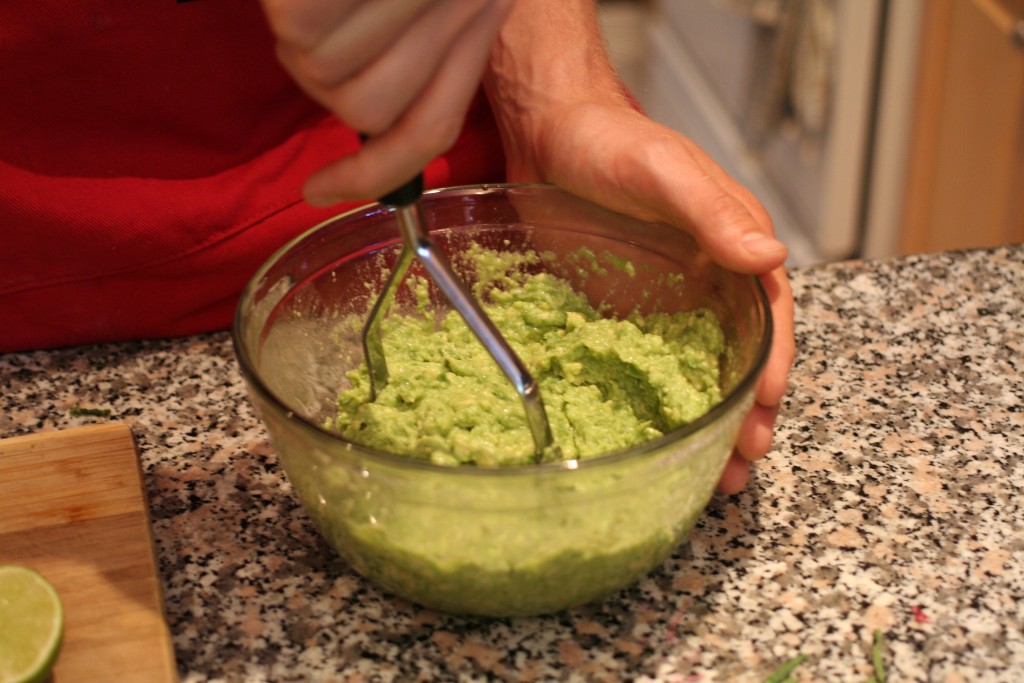
5. Season with a bit of sea salt and mash away! I use a potato masher, but a fork or meat tenderizer both work fine.

6. Taste and season with more sea salt, or add additional lime juice, based on you preference. Top with green onion if desired and enjoy! My personal preference is to enjoy guac with plantain chips or clean potato chips. The hubby loves it on organic blue corn chips!

GUAC HACK: If you’re making guacamole in advance and you don’t want it to turn brown, there are 3 tricks you can use:

  1. Cover with lime juice (downside: much more lime flavour)
  2. Place saran wrap directly on the guac so no air can get in (downside: plastic, waste)
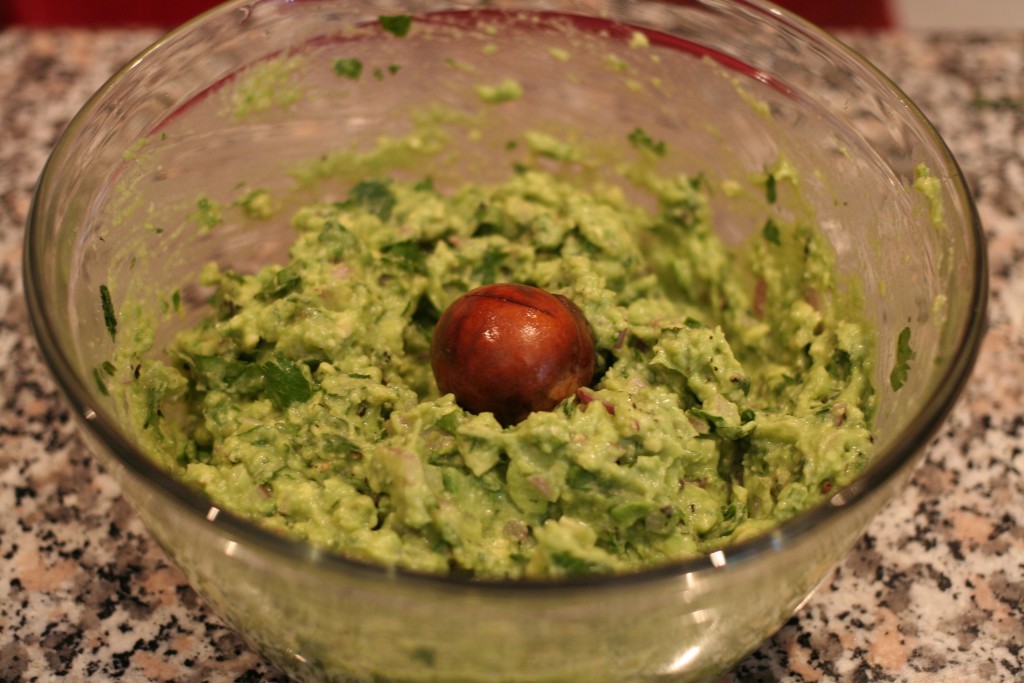
  3. Place the pits of the avocados in the bottom of the bowl, right in the guacamole. I learned this trick from a dear friend of mine who’s Argentinian and says that’s the only way to do it. This is what I do now!


So tell me – what’s your favourite way to enjoy guacamole??

Homemade Salad Dressings – a DIY Tutorial and a Recipe Round Up!

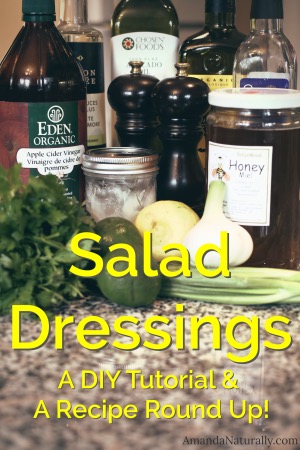
Salad Dressings | DIY Tutorial | Recipe Round Up | AmandaNaturally.comOne of the processed foods I really caution my clients against is pre-made salad dressings. The reason for this is multi-factorial:
  • The oil is always a vegetable oil. Even if it says “made with olive oil”. Check the ingredients list, olive oil will be listed after an industrial seed oil such as canola or soybean. This is true even for the “healthy” or “organic” salad dressings. I don’t care of canola oil is organic, it is still not suitable for human consumption, since it is an unstable, damaged oil that causes high levels of inflammation and free radicals in the body.
  • It always contains at least one form of sugar, and often as many as 4 or 5. Sugar, brown rice syrup, brown rice syrup solids, corn syrup, honey, fruit concentrates, barley malt syrup or just malt syrup (note: also gluten), dextrose, maltodextrin… why so many types? Because ingredients are listed in order of highest amount to lowest. Better to list 5 low amounts of sugar, which show up at the end the list, than use just one type and have it be the first ingredient.
  • It is thickened and stabilized with fake foods. Things like xantham gum and maltodextrin (derived from GMO corn).
  • Weird ingredients are added for flavour and texture. Things like autolyzed yeast extract, corn syrup and caramel colour pop up regularly.
  • Natural flavour (which is just chemically synthesized from real food, often GMO foods) and artificial flavours are common ingredients.
  • They are notorious for containing major allergens – specifically dairy, corn, gluten, soy and egg.

I hate to break it to you, but store-bought salad dressings are simply sugary, chemical-filled, inflammatory flavour boosters. So you can see why I take all of my clients off it right? Interestingly, it’s something that I get a lot of resistance to. For some reason people are scared to make their own salad dressings, or they have no idea where to start. Little do they know that it’s super easy and way less expensive too!

Real salad dressing, made with real ingredients, are not only more delicious than these junky store-bought ones, but can have major health benefits as well! By using quality, nourishing oils and natural ingredients such as vinegars, herbs and spices, you can enjoy your salad for both the flavour and the nutrition it’s providing you. And you don’t have to do that silly old “diet trick” of dipping your fork into the salad dressing first before spearing some salad, so you get the taste without all the calories. With real salad dressing you’re going to want those calories because they contain all sorts of awesome nutrition and/or they help deliver the nutrition found in vegetables to your body.

So, how do you make your own salad dressing? It’s a lot easier than you think it is, I promise. Here’s how.


Homemade Salad Dressings

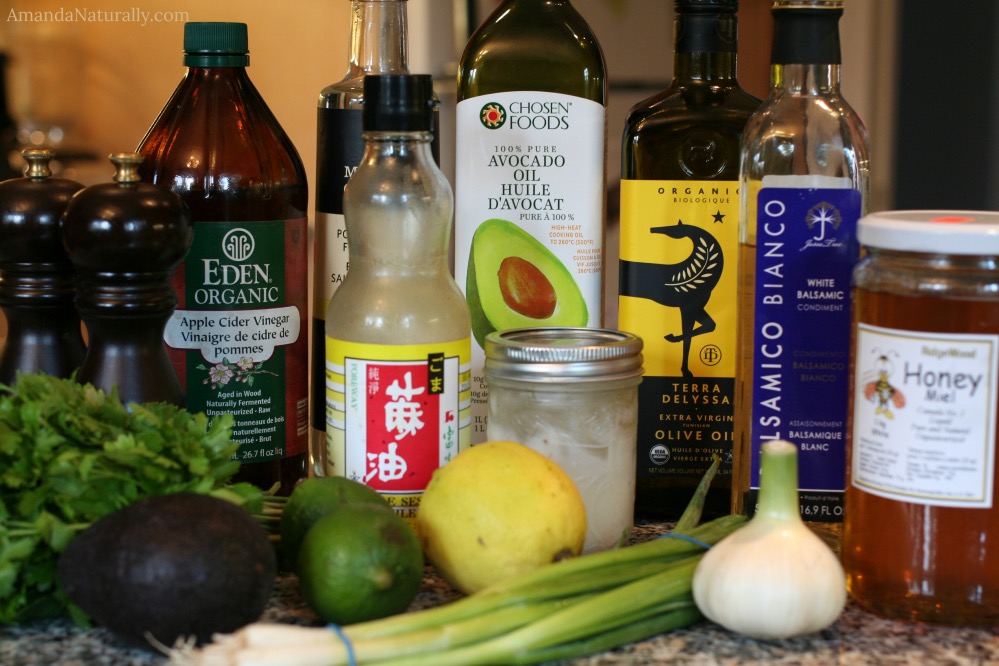
Choose 1 or 2 from each list:

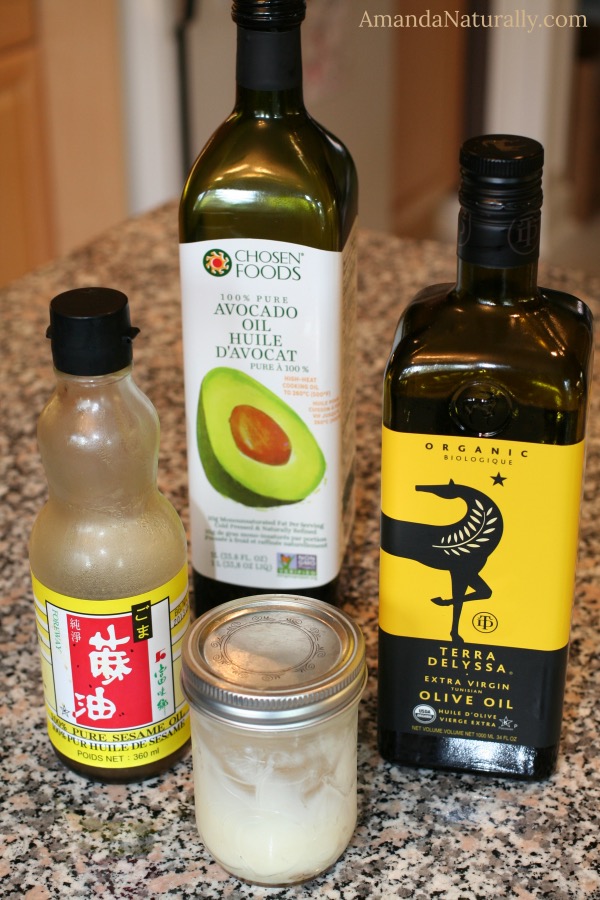
Nourishing OilsSalad Dressings | DIY Tutorial | Recipe Round Up | AmandaNaturally.com

  • olive oil
  • avocado oil
  • MCT oil
  • bacon fat
  • sesame oil

Acid

  • vinegar (apple cider, balsamic, white wine, red wine, raspberry wine, champagne etc.)
  • citrus (lemon, lime, orange, grapefruit)
  • pineapple juice

Flavour

  • sea salt (always include this!)
  • herbs such as cilantro, parsley, dill, oregano, basil, thyme, mint, tarragon (herbs can be fresh or dry)
  • spices such as cumin, chili, garlic powder, onion powder, turmeric, black pepper, paprika, coriander, mustard powder, ginger (omit nightshades and seed-based spices if AIP)
  • aromatic vegetables such as minced garlic, diced onion/shallot/chives
  • other flavours like anchovies (caesar), nutritional yeast (vegan/paleo cheesy flavour), tamari sauce or soy-free coconut seasoning (aka coconut aminos in the USA), citrus zest

Optional Add-Ins

  • mustard or egg yolk, for flavour and as an emulsifier
  • homemade mayonnaise or ripe avocado for a creamy consistency
  • mashed raspberries or strawberries (fresh, or thawed from frozen) or a bit of organic jam
  • raw honey, real maple syrup or pomegranate molasses to add a bit of sweetness


Directions for Making Salad Dressing

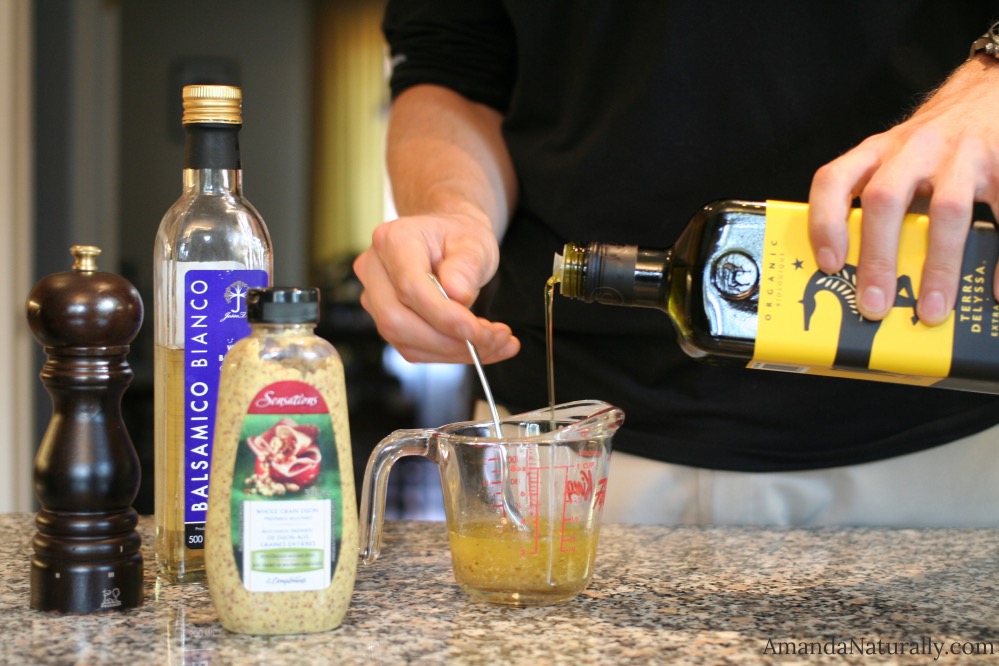
  1. In a measuring cup, glass or small bowl, whisk together all of your ingredients except the oil. This might just be your acid and spices, or it might include mayo, egg yolk, mustard, honey etc.
  2. Whisk until thoroughly combined.
  3. Slowly drizzle in oil of choice, until the desired flavour and consistency is achieved.
  4. Tweak ingredients as needed – add more salt, vinegar, spices etc. until your dressing tastes 

Additional Tips

  • When it comes to the ratio of acid to vinegar, it really is a personal choice. I recommend starting at a 1:1 ratio, and tweaking it based on your palate.
  • If you want it creamy, but don’t want to use avocado/mayo, use a small food processor or immersion blender instead. Combine all ingredients and blend well. Drizzle in oil while blending to achieve a creamier consistency.
  • Keep it simple! Start with one oil, one vinegar/citrus, sea salt and one or two herbs. Make the dressing and taste it. Do you like it? Why or why not? Too simple, add more spices. Too vinegary but you can already taste the oil? Maybe add some mustard, honey or fruit. Play around!
  • Keep the volume of each ingredient small when you first start out so you can toss creations that go awry. You will be more likely to be creative and adventurous, if you aren’t stressed about wasting 2 cups of oil!


My Favourite Salad Dressings

Balsamic Vinaigrette

  • ¼ cup balsamic vinegar
  • 1 tsp dijon mustard
  • sea salt
  • black pepper
  • ¼ cup olive oil, whisked in at the end

Raspberry Vinaigrette

  • 2 tbsp mashed raspberries
  • ¼ cup white wine vinegar
  • pinch of sea salt
  • 1 tsp raw honey
  • ¼ cup olive oil, whisked in at the end

Chili Lime Vinaigrette

  • 3 tbsp lime juice
  • ½ tsp chili powder
  • ½ tsp cumin
  • pinch of sea salt
  • ¼ cup avocado oil, whisked in at the end


Salad Dressing Round Up

Sweet Kale Salad (copycat of the beloved Costco salad!) from Paleo Parents

Ranch from The Clothes Make the Girl

Ranch, nightshade free from Planks, Love and Guacamole

Ranch, AIP friendly from He Won’t Know It’s Paleo

Caesar from Primal Palate

Bacon Caesar from The Healthy Foodie

Honey Mustard The Ancestral Chef

French Tarragon Shallot from Cali Zona

Classic Greek from Detoxinista

Creamy Avocado from Tasty Yummies

Maple Mustard from Jay Bird Blog

Creamy Poppyseed from Living Loving Paleo

Italian from Paleo Cupboard

Sesame Ginger from Primal Palate

Orange Vinaigrette from Primal Palate

Chimichurri from Primal Palate

Pineapple Balsamic from Barefeet In The Kitchen


So am I missing a DIY version of your favourite dressing on this list? Let me know in the comments below and I’ll be sure to find a great homemade alternative for you!!

Copyright 2014 Amanda Naturally | Design by The Nectar Collective