As someone who never liked mayonnaise growing up, coleslaw was something that I avoided pretty passionately. I was even that weird kid who loved salads and veggies – but the mayo killed coleslaw for me. Then one day, a few years ago, I received a cabbage in our weekly veggie bin. So I hopped on the google, searched for “healthy coleslaw” and lo and behold, a vinaigrette version popped up! I made it and it was delicious. I was super jazzed to have a way of eating cabbage that I actually enjoyed.
So what’s the deal with cabbage anyway? Why am I so adamant about getting it into my diet? It’s because cabbage, along with other cruciferous veggies (kale, chard, collards, brussel sprouts, broccoli, cauliflower, bok choy), are nutritional powerhouses. Here are some of their health benefits:
- very high in the sulfurous compound, glucosinolate, which is metabolized by the body into potent antioxidants isothiocyanate and thiocyanate.
- isothiocyanates have also been shown to be effective in protecting against cancer, specifically breast, colon, cervical and prostate.
- help the body excrete excess estrogens (this is particularly helpful for someone coming off of birth control, or anyone who has estrogen dominance. Also a good idea for everyone, because many of the chemicals we are exposed to daily, from plastics to fragrances to pesticides, are xeno-estrogens, which means they mimic estrogen in our body) (additional source)
- contains sulforaphane which may reduce hypertension and improve kidney function
- packed with nutrients – vitamins, minerals, phytonutrients, fibre
- contains indole-3-carbinol which supports phase 2 liver detoxification, phase 1 is also supported via the sulforaphane content. This balance is important because many “liver supporters” only up regulate phase I. Phase 1 often turns chemicals into more toxic substrates, before phase 2 neutralizes them. Only supporting phase 1 liver detox can result in nasty symptoms. (Note: supporting phase 1 and 2 liver detoxification is real detox, not juice-cleansing, cayenne shooters, no protein “detox” – that’s a load of crap.)

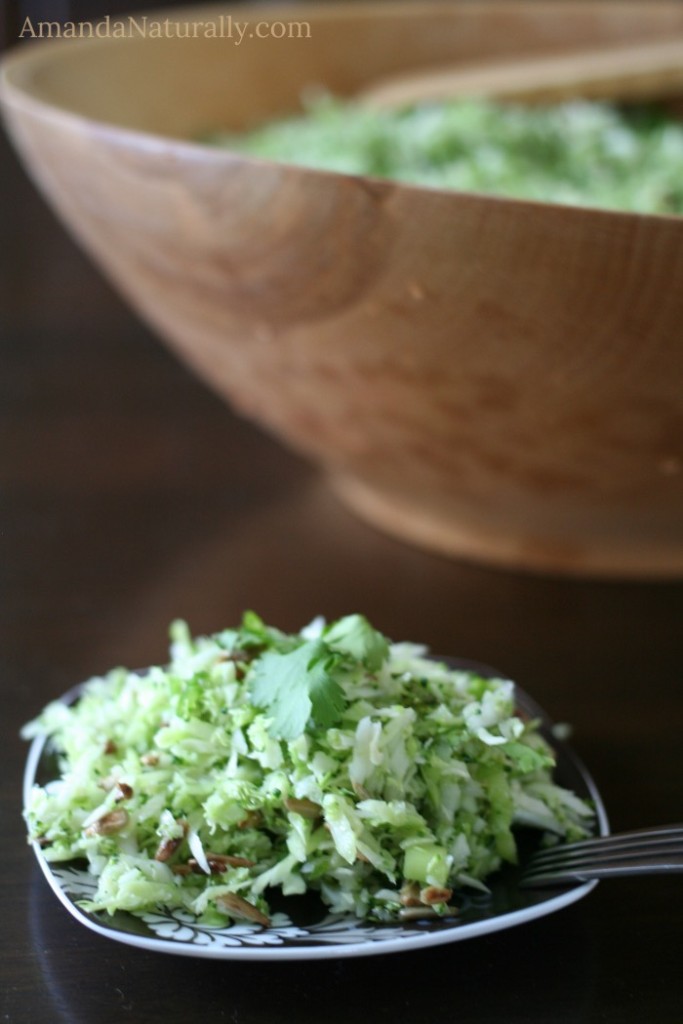
Another reason for consuming cabbage is it’s inexpensive, it makes a large quantity and it’s on the Clean Fifteen list so it doesn’t need to be organic. Also, unlike regular salad, when you turn it into coleslaw, it gets better the longer it sits in the fridge!! This Simple Coleslaw with a Lime Vinaigrette is my go-to in the summer – for potlucks to BBQs to a simple lunch paired with a few hard boiled eggs on a hot day. There’s a lot of flexibility with the ingredients too!
NOTE: Having a food processor with a shredder attachment is incredibly useful for making slaw. However, you can chop the cabbage up old school with a knife!
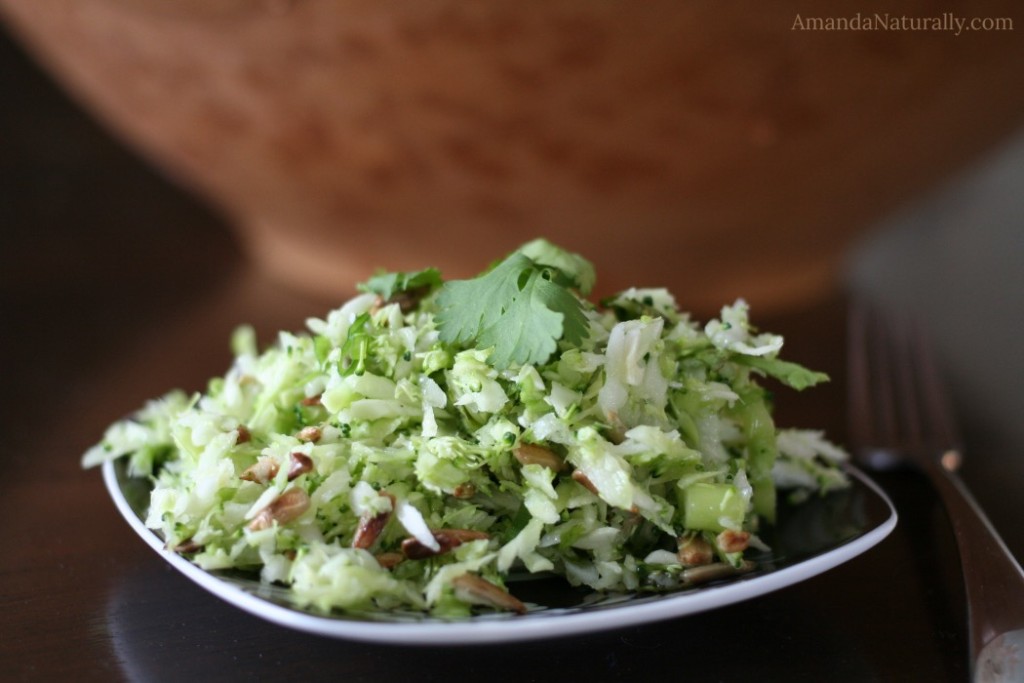
- 1 head cabbage
- 1 bunch of hearty greens (broccoli, kale, collard greens)
- 1 bunch of green onions
- 1 bunch of cilantro
- ½ cup sunflower seeds, toasted**
- juice of 2 limes
- ⅓ cup raw apple cider vinegar
- ⅓ cup olive oil
- sea salt
- black pepper**
- Using the shredder attachment on your food processor, shred cabbage. Dump in a bowl.
- Shred broccoli or finely chop kale/collards. Add to the bowl.
- Chop green onions and cilantro. Add to the bowl along with toasted sunflower seeds.
- Combine dressing ingredients, whisk well and toss with coleslaw.
- Let sit for at least 30 minutes before serving.
- **AIP Modifications: omit black pepper, substitute shredded coconut for sunflower seeds
- This coleslaw gets better as it sits! So let it sit for a few hours or overnight before serving!
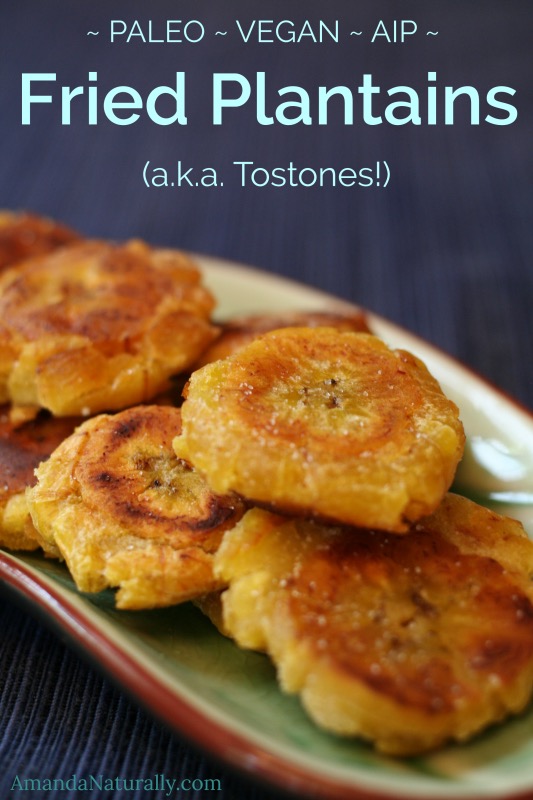
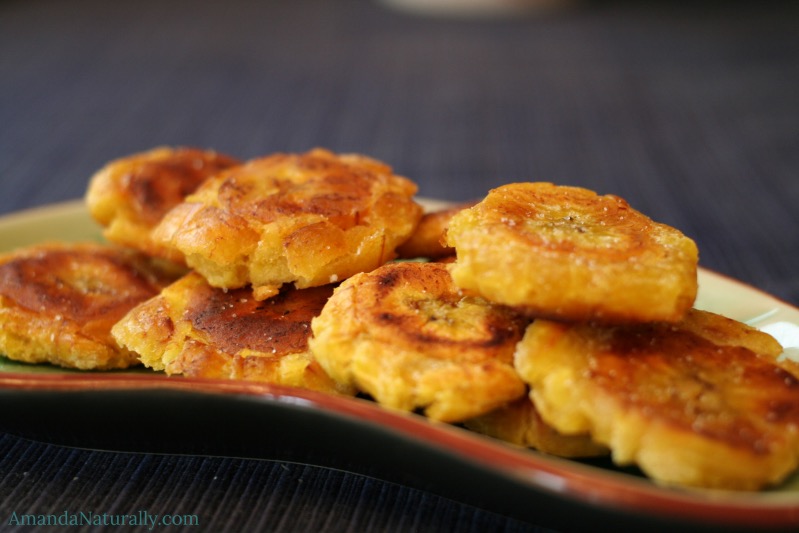


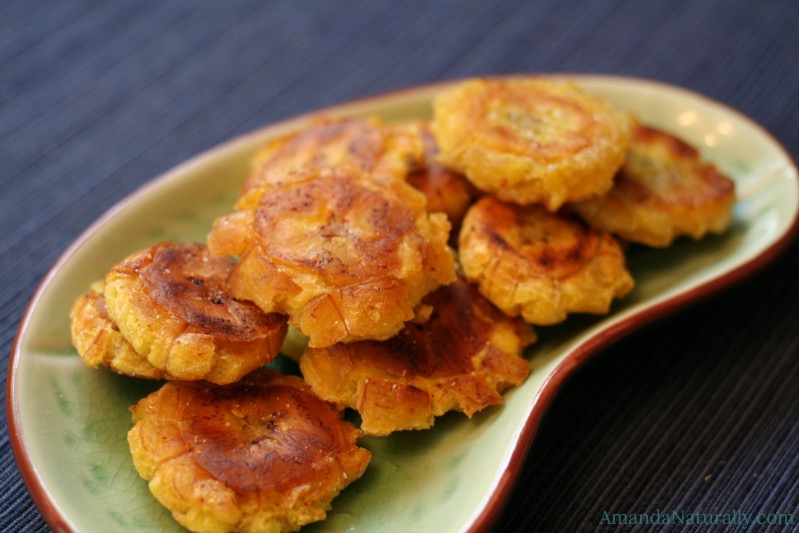
 6. Flip the plantains and cook another 3-4 minutes on the other side.


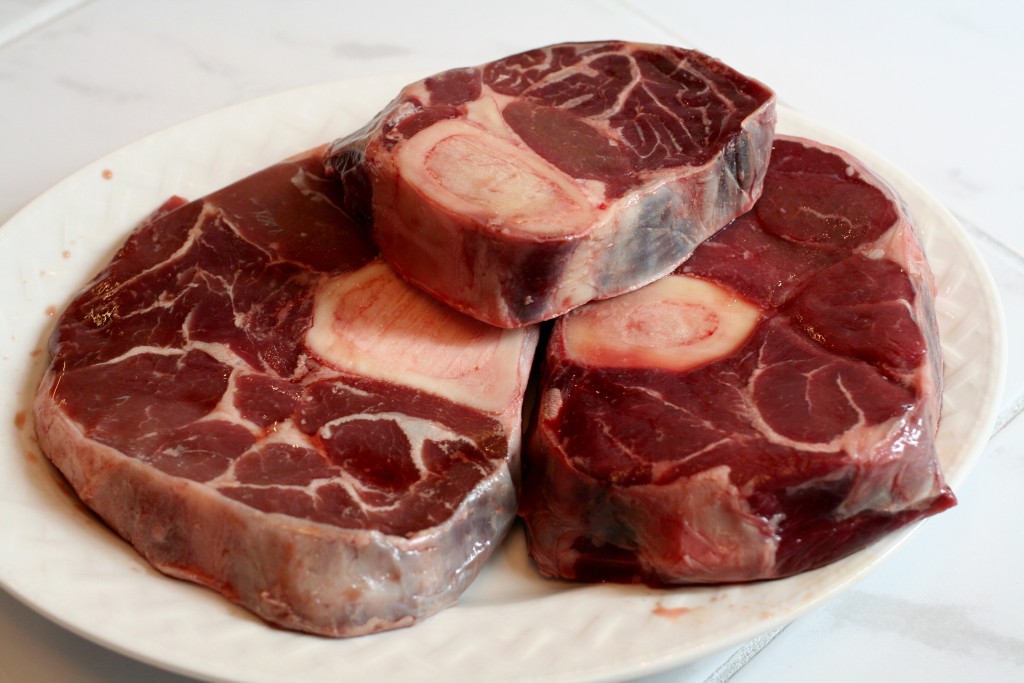
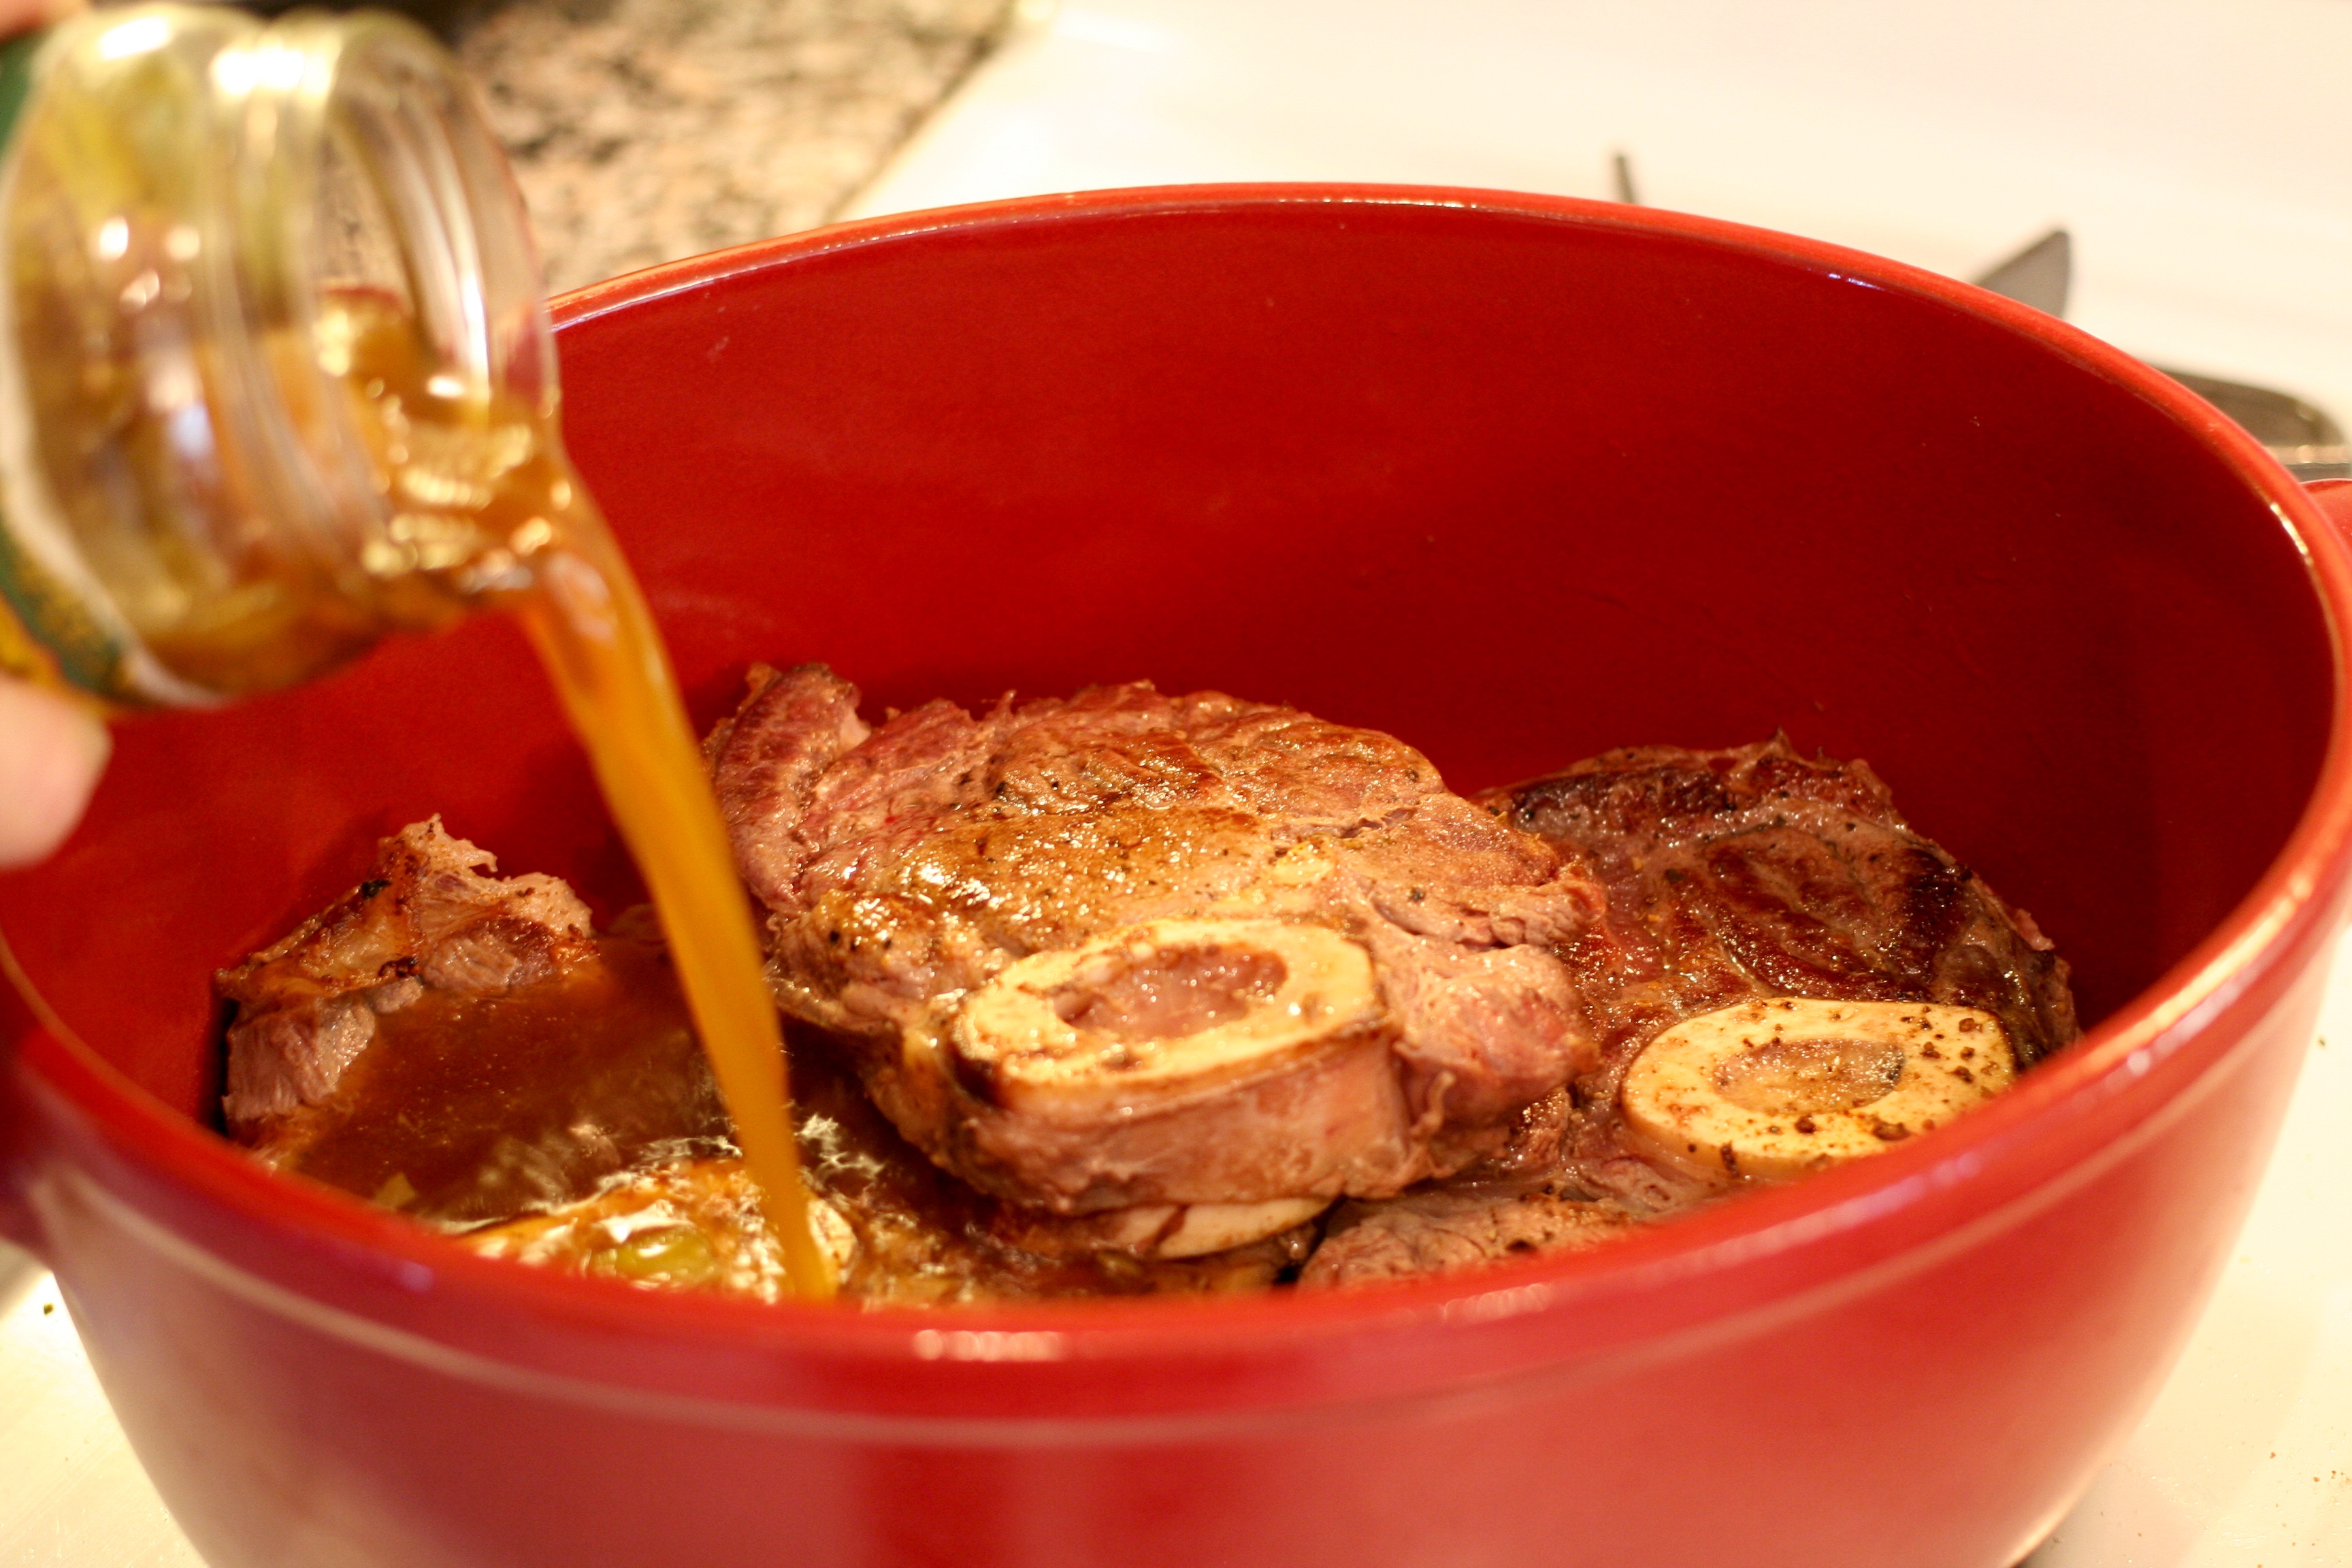
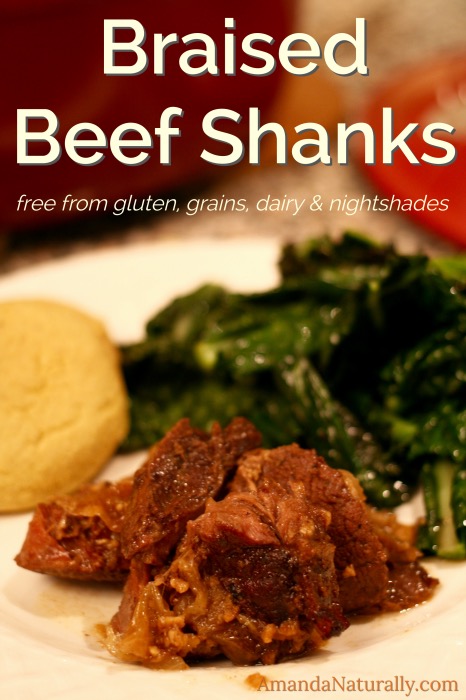 Buying real meat, from happy healthy animals, is really important to me and it is something that we encourage clients to move towards. “Happy healthy animals” have been allowed to graze on pasture, eat the food they’re meat to eat (cattle = grass, poultry and pork = grass, bugs, weeds, scraps etc), are free of unnecessary antibiotics, free from hormones and other drugs used to fatten them up, and allowed to “express their pig-ness or cow-ness” as Joel Salatin from Polyface Farms would say.