Category Archives: In The Kitchen

Healthy from scratch recipes and other kitchen tips!

Chicken “Noodle” Soup

Chicken "Noodle" Soup | gluten-free, grain-free, paleo | AIP & low-carb options | AmandaNaturally.comAnyone else love chicken noodle soup? I certainly do. It reminds me of when I was a kid and my mom would make it to make me feel better!

Unfortunately, most chicken noodle soups out of a box or can are full of junk. And for those of us who don’t tolerate gluten or grains, even the homemade kinds can be off limits.

So today I want to share with you a few tweaks to the standard chicken noodle soup recipe, that can make it allergen friendly and a super food! 

1. Use Bone Broth!

I can go on and on about the health benefits of bone broth…oh wait, I already have. Check out my post on why making bone broth is one of the best habits you can get into!

If you can’t (or won’t) make your own broth, or you run out, you can use boxed broth. Keep in mind though that boxed broth is purely for flavour and won’t have any health benefits. In fact, many contain hidden ingredients like gluten and nightshades, so if either of those foods are a problem for you, make sure to do your research and get a quality broth.

If you want bone broth, but you don’t have time to make it, either get yourself a pressure cooker (this is the one I have and LOVE) or buy it from one of my favourite local companies – Eat Savage.

2. Use a Noodle Alternative!

My favourite option are spaghetti squash (as shown in the recipe below) or plain white rice. You can use zucchini noodles (a spiralizer helps a ton during prep) but they don’t stand up over time, especially in the freezer, the way rice and spaghetti squash do. If you do want to use zoodles, I recommend making the soup without them, and a few minutes before you’re about to serve, or while you’re reheating it, throw them in.

Quick note re. spaghetti squash. It takes about 45 minutes or so to roast – see squash tutorial for tips and tricks. But it only takes 5 minutes in the Instant Pot – another reason I love this gadget. Simply slice in half, remove the seeds and place in the Instant Pot with 1 cup of water. Set to manual for 5 minutes and let it do its thing. Use the quick release method when the 5 minutes is done!

What do I think of gluten-free noodles? Well, anything that’s trying to be something that it’s not, isn’t something that belongs in the diet on a regular basis. Gluten-free products, dairy-free milks – they don’t have any health benefits, and they sometimes come with negative ones (refined starch, gut irritants, additives, thickeners etc.). So if you must use gluten-free noodles, make sure to get ones that are as simple as possible. My favourites are Korean sweet potato noodles (found at Asian markets) or plain white rice noodles (vermicelli). Watch out for gluten-free noodles that use corn, quinoa and brown rice if you’re sensitive to whole grains (like I am!).

3. Add in veggies!

Many chicken noodles soups are just that, chicken + noodles + (store-bought) broth. Some have a few carrots or onions, if you’re lucky. Buck the trend and fill it with veggies! Stick with classic soup veggies like carrots, onions and celery (just use a ton) or take it to the next level and throw in some kale! I love using kale in soups because it doesn’t get slimy like spinach does. If you’re feeling adventurous, try adding some seaweed for a super hit of minerals and some thyroid love.

 

Chicken “Noodle” Soup

So without further ado, I give you my recipe for chicken “noodle” soup. It’s based on the recipe my mom used to make when I was a kid… it’s just been amandanaturalized as she likes say! 


Chicken "Noodle" Soup
Serves 8
A twist on a classic favourite - packed with nutrient dense foods like bone broth and veggies. Gluten-free, grain-free, low-carb and AIP options!
Write a review
Print
Prep Time
15 min
Cook Time
45 min
Total Time
1 hr
Prep Time
15 min
Cook Time
45 min
Total Time
1 hr
Soup
  1. 2 tbsp olive oil (or other healthy fat - butter, ghee, lard, tallow, avocado oil)
  2. 2 onions, diced
  3. 2 cups carrots, chopped
  4. 2 cups celery, chopped
  5. 4-5 cloves garlic, minced
  6. 8-10 cups bone broth (or broth + water combo)
  7. 2 bay leaves
  8. 2 tbsp basil
  9. sea salt to taste
  10. 3 lbs chicken thighs, cubed (about 6 thighs)
  11. black pepper (optional)
  12. 1 head of kale, roughly chopped
"Noodle" Alternatives
  1. 1 spaghetti squash, cooked and shredded
  2. ¾ cup white rice (+ 1 extra cup water)
  3. 2 cups gluten-free noodles (preferably white rice vermicelli or sweet potato)
  4. zucchini noodles
Instructions
  1. Heat olive oil in a large pot, over medium heat.
  2. Sautee onions, celery and carrots for 10 minutes, stirring occasionally.
  3. Add in garlic, cook for 1 minute, stirring frequently.
  4. Add broth (and water if using), bay leaves, basil, sea salt and pepper. Bring to a boil.
  5. Once the soup is boiling, add in raw chicken cubes. Bring to a boil.
  6. Reduce heat and simmer for 30 minutes.
  7. Add chopped kale 5 minutes before serving.
Noodles
  1. Spaghetti squash noodles - add in 5 minutes before serving.
  2. White rice - add in 15 minutes before serving, with an extra cup of water.
  3. Gluten-free noodles - add in according to package instructions (2-10 minutes, depending on time)
  4. Zucchini noodles - add to bowl before serving soup. Only spiralize enough for each serving. Freeze/store soup without zoodles. Add raw zoodles each time before you reheat!
Tips
  1. Raw chicken is easiest to cube when it is still partially frozen.
  2. Boneless, skinless chicken thighs are easiest to manage, but a little more expensive than bone-in, skin-on. Chicken breasts work as well, but aren't as tender in the soup.
  3. You can add the raw chicken directly to the soup! As long as it cooks at a boil/simmer for 15 minutes or so. I know it seems risky, but it's totally safe!
  4. This recipes freezes really well - especially if you use the white rice or spaghetti squash option for noodles.
Amanda Naturally http://www.amandanaturally.com/

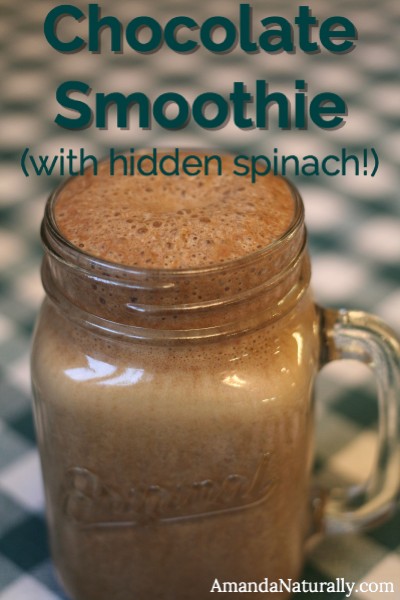
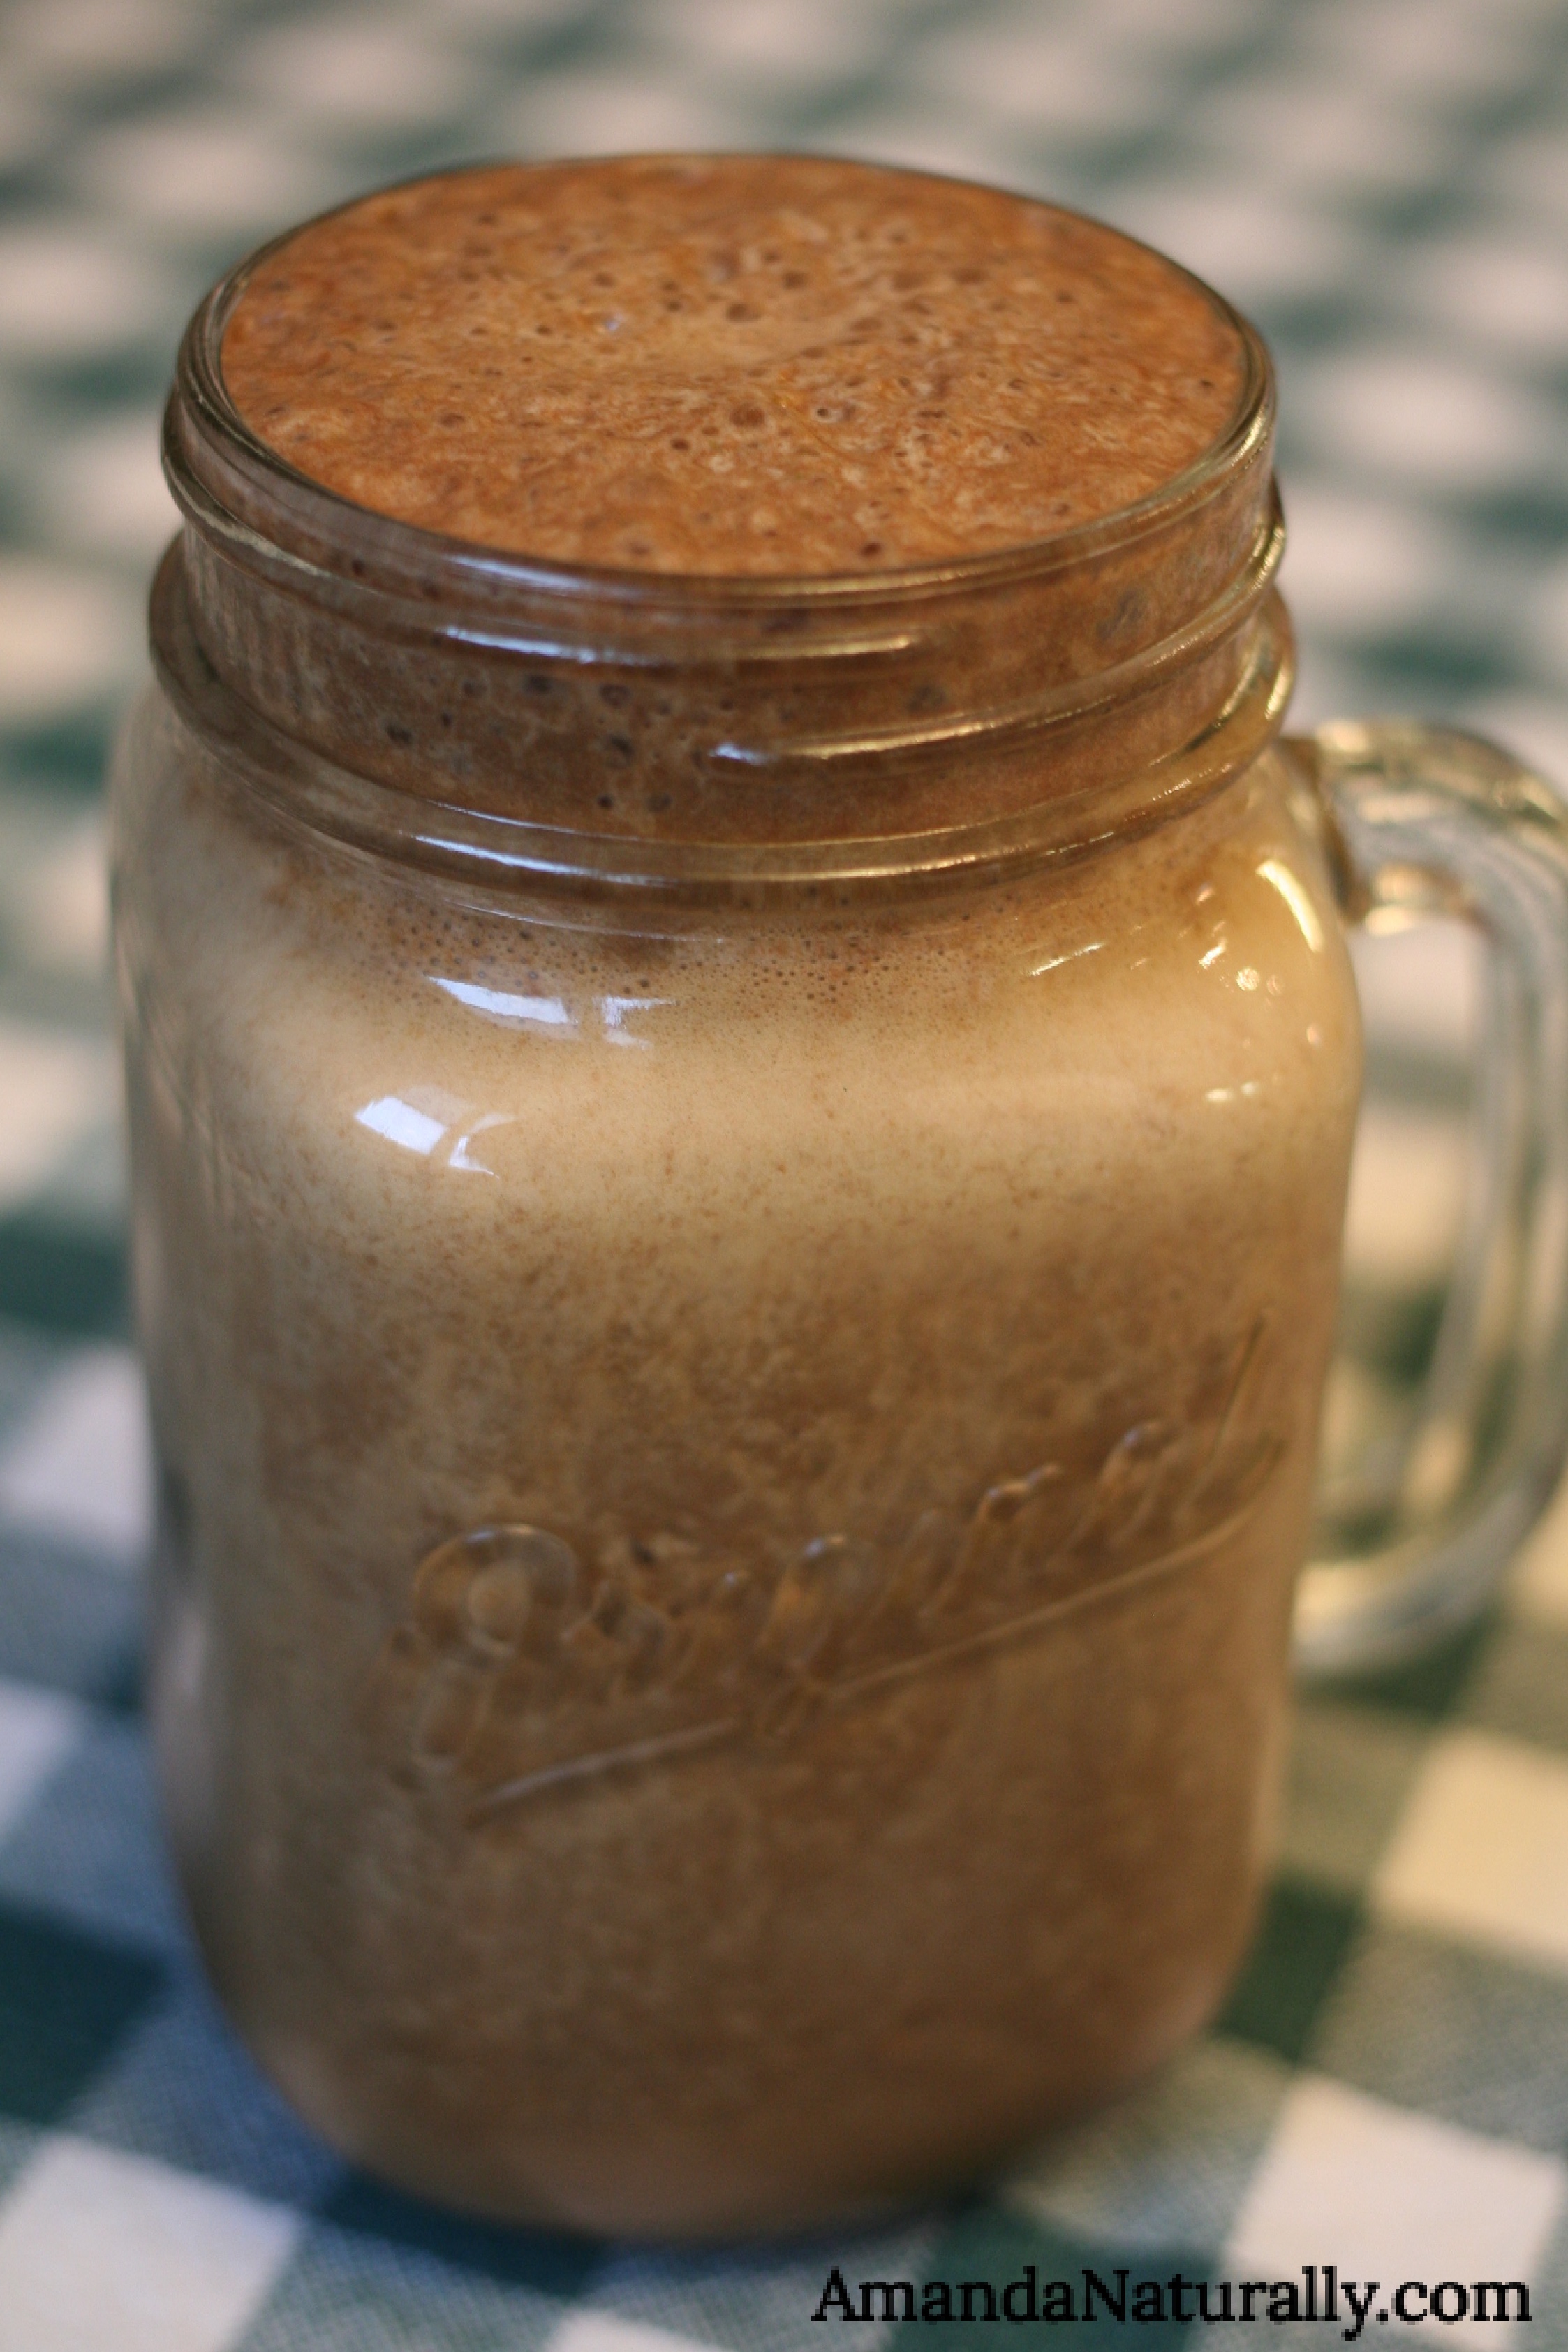
Chocolate Smoothie (with hidden spinach!)

Chocolate SmoothieAh the smoothie. The breakfast that always sits on a pedestal. Even if it’s full of crappy ingredients, the word “smoothie” always brings to mind healthy, fit individuals. Is that legit? Well, in some cases maybe – so let’s sort out all the info.
Benefits of Smoothies

  1. Fast.
  2. Can be made ahead.
  3. Easy way to get additional fruit and veggies in.
  4. You can sneak in super foods like collagen and any supplements you might want.
  5. If you’re dealing with major digestive distress, smoothies can be helpful because less digestive function is required. 
  6. Helps people shift away from the traditional North American breakfasts of refined grains on sugar on pasteurized dairy.
  7. Great for the whole family (bonus if you have a large blender, you can make everyone’s at once!).
  8. Great to send in kids lunches (especially in lieu of crappy yogurt drinks).

Downsides of Smoothies 

  1. Some people don’t register the liquid calories in a smoothie as a meal, so it can leave them feeling hungry.
  2. By not chewing food, you fail to start the digestion pathway. Chewing is essential in releasing amylase in your saliva and triggering the stomach to start secreting stomach acid. 
  3. Smoothies allow you to eat standing up or on the run, which does not allow you to get into proper rest and digest mode. This means you won’t digest your food properly, which can lead to nutrient malabsorption and gut problems like dysbiosis and small intestinal bacterial overgrowth. 
  4. Most people do not design them properly! I usually see smoothies fall into one of the following categories:
    1. All fruit + water/almond milk. The problem with this is you’re getting a massive hit of sugar, with no fat or protein to sustain you. You’ll burn through that smoothie in 90 minutes or less, storing much of the sugar as body fat, and then be reaching for a snack.
    2. Protein + water. This combination is way too low calorie to be a meal. At 100-120 calories, heck it’s barely a snack! The only time this is appropriate is if you need a post-workout protein hit. But even then, it should contain carbohydrates to replenish muscle glycogen.
    3. Crappy protein powders. So many proteins contain fake junk. Ingredients like artificial sweeteners (aspartame, sucralose, acesulfame-potassium), food dyes and artificial flavours should be avoided at all cost. Whey protein, while ideal from a bioavailability standpoint, can cause problems in the large percentage of the population that has trouble tolerating dairy. And plant-based proteins are often primarily pea protein, which is a poor quality protein that is notorious for causing major gut irritation.
    4. Random, unnecessary ingredients. So I pretty much added this bullet to address flax. Both the seeds and the oils are completely unnecessary and yet so many people add them to their smoothies! What’s your reasoning for adding flax? Here are the 3 common ones I hear all the time:
      1. Chocolate Smoothie (with hidden spinach!) | dairy free, vegan, paleo | AmandaNaturally.comOmega-3’s! I hate to break it to you, but the type of omega-3 found in flax seed is ALA and unfortunately, that’s not the form our bodies need. We need EPA and DHA. Sure we can convert some ALA to the usable forms, but at the rate of 0.5-2%. So yeah, not very efficient. One bite of salmon gives you the same amount of omega-3’s as a whole whack of flax.
      2. It keeps me regular! Then you have a GI issue that you need to work on. If flax seeds are keeping you regular, it might be that you’re not getting enough fibre. Add spinach, berries, apples, pears, pumpkin, sweet potato etc. to your diet and get back to me! Not working? Likely there’s something that is causing constipation (a food allergy, gut overgrowth, poor digestive function).
      3. They’re so healthy! Well that’s debatable. They’re not a great source of omega-3’s, the fibre can be irritating to the gut in some cases, and most importantly, they’re highly estrogenic. So if there are any hormonal imbalances that need to be addressed, flax shouldn’t be consumed on a regular basis.

So to sum up, if drinking a smoothie is going to prevent you from swinging through Tim’s for a bagel with cream cheese, go for it! Just make sure it’s properly designed (see below). Also, make sure to give yourself 10 minutes to sit, relax and actually enjoy your smoothie – to aid in digestion!


Creating an Awesome Smoothie 

So how do you make a smoothie that’s good for you and an actual meal?

Use the following equation:


CARBS

fruit and starchy veggies

banana/berry

mango/pineapple

pumpkin puree (for pumpkin pie!)

+

VEGGIES

baby spinach (my preference because it blends easily and doesn’t add any flavour)

cucumber, fresh herbs, kale, celery etc.

PROTEIN

Grassfed/organic whey protein is the best from a bioavailability standpoint (Prairie Naturals Organic Whey, or New Zealand Whey are my favs).

If you don’t tolerate dairy, my other favourites are Manitoba Harvest Hemp Pro, Brown Rice Protein by Prairie Naturals or Sun Warrior and Pumpkin Seed Protein by Omega Alpha.

If you are on an autoimmune protocol, there aren’t any great options for complete proteins. However you can use the Vital Proteins Collagen Peptides. It’s not a complete protein, but 2 scoops gives you 18g of protein AND gut/joint healing awesomeness. So just make sure you eat other quality proteins during the day to balance it out!

+

FAT 

Key to keeping you full! Yes protein helps keep you full, but fat does a much better job.

Plus the body likes to burn fat as fuel, if you let it.

¼ cup canned coconut milk (full fat!)

½ avocado

1-2 tbsp almond butter or other nut butter

¼ cup cashews

+

LIQUID

water

don’t waste your money on almond milk, it’s just expensive white water with no nutritional value, synthetic crappy vitamins and some gut irritants (carrageenan, guar gum)

+

OPTIONAL INGREDIENTS

vanilla extract

peppermint extract

sea salt

cocoa powder (carob powder for AIP)

spices (cinnamon, pumpkin pie spice)

chilled coffee or tea

scoop of kefir (coconut or dairy if tolerated)

supplements

collagen protein (not just for the autoimmune protocol! I add a scoop to every smoothie to support my gut & joints. Not to mention support my skin, hair and nails!)


Chocolate Smoothie (with hidden spinach!)

This is one of my favourite recipes for sneaking veggies into kids’ breakfasts. Ok if I’m being honest, I fully use this with adults too since many people are weirded out by a green-coloured smoothie (get over it people!). Cocoa covers up the green colour beautifully!


Chocolate Smoothie
Serves 1
A dairy-free, well-designed meal that is delicious and manages to hide some veggies!
Write a review
Print
Prep Time
2 min
Total Time
2 min
Prep Time
2 min
Total Time
2 min
Ingredients
  1. 1 ripe banana
  2. handful of spinach
  3. 2 tbsp cocoa powder (carob for AIP)
  4. 1 tsp vanilla extract
  5. pinch of sea salt
  6. 1-2 scoops protein powder and/or collagen
  7. handful of ice
Instructions
  1. Combine all ingredients.
  2. Blend and serve!
Notes
  1. 1. This can be made ahead and refrigerated or sent in a lunch box with an ice pack.
  2. 2. Protein powder options are (a) grassfed/organic whey, if dairy is tolerated (b) hemp seed, pumpkin seed or brown rice protein for plant-based options and (c) 2 scoops of Vital Proteins collagen peptides for a super gentle & healing protein or AIP option
  3. 3. Try not to add additional sweetener to this smoothie. It's not a super sweet, chocolatey milkshake, but the flavour is rich. If your kid refuses to eat it, add 1-2 of raw honey or real maple syrup, and over a few weeks reduce the amount until you're not putting in any.
Amanda Naturally http://www.amandanaturally.com/


Instant Pot

Instant Pot | Favourite Kitchen Gadget | AmandaNaturally.comI’ve had a lot of people recently ask me how I keep bone broth on hand all of the time. This is a totally fair question because in order to get a really nutrient-rich, gelatinous bone broth it needs to cook for a long time. We’re talking 24 hours on the stove top, or 2-4 days in the slow cooker. So how do I do it? Well, I got another gadget. It’s called…
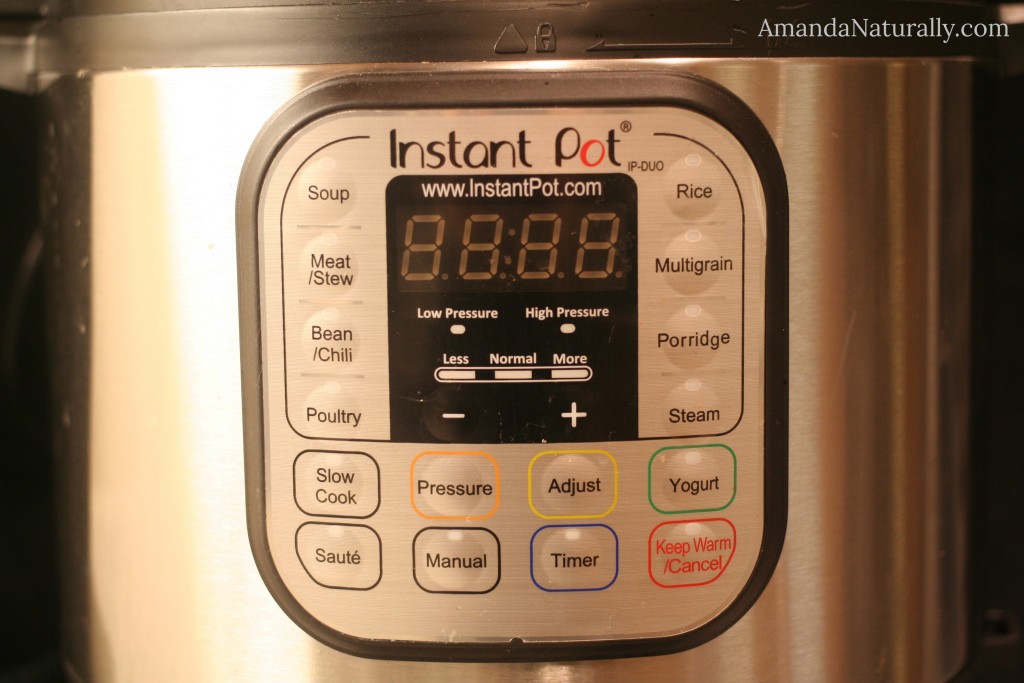
The Instant Pot!

DISCLAIMER: this is not sponsored in anyway. If you click on any links, I may receive a small commission to support my blogging activities, but it does not in any way impact the price of the item, or my opinions on the product. These are my opinions and mine alone! I just want to inform my fellow foodies of fun new gadgets they might enjoy!


The Instant Pot

About a year and a half ago I started seeing people in the real food blogosphere posting about this new gadget on instagram. I didn’t really think I needed another gadget, until I heard that it makes bone broth in only 2 hours. I was sold. However, I’m not one to splurge on a big ticket item, so I waited and asked for one for my birthday. Luckily my in-laws are awesome and they made my day by gifting me one!

The 7-in-1

The setting I use for super speedy bone broth, is the pressure cooker setting. I’ve never used a pressure cooker before, and neither did my mom. It doesn’t seem to be a very popular kitchen utensil in the western world – however it is hugely popular throughout Asia and countries that utilize tougher cuts of meat. Prior to the Instant Pot, all I could picture was a pressure cooker exploding in my kitchen – which terrified me. However, the Instant Pot is an electric pressure cooker, with pretty much every fail-safe possible to prevent any user error. I have felt extremely confident using it, from the second time onwards! I now use it for making hard boiled eggs (see below), quick stews, homemade yogurt and cooking whole root veggies – fast! It’s probably the most used item in my kitchen right now.

Now, I got the Instant Pot for the pressure cooker / bone broth awesomeness. However, once I was able to play around with it, I learned about all of the other functions!

  1. pressure cooker
  2. slow cooker
  3. rice cooker
  4. saute/browning
  5. yogurt maker
  6. steamer
  7. warmer

Here are my favourite settings:

Saute / Browning Mode

This allows me to brown meat in the bottom of the pot, before either pressure cooking OR slow cooking. While not a huge deal, it does save on dishes by not needing to brown in a separate pan.

Warmer

This is one of my favourite settings. You can cook something on pressure mode for 45 minutes in the middle of the day (or morning, or at bedtime), and as soon as the 45 minutes are up, it will switch over to slow cooker mode, on low. So you don’t have to be in the kitchen an hour before you want dinner prepared. You can throw everything in the pot in the morning, pressure cook it, and let it stay on warming all day.

Steamer

All I can say is – steamed whole sweet potatoes take 15 minutes! Plus time to build up pressure, but again – you can throw them in, press steam and leave them. No need to monitor the oven for 1-2 hours when roasting. This is especially awesome when I want to make a recipe for things like sweet potato biscuits, that calls for steamed, roasted or pureed sweet potato.

Yogurt Maker

Since I don’t tolerate dairy, and the store-bought coconut “yogurts” are full of junk that really bug my gut (guar gum etc), my only option is to make my own. This is something I had always been interested in doing, but never dove into. Once I had this great gadget, I jumped in head first and boy was it a success! If you tolerate cow dairy, or goat dairy, here are a great set of directions for DIYing it. However, if you don’t tolerate milk (like me), full-fat coconut milk can make an awesome yogurt alternative! It’s actually a way simpler recipe, because you don’t need to pasteurize the milk first. See directions below.

Homemade Coconut Milk Yogurt

1. Heat 4 cups of full-fat coconut milk (I prefer the Aroy D brand) in a pot, to 110F. Use a candy thermometer, or an electronic meat thermometer ( <– another favourite kitchen gadget). As soon as the temperature hits 110F, pull it off the heat.

2. Immediately whisk in ½ cup of a previous batch of yogurt (you can use dairy if tolerated, store-bought or your previous batch) or 2 packets of Vegan Yogurt Culture (I love the Cultures for Health product, although it does have a bit of rice starch in it – something to note if you’re sensitive or following the AIP protocol). Apparently you can use 2 or 3 probiotic capsules, but I haven’t tried this. (UPDATE: a friend told me she uses ¼ tsp of probiotic powder, or 2-3 capsules, and 1-2 tbsp maple syrup)

3. Whisk in 2 tsp grassfed gelatin. Without this, it won’t thicken. You will still have a yummy, tangy coconut milk, but it will definitely be milk, not yogurt. Apparently you can use agar agar to keep it vegan, but I haven’t tried this since I’m always looking for extra ways to get in gelatin!

4. Pour into jars, or a glass bowl (that fits in the pot), and place in the bottom of the Instant Pot. Secure the lid, press the “yogurt” button, adjust the time to 12 hours and walk away. (NOTE: don’t put the yogurt directly in the Instant Pot. Since it is stainless steel, mine retains a slight hint of what was previously cooked – usually broth. And trust me, broth-flavoured coconut yogurt is not good.)

5. 12 hours later, remove from Instant Pot and store in fridge for a few hours to let set. 

NOTE: if you don’t like really tangy yogurt, start checking the flavour around 8 hours.


Favourite Recipes using the Instant Pot

Bone Broth – in only 2 hours!

  • Fill pot with bones.
  • Add in some aromatics (onion ends, smashed garlic) and some bonus nutrients (egg shells, sea weed).
  • Add water until bones are just covered.
  • Add 1 tbsp apple cider vinegar.
  • Close pot, make sure pressure valve is set to closed and press “Manual”, adjusting the time to 120 minutes.
  • Use slow release method so it doesn’t spray up through the pressure valve!

Hard Boiled Eggs (fool proof, easy to peel – even if truly farm-fresh). This is hands down my favourite way to make HB eggs – nothing else compares!

  • Place as many eggs as you want, on a steamer or the trivet.
  • Pour 1 cup of water into the bottom of the pot. 
  • Close the lid, make sure the pressure valve is closed.
  • Press “manual” and set for 5 minutes. Let it do its thing. 
  • As soon as it beeps, use the quick release method and dunk the eggs in an ice bath. Once chilled, store in the fridge. (UPDATE: As of May 2016 I no longer do the ice bath. As soon as the eggs are done, back into the carton and in the fridge they go!)

Other Egg Recipes

Baked Sweet Potatoes – you don’t need to wrap in tin foil before, but it will help if serving individually.

Squash – this is great for steamed squash (for soups) or spaghetti squash. However, the squash won’t have that caramelized, roasted taste. So if that’s what you’re going for, use my Squash Tutorial.

  • Slice squash in half, remove the seeds.
  • Place trivet in the bottom of the Instant Pot. Add 1 cup of water.
  • Place squash on top of trivet.
  • Close lid and make sure pressure valve is closed. Set to “Manual” for 5 minutes (for spaghetti, acorn… for a large butternut, you might need to do 7 minutes).
  • Use the “Quick Release” method when the 5 minutes is up!

Instant Stew You can follow these directions, or you can do what I do and put the stewing beef on the bottom, add onions, garlic, quartered potatoes, carrot chunks, a can of tomatoes, 1-2 cups bone broth (cover the food with liquid), sea salt, pepper, bay leaf, oregano. Press “beef/stew” and go.

Nom Nom Paleo (an incredible cook and foodie) is also obsessed with the Instant Pot, and has converted dozens of her slow cooker recipes. Definitely check her out!

Instant Pot Website – hundreds of resources!

Tips and Lessons Learned

  1. Unlike the slow cooker, this loses liquid instead of creating it. So make sure there is enough liquid! 
  2. Time to reach pressure needs to be accounted for. Quick things like eggs take 10 minutes to reach pressure, and then 5 minutes to cook. Sweet potatoes only take 5 minutes. However, larger volumes (like stew or broth) can take up to 20 minutes to reach pressure. If lots of frozen items are going in (like when I make broth), it can take 30+ minutes to reach pressure. Make sure to factor this in!
  3. The quick release valve releases a lot of steam that can burn you if you’re not careful. I always throw a dish towel over it before turning it to release.
  4. If you fill up the pot too far, you can’t use the quick release. It will shoot liquid out of it. Not ideal.
  5. You can only use your previous coconut milk yogurt to inoculate your new batch about 2 or 3 times before the bacterial concentration drops too low. There’s very little sugar in coconut milk, so nothing to feed it once it uses up all the rice starch! You could probably add some rice/potato starch, or cane sugar to further stretch your starter culture, but I haven’t tried this yet.
Copyright 2014 Amanda Naturally | Design by The Nectar Collective