Avocado’s are the best. They are jam-packed with nutrients, fibre and healthy fat. And they’re freakin delicious too!!! Adding half an avocado to your eggs, salad, or burgers, is the perfect way to not only get in some additional nutrition, but to make sure your meal will be filling for hours. Also, please note that the fat/calorie content of the avocado is not to be feared. The era of “1/8th avocado per day” is long gone. Avocados are not going to jack up your cholesterol. They’re not going to make you gain weight (unless you go bananas on them, but that can happen with any food) – I regularly eat 2-3 halves/day, often more if I’m hungry. Enjoy this yummy food free of worry forever and ever!
A lot of people are a little nervous the first time they buy an avocado. That’s totally normal. It’s a weird little fruit that requires a few tricks to peel/open it and not destroy it in the process. This article is designed to help de-mistify the avocado and teach you how to make the food that avocado shines in…guacamole!
Step 1 – Determining if Your Avocado is Ripe!
Okay so this is probably the trickiest part of the whole process and it is pretty important. Once you cut into that avocado, it will no longer ripen. If you open it up and it’s really tough inside, there’s nothing you can do but toss it. So how do you determine if your avocado is ripe? I personally use the squeeze test:
Not Ripe: avocado is hard as a rock and bright green
Almost Ripe: avocado gives slightly when you squeeze it, but still fairly hard
Salad Ripe: avocado gives when you squeeze it and leaves a slight indent. Perfect for salads and burger toppings.
Guac Ripe: avocado easily gives when you squeeze it and stays indented. Fabulous for guacamole, and still totally great on salads and burgers!
Over Ripe: avocado is black; you squeeze and it easily gives way to the pit inside; the inside feels like liquid; or there’s mould on it.
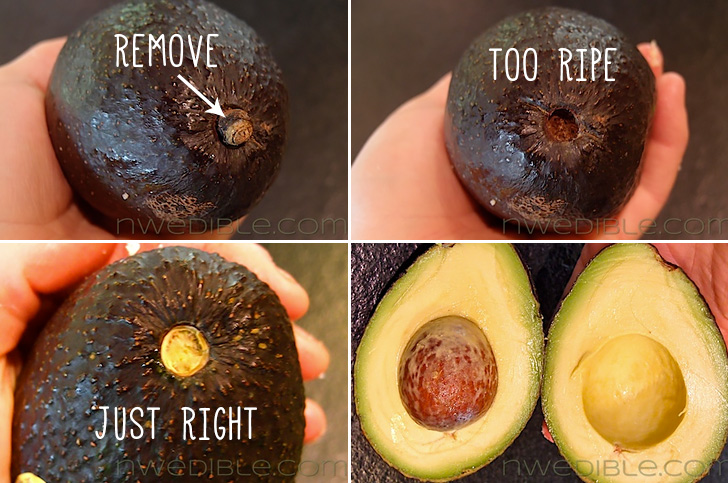
The more you use the squeeze test, the better you’ll become at determining if the avocado is ready to go or not! However, if that’s a little too subjective for you, I recently saw this neat trick floating around Facebook. Originally from Northwest Edible Life – this photo shows how removing the stem will tell you if the avocado is ripe or past its prime:
Step 2 – Storing Your Avocados
If your avocados are hard as rock, store them on the counter for a few days to let them ripen. Speed ripening by keeping them near other fruit such as bananas and apples. (Warning: this will also ripen the fruit faster!)
If your avocados are perfectly ripe, or when they reach that desired ripeness on your counter, move them to the fridge. You get a few extra days out of them this way – unless of course you want to eat them all at once! I find if I move the avocados to the fridge as soon as they hit the “salad ripeness” (ie. as soon as they give a bit under pressure), they last a good week before they move into that over-ripe zone.
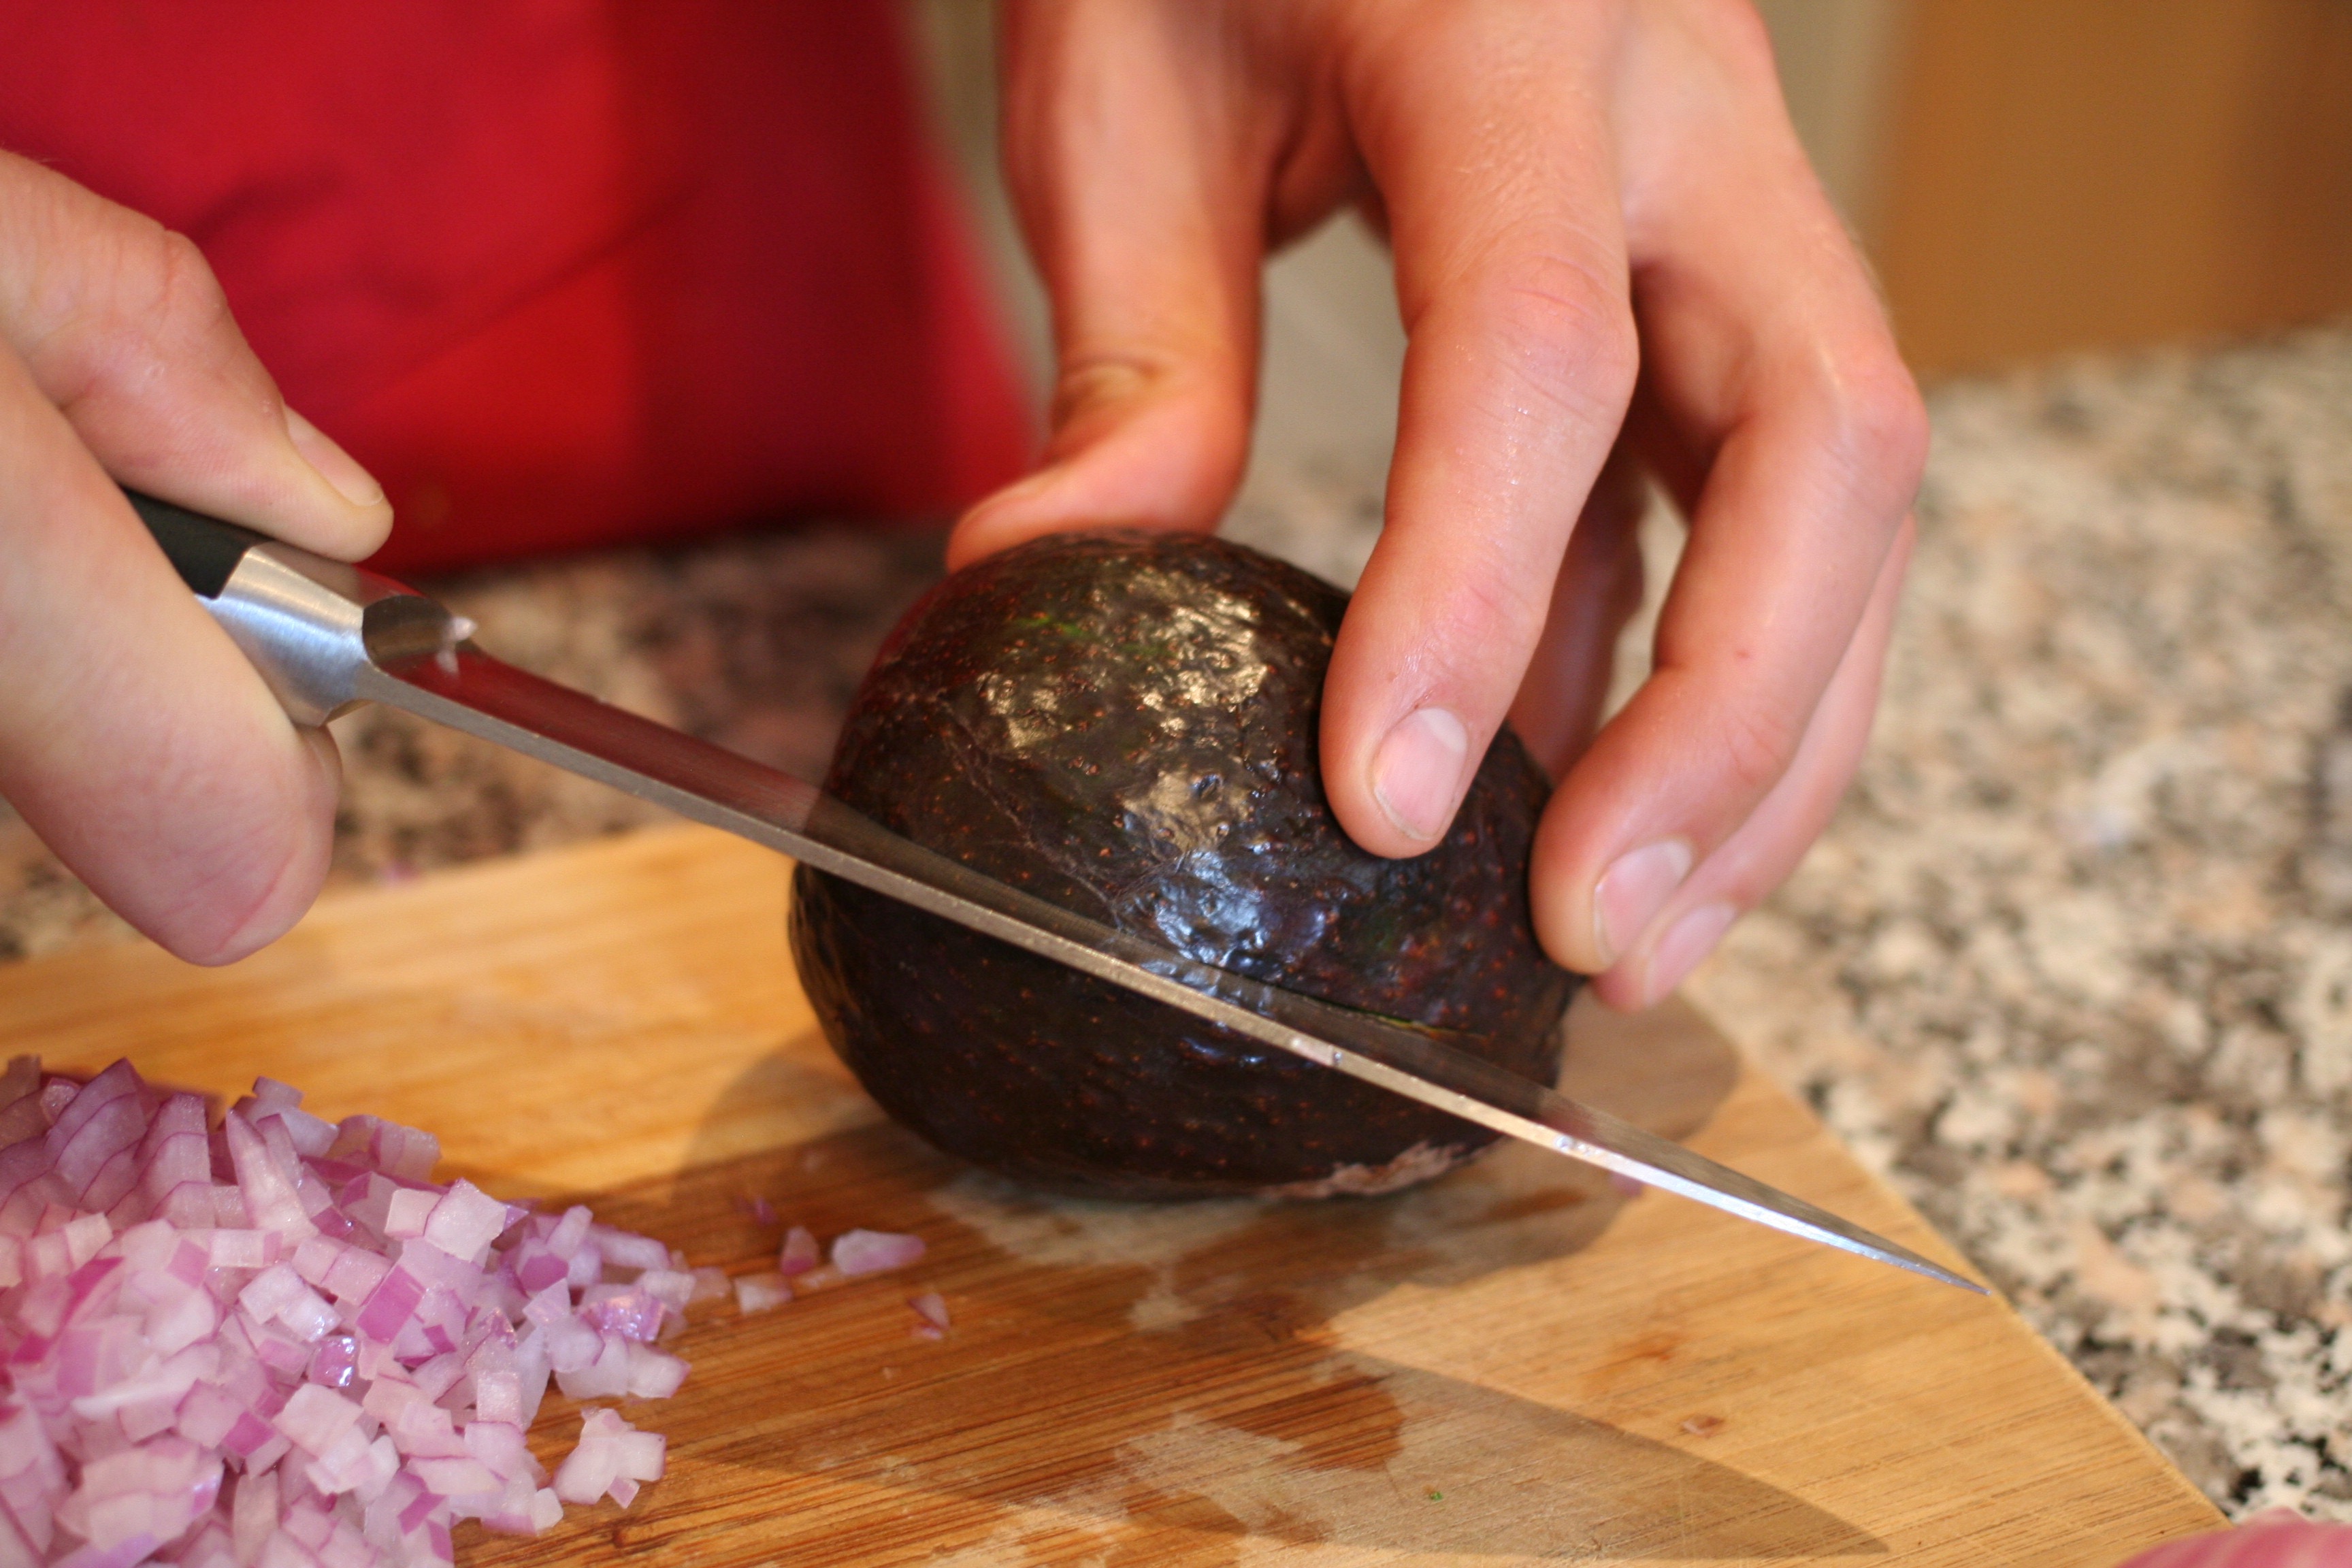
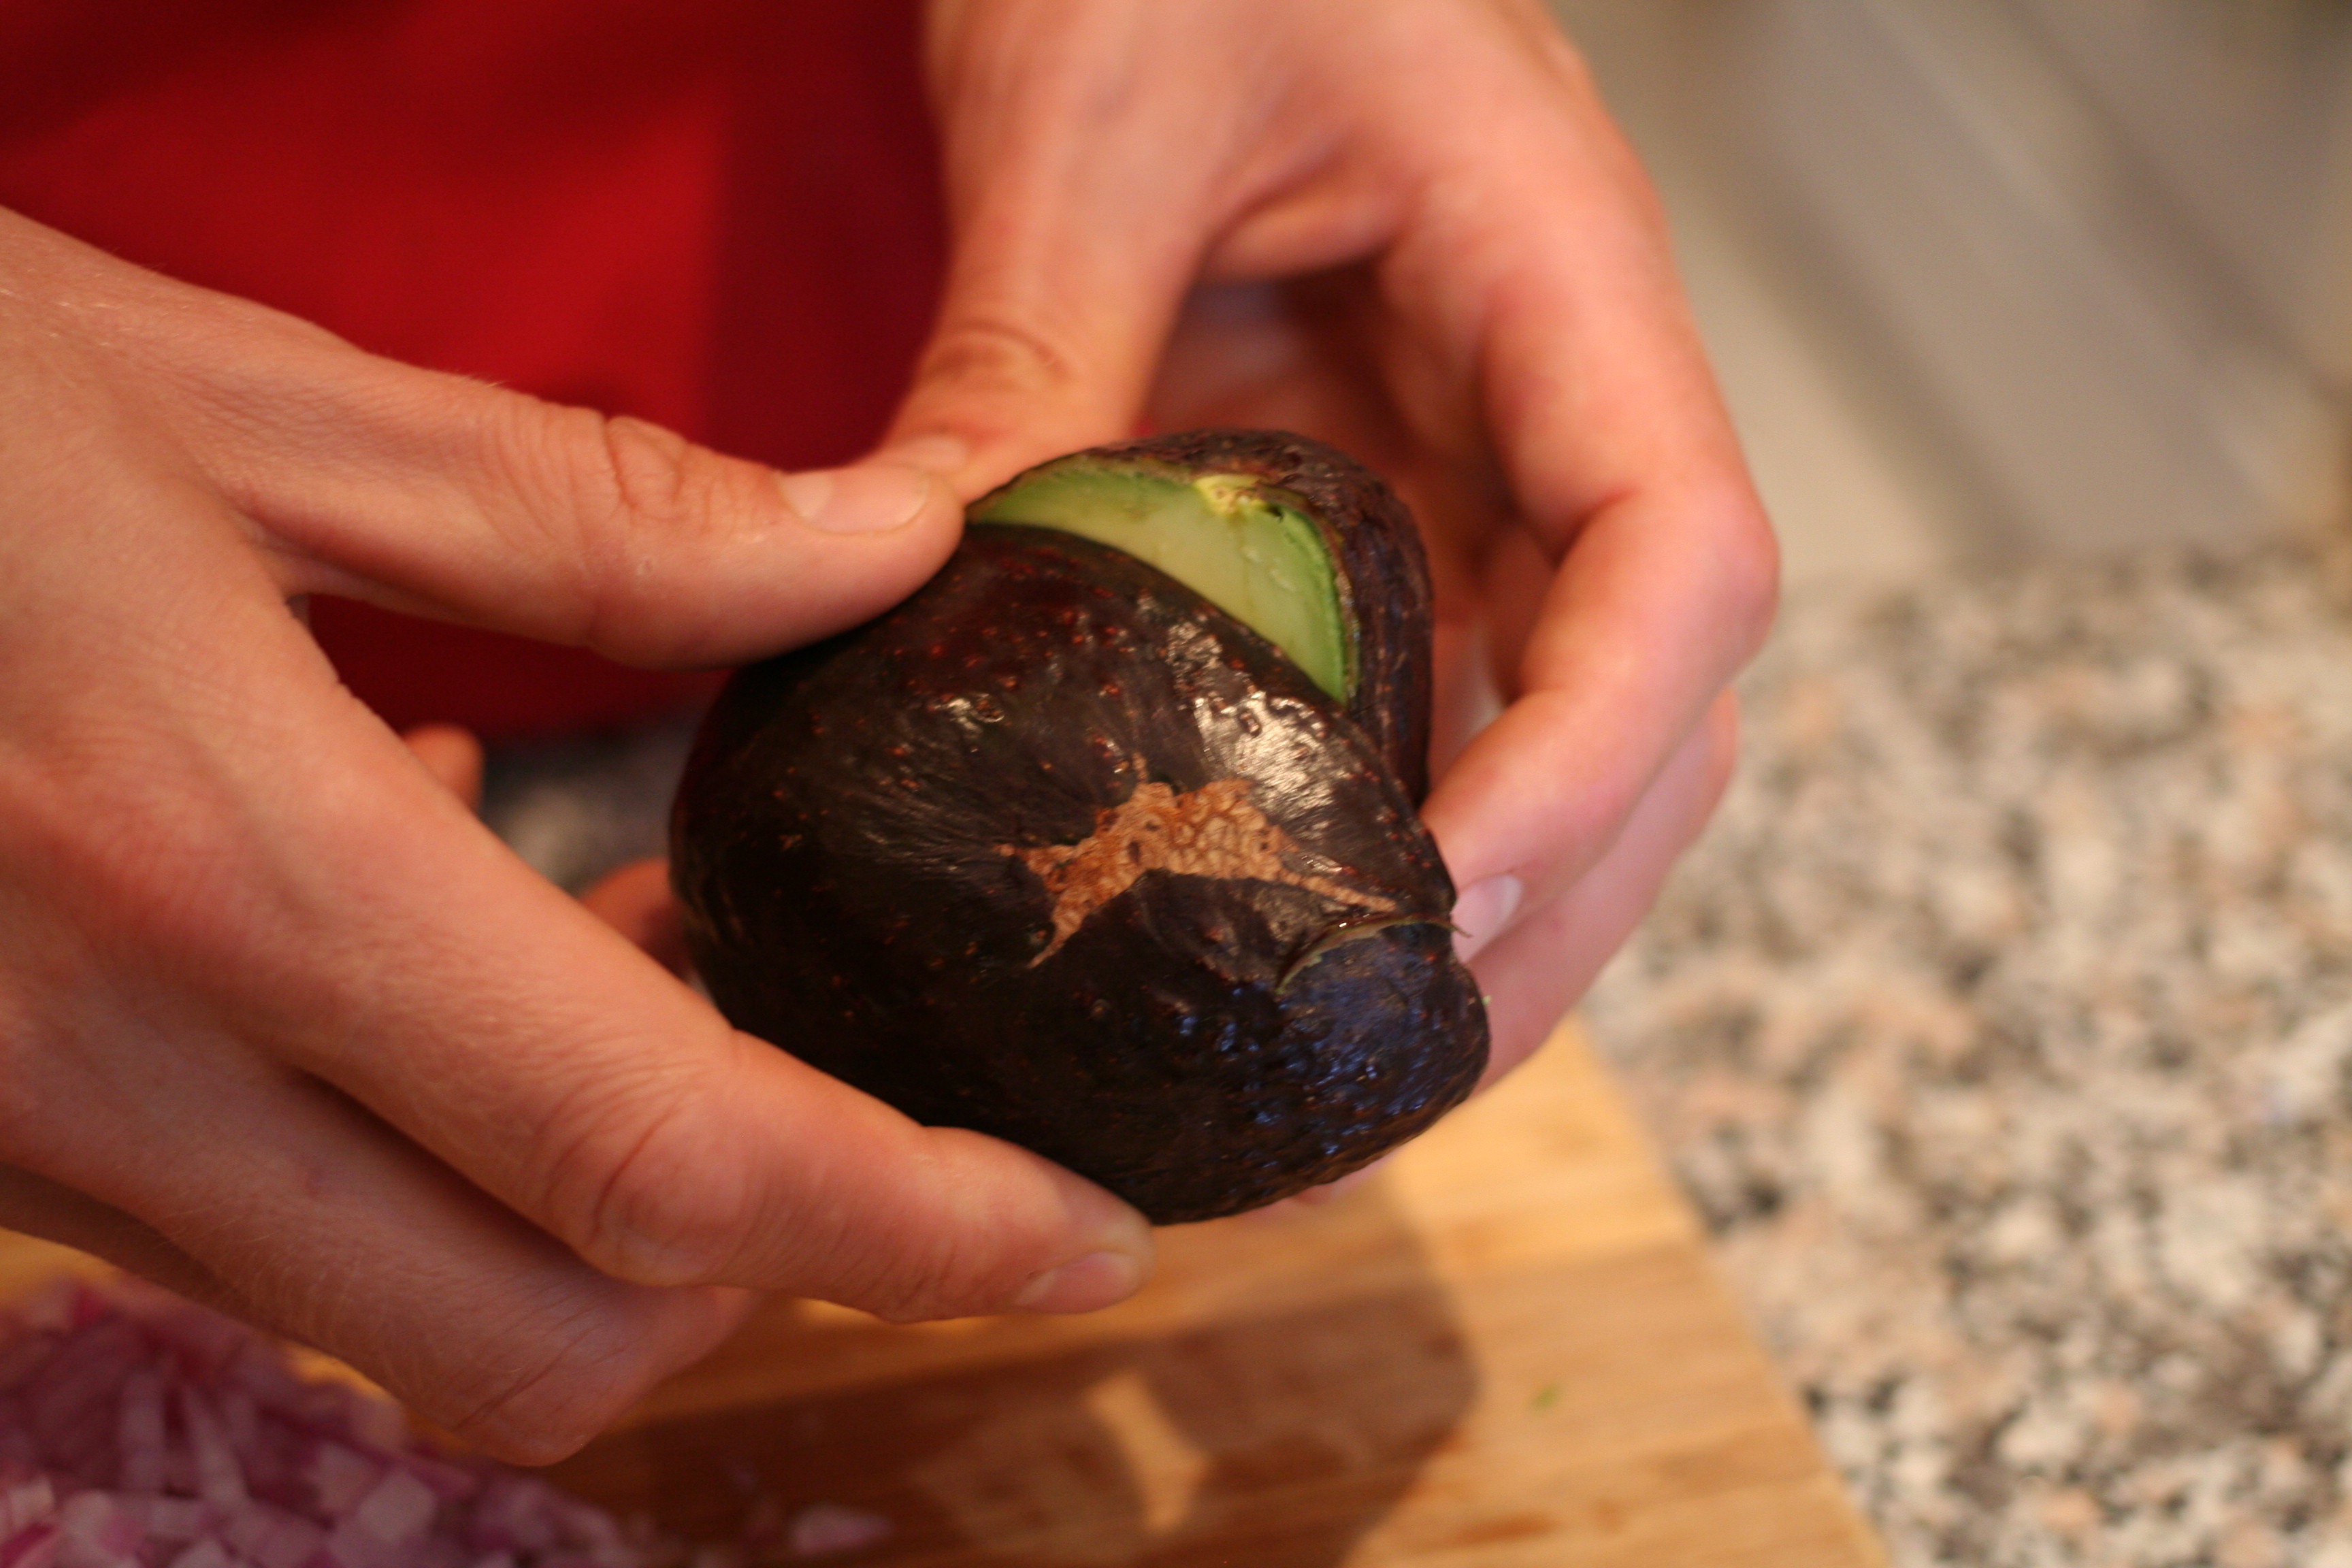
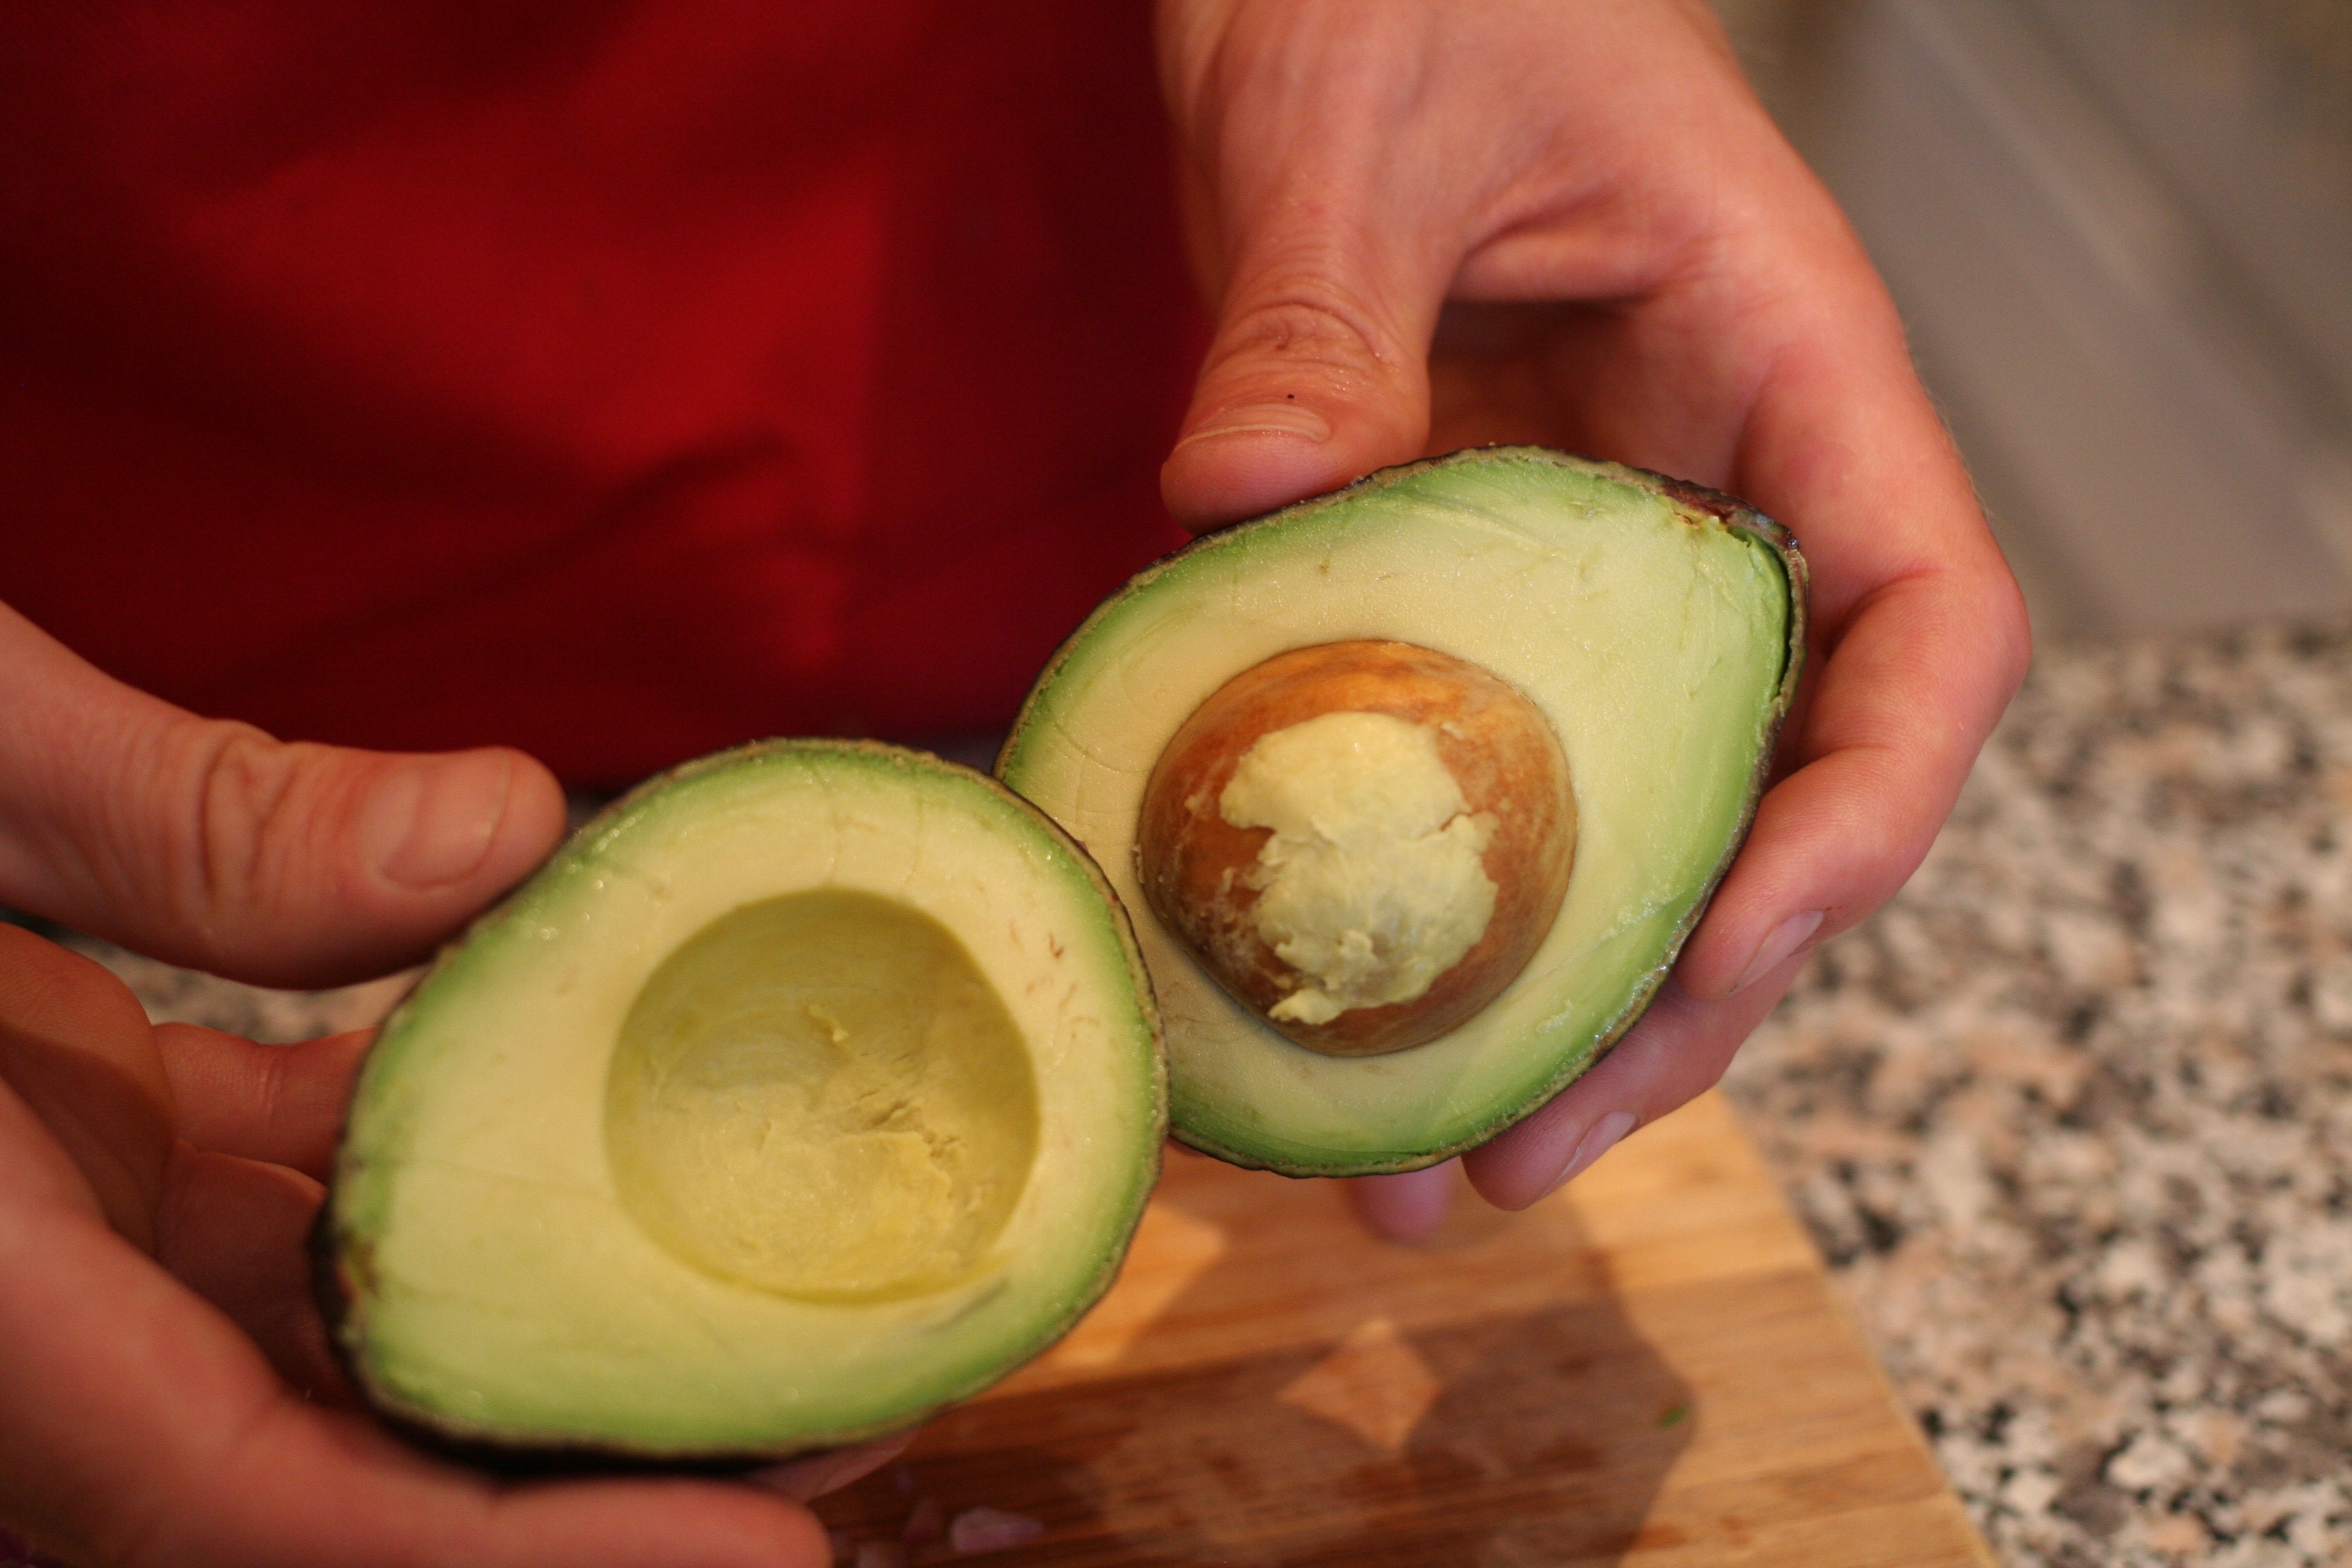
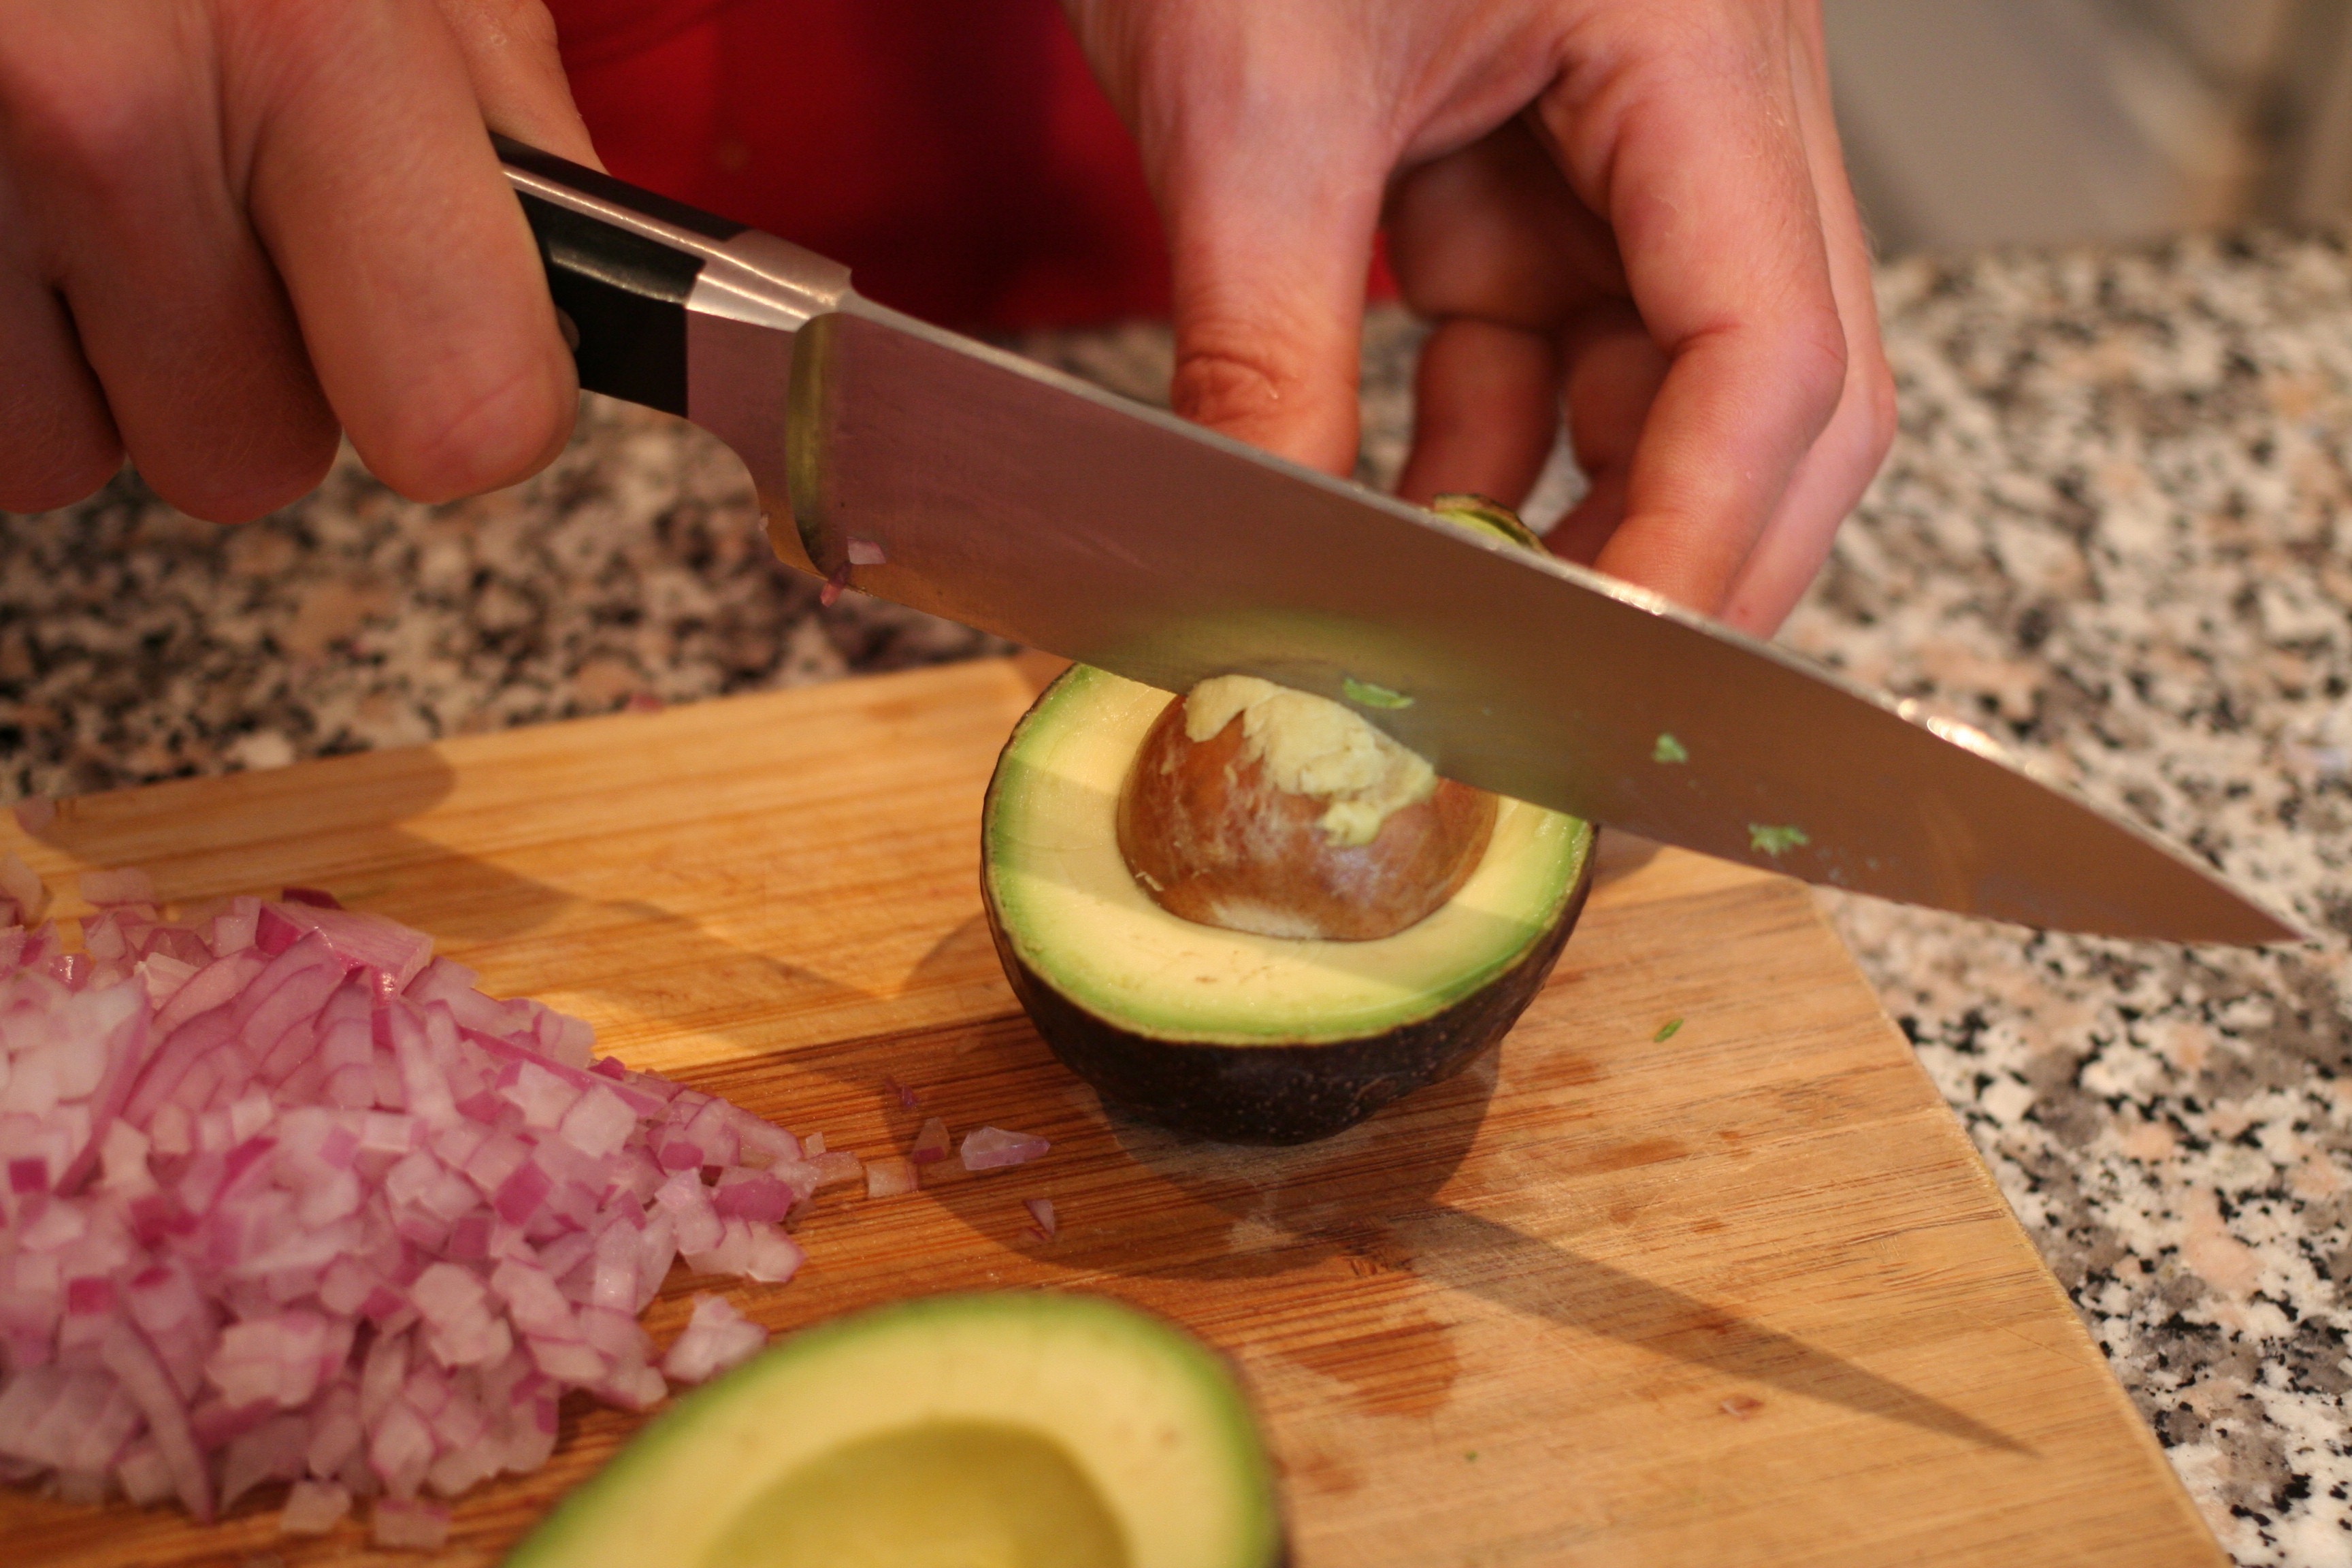
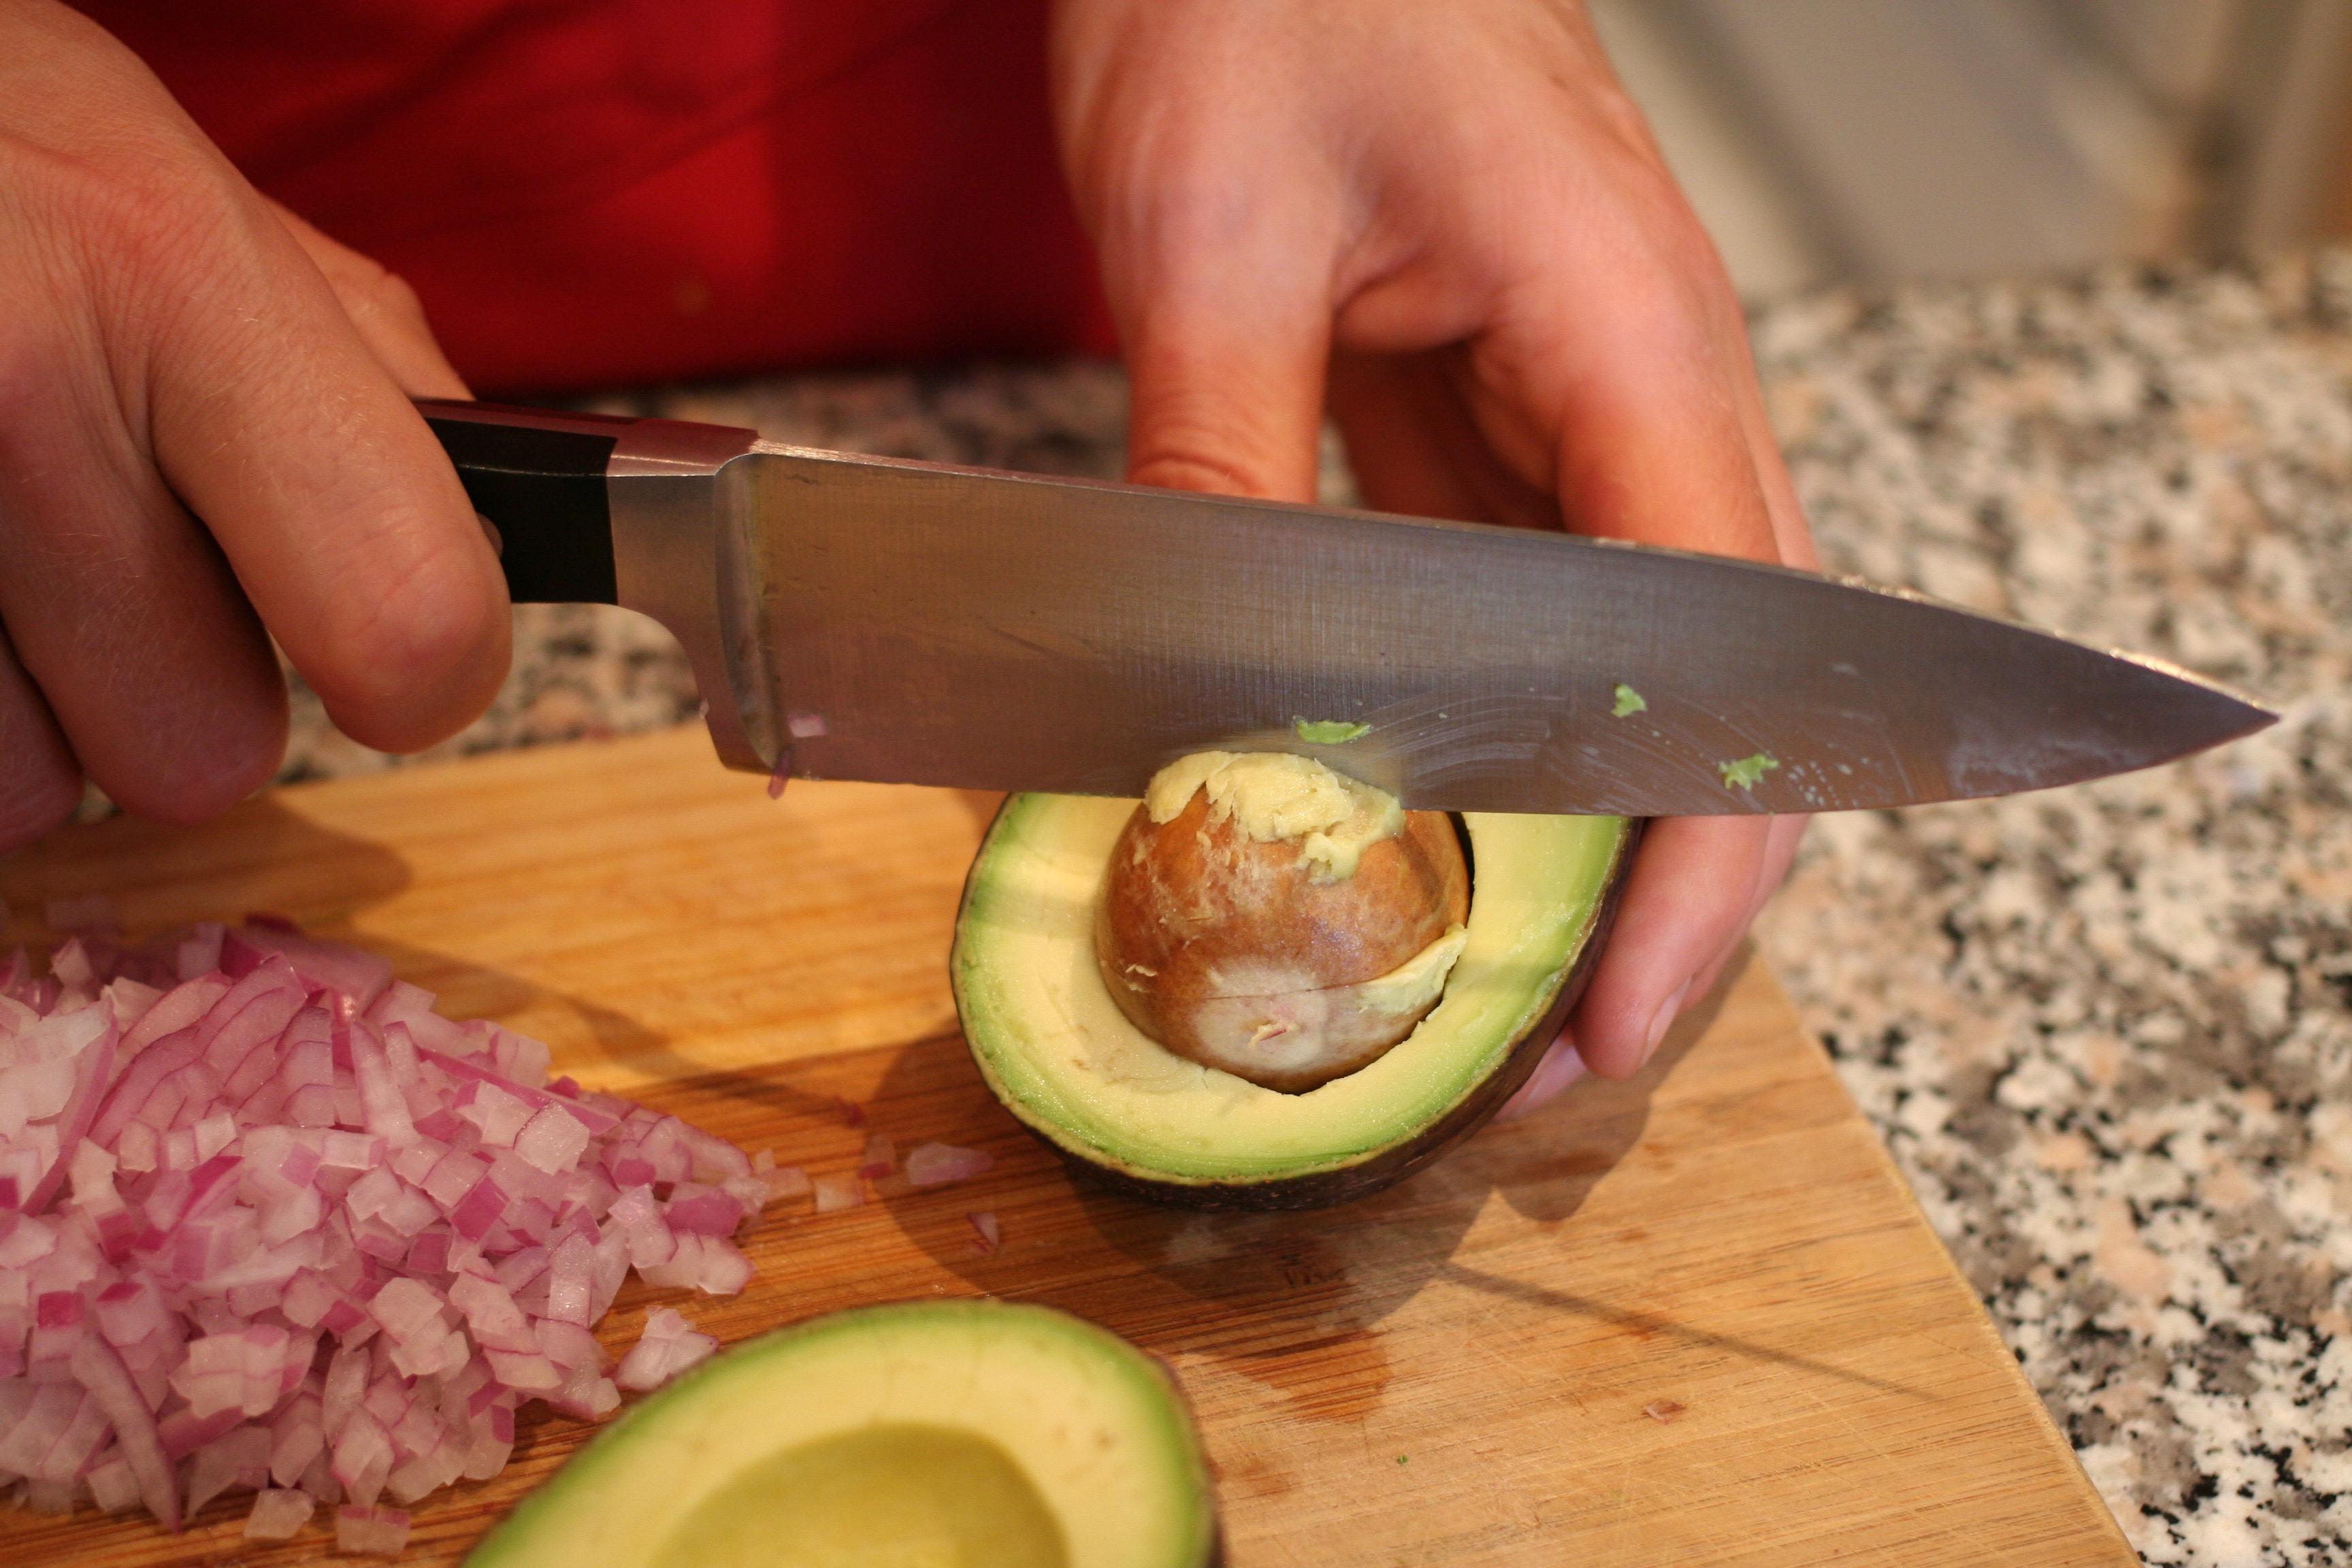
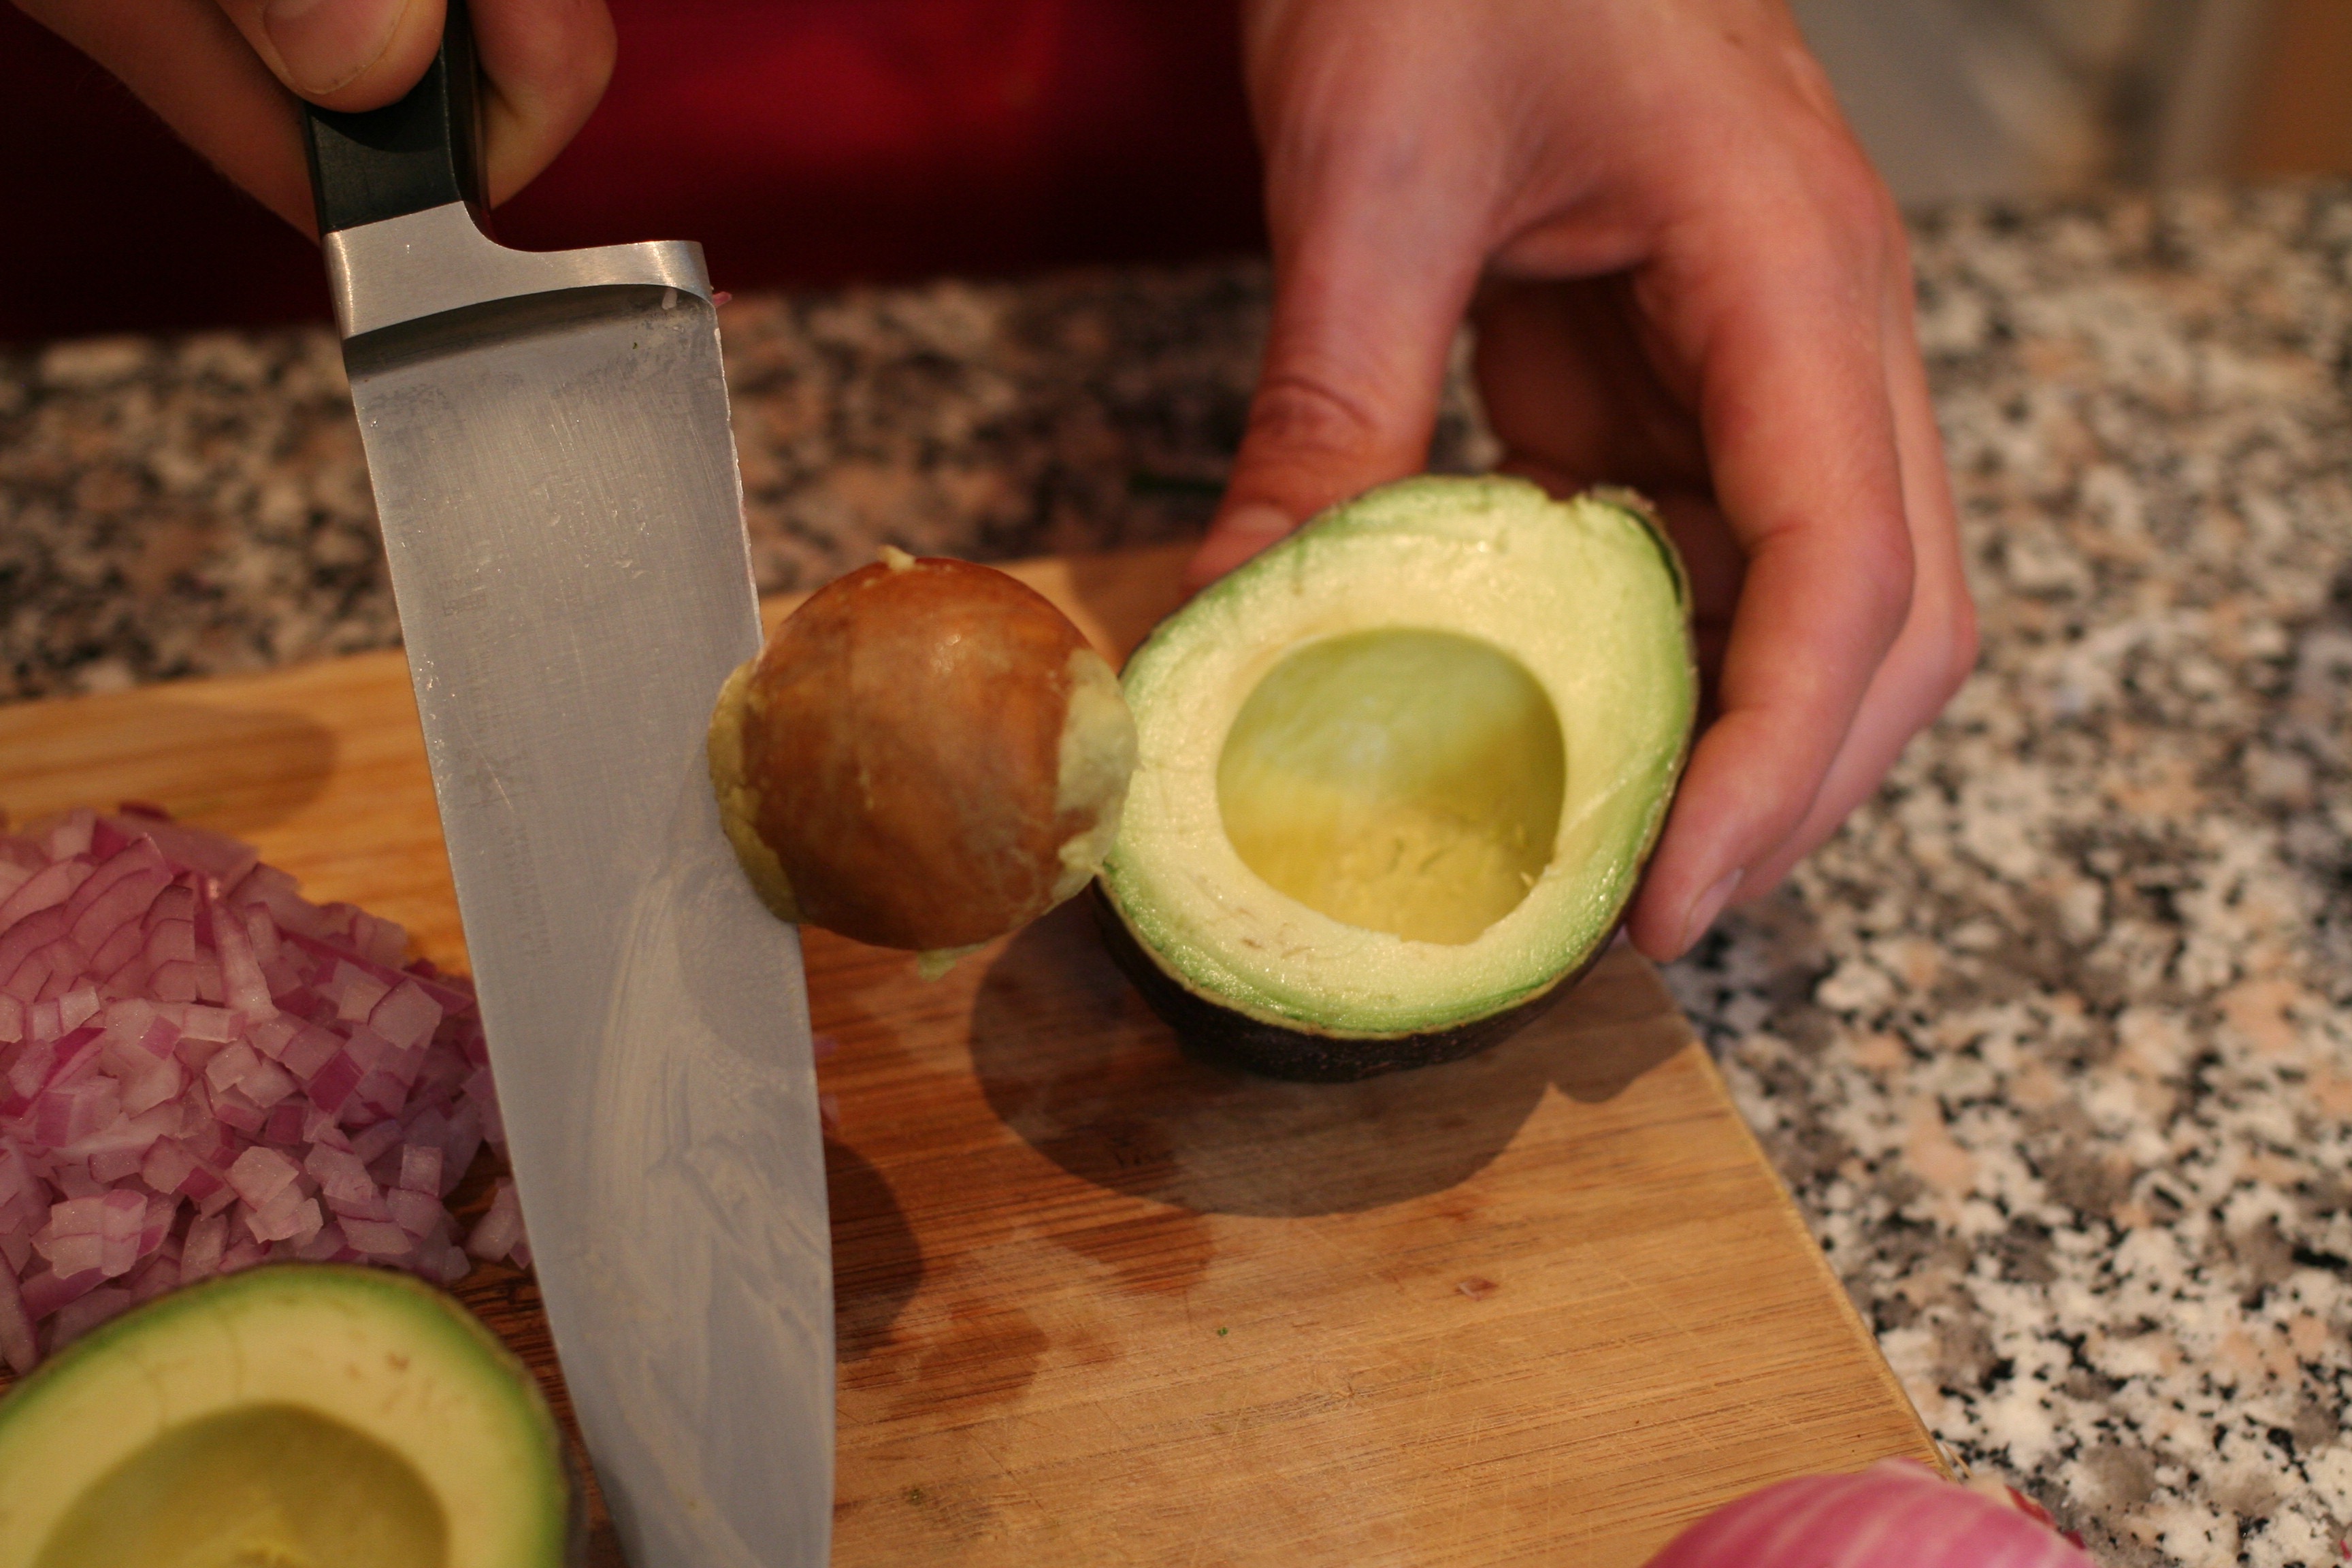
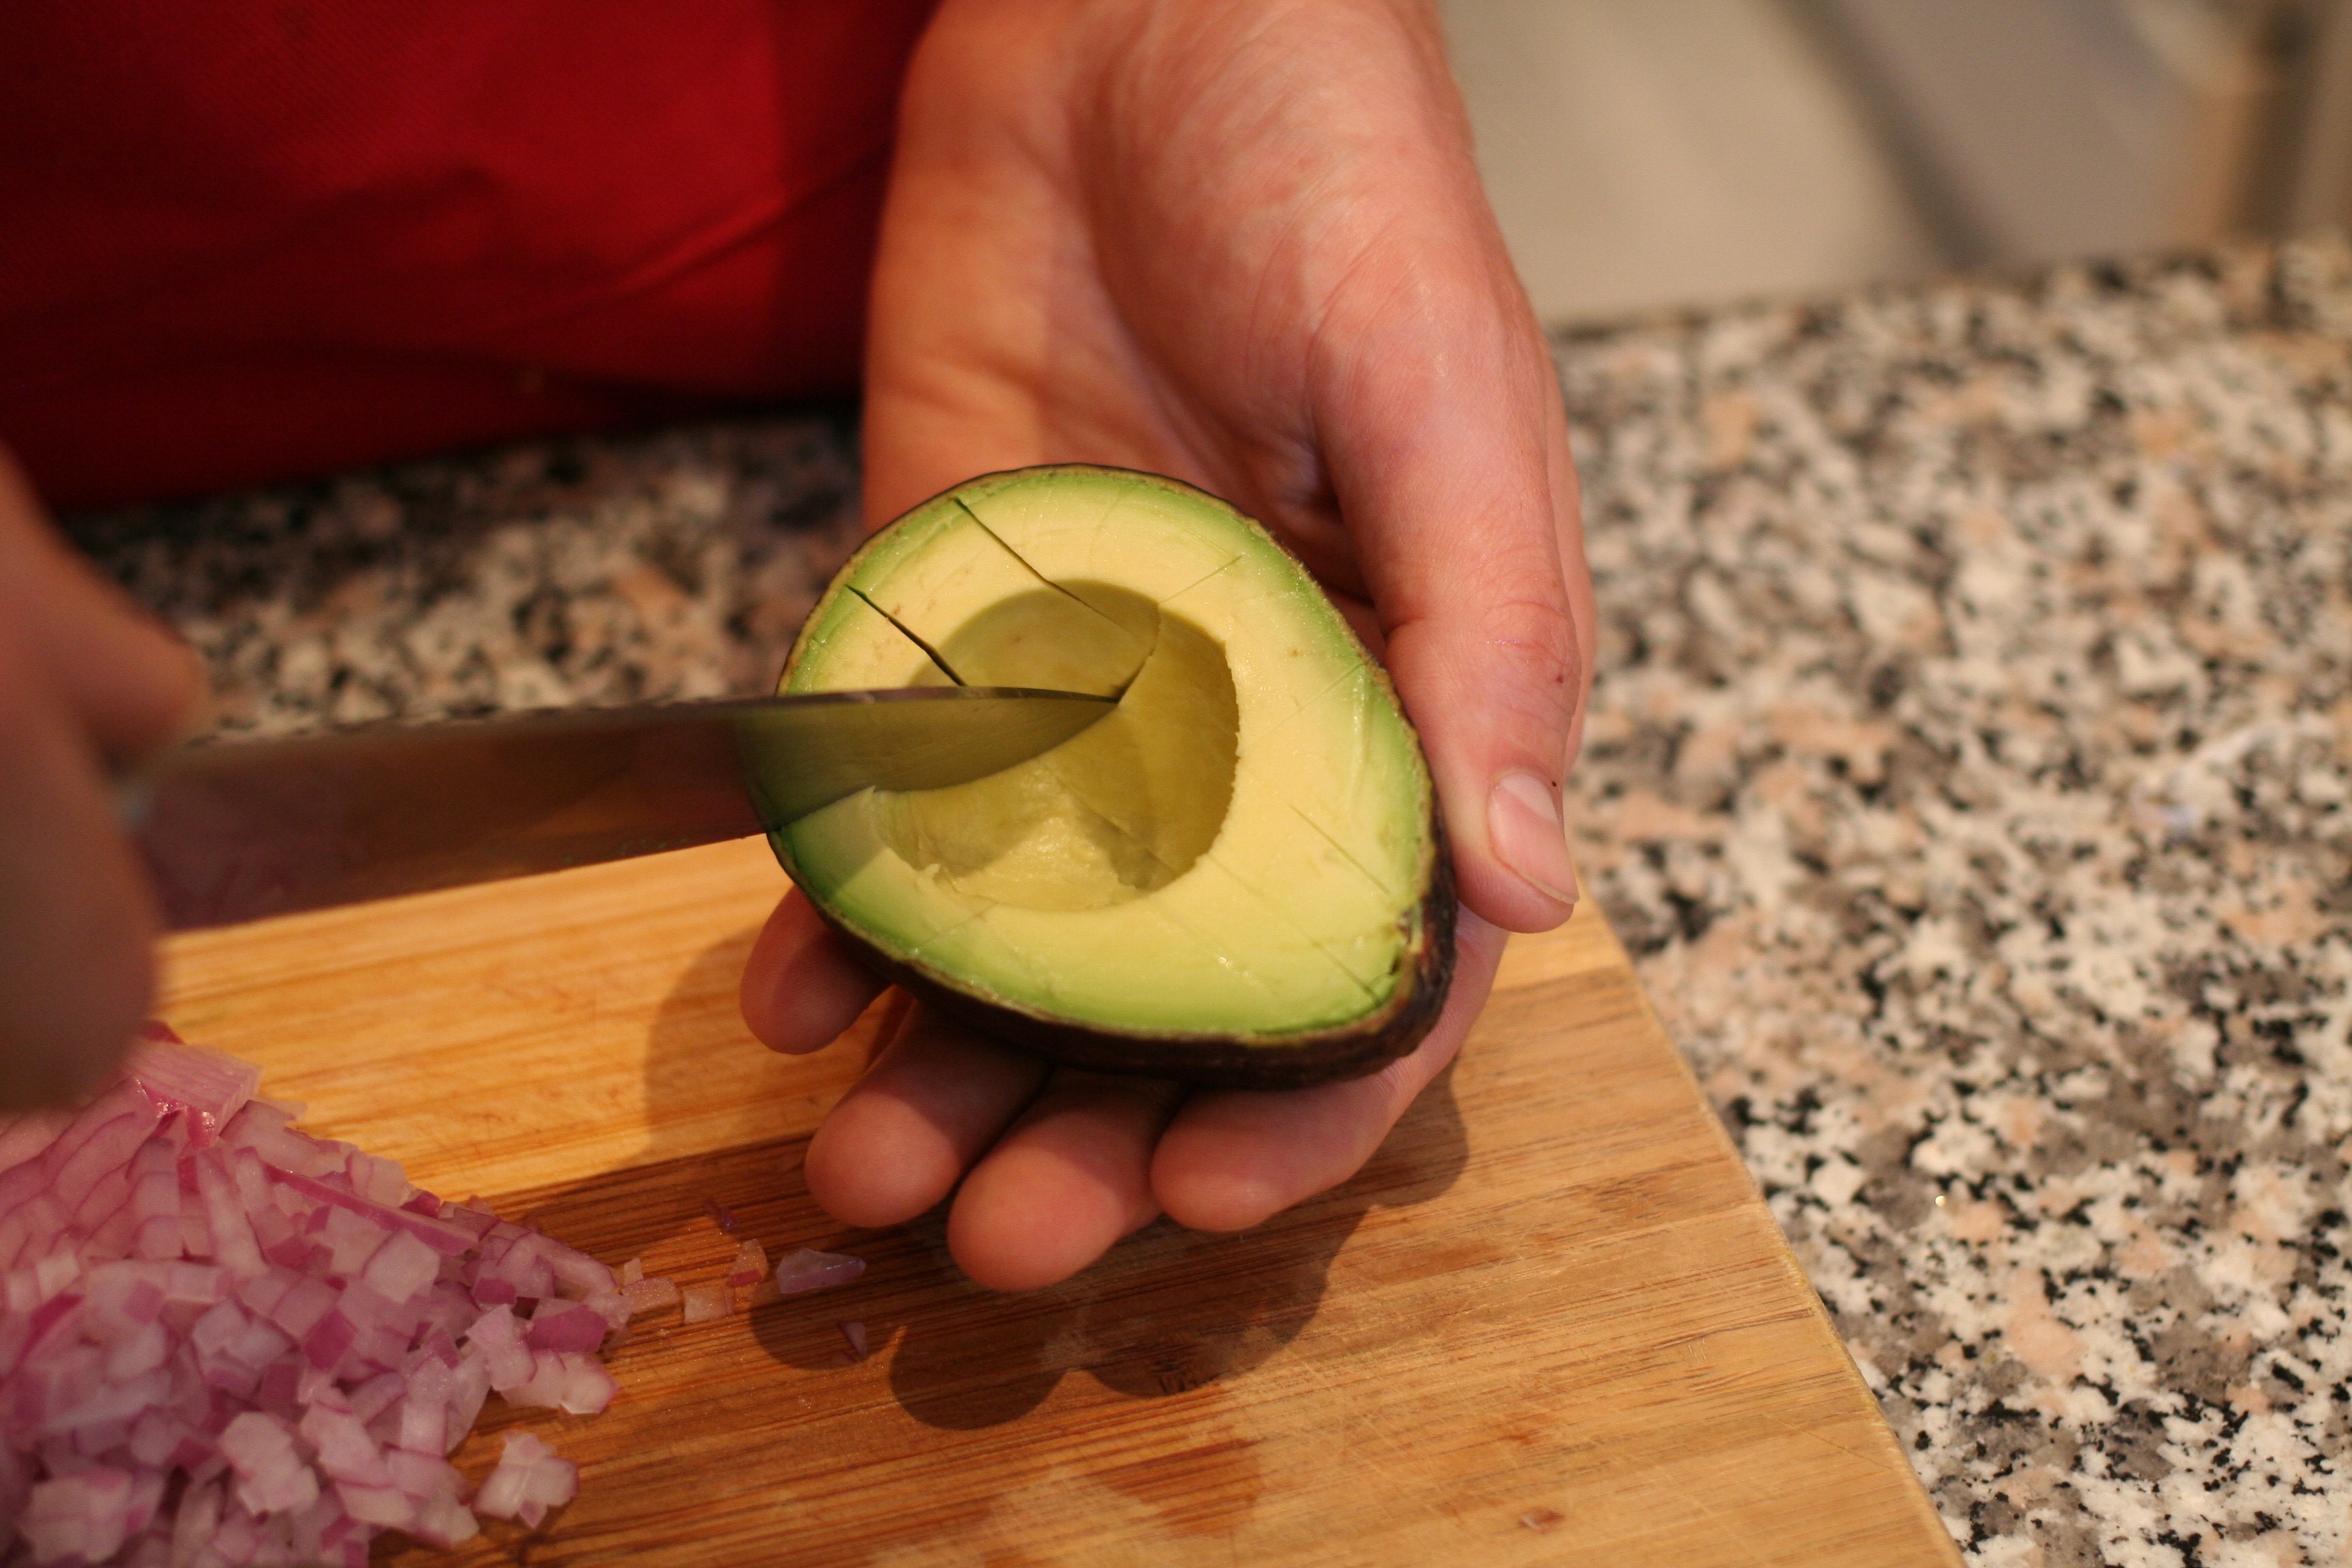
Step 3 – Opening Up The Darn Thing
Step 4 – Making Guacamole
Ingredients: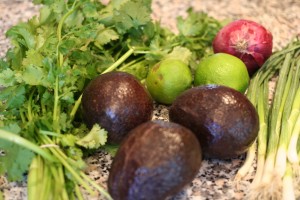
- 3 ripe avocados
- ½ red onion (or 1 small onion)
- juice of 2 limes
- 1 cup loosely-packed cilantro
- sea salt, to taste
- green onion to garnish (optional)
Directions:
1. Cut open avocados. Slice avocado horizontally and vertically (a.k.a. make a grid with the knife).
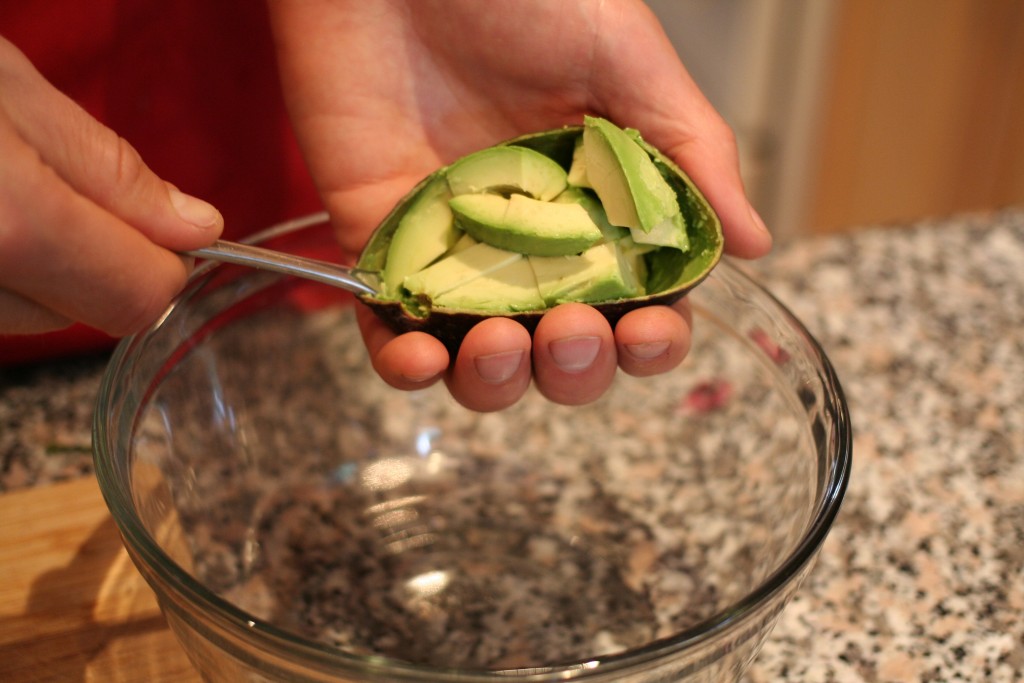
2. Use a spoon to scoop out the avocado into a bowl.
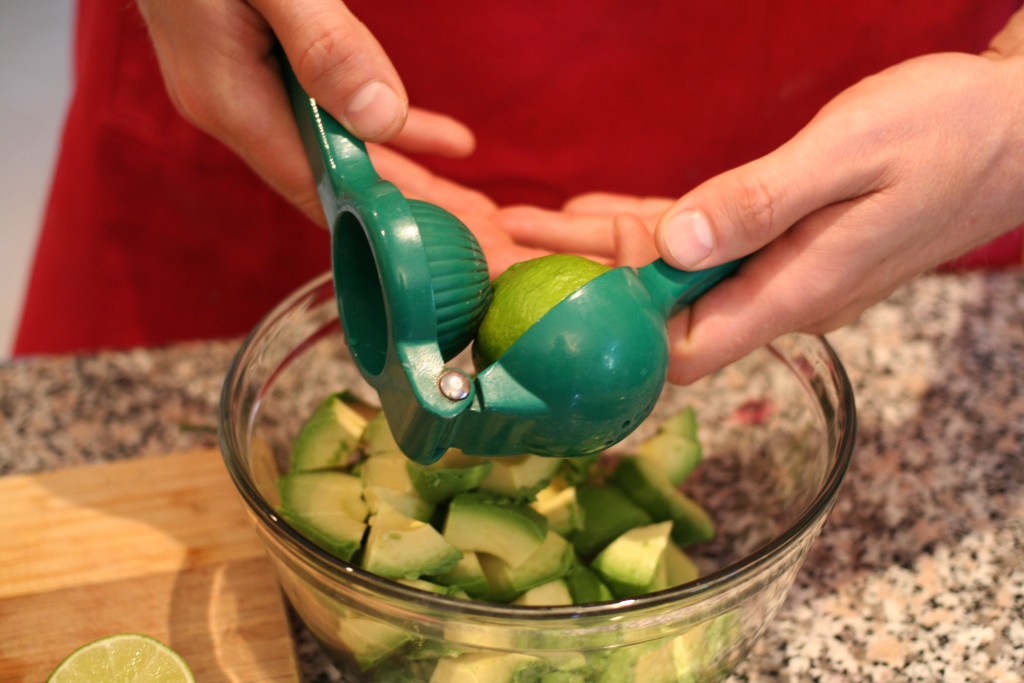
3. Juice 2 limes and add to the bowl.
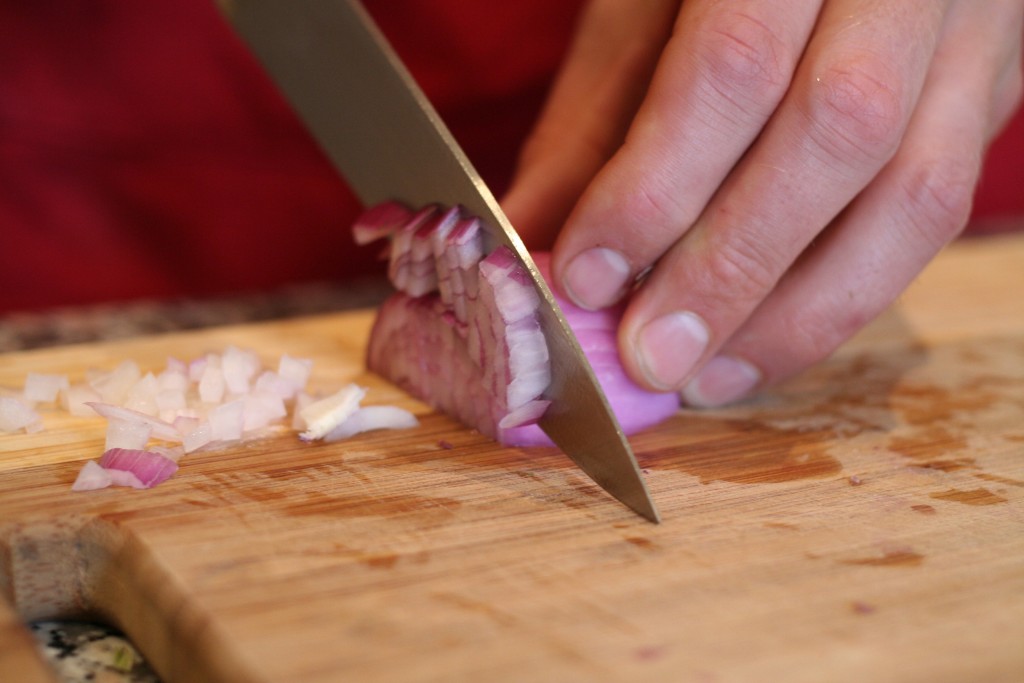
4. Dice red onion finely and add to the bowl.
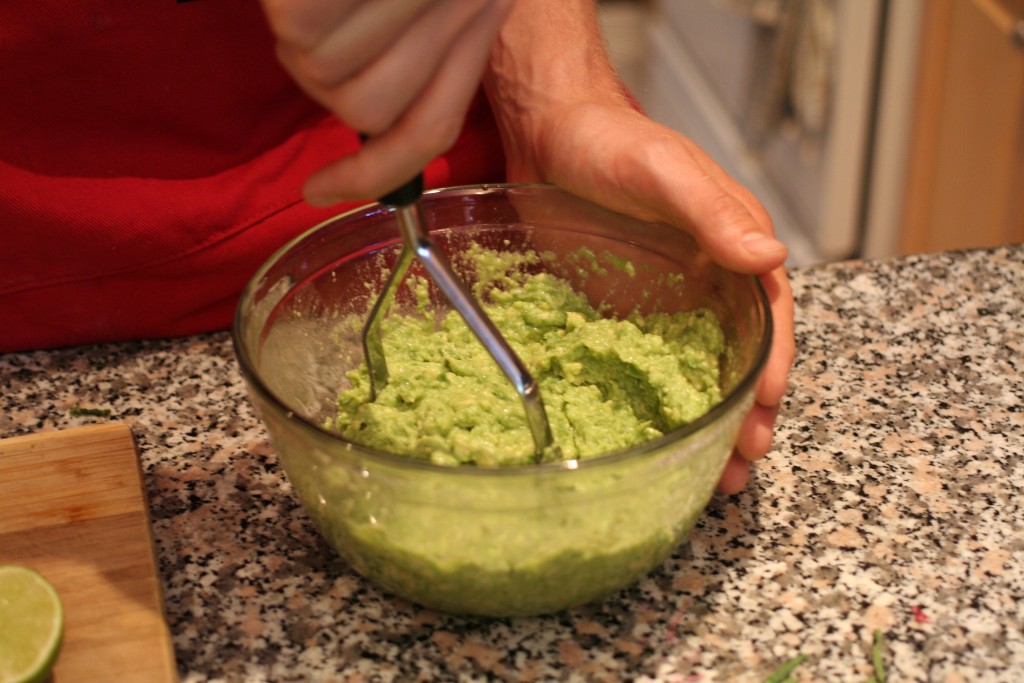
5. Season with a bit of sea salt and mash away! I use a potato masher, but a fork or meat tenderizer both work fine.
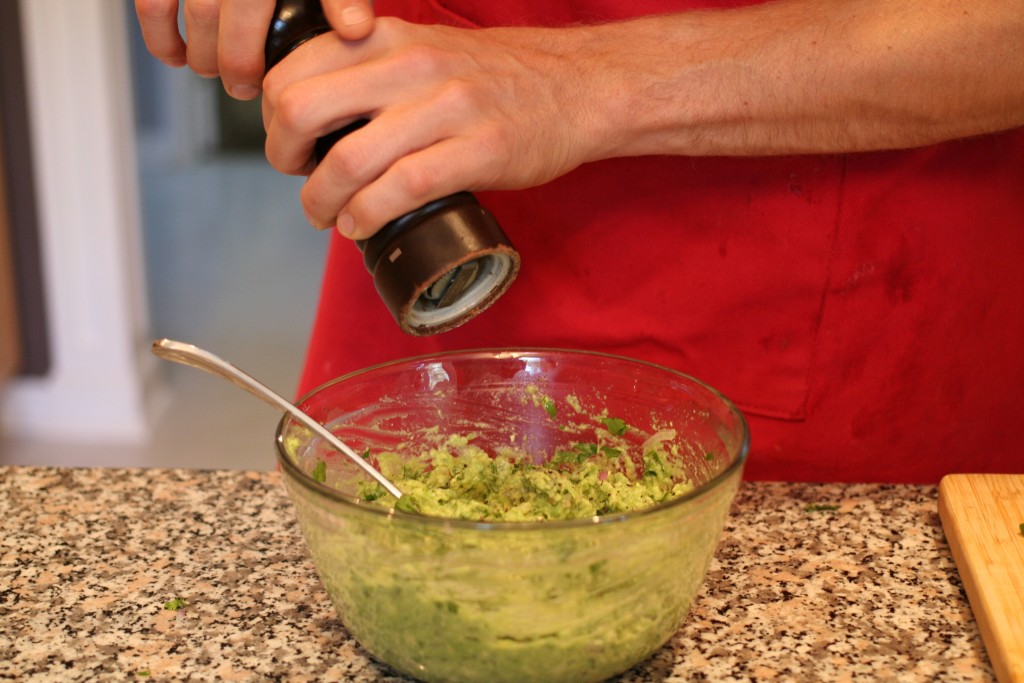
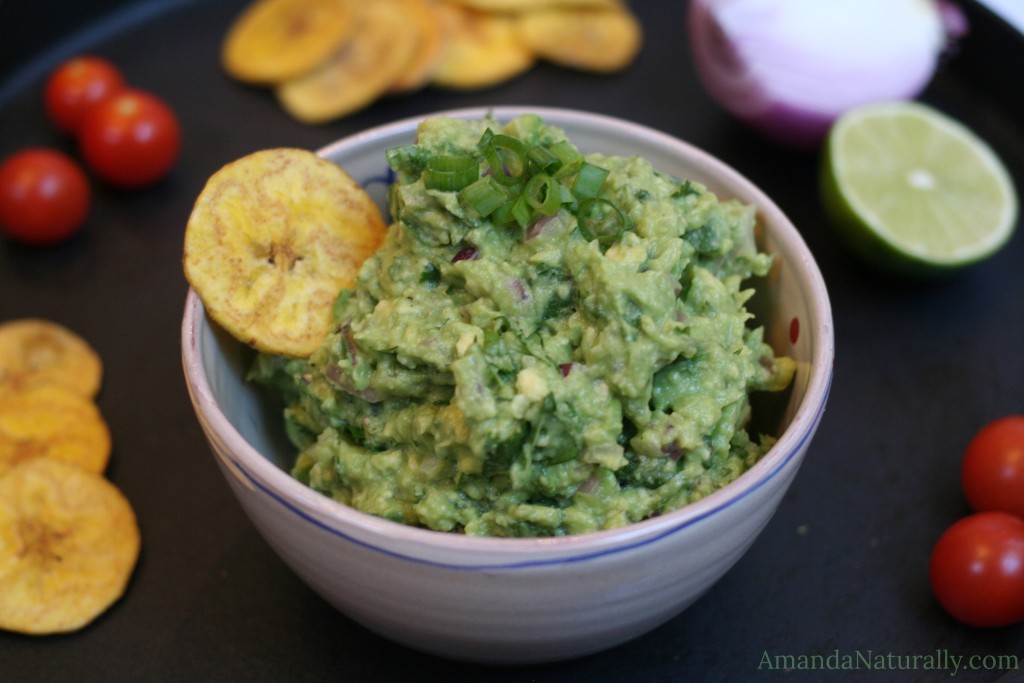
6. Taste and season with more sea salt, or add additional lime juice, based on you preference. Top with green onion if desired and enjoy! My personal preference is to enjoy guac with plantain chips or clean potato chips. The hubby loves it on organic blue corn chips!
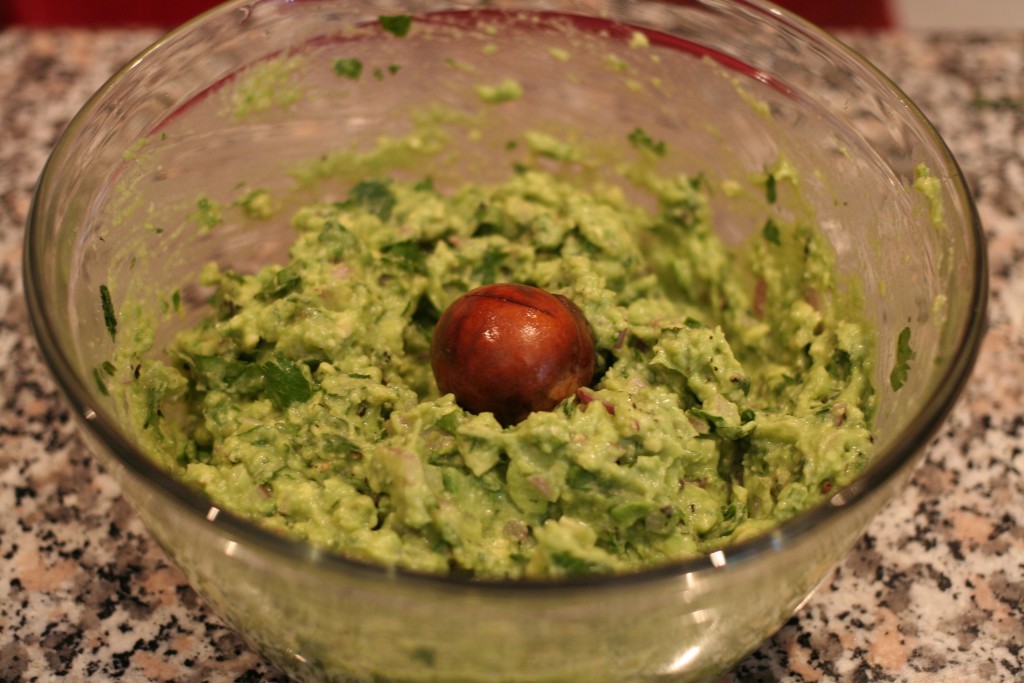
GUAC HACK: If you’re making guacamole in advance and you don’t want it to turn brown, there are 3 tricks you can use:
- Cover with lime juice (downside: much more lime flavour)
- Place saran wrap directly on the guac so no air can get in (downside: plastic, waste)
- Place the pits of the avocados in the bottom of the bowl, right in the guacamole. I learned this trick from a dear friend of mine who’s Argentinian and says that’s the only way to do it. This is what I do now!
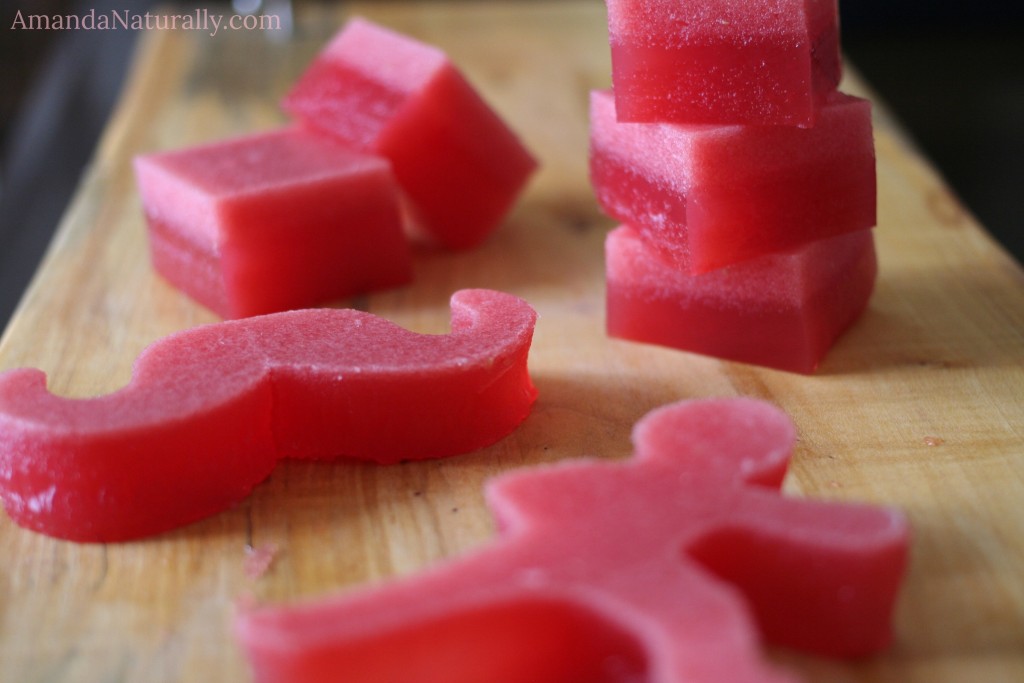
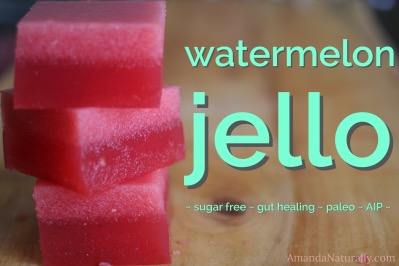 When I was in grade school, we were always allowed to bring in a treat for the whole class on our birthdays. Since my birthday was in June, and it was usually hot out, my mom would always make jello jigglers for me to take! They were always a huge hit because they were delicious, refreshing and fun. Making your own jello jigglers is super simple and can be incredibly healthy, as long as it’s not with the artificially sweetened, food dyed, jello brand.
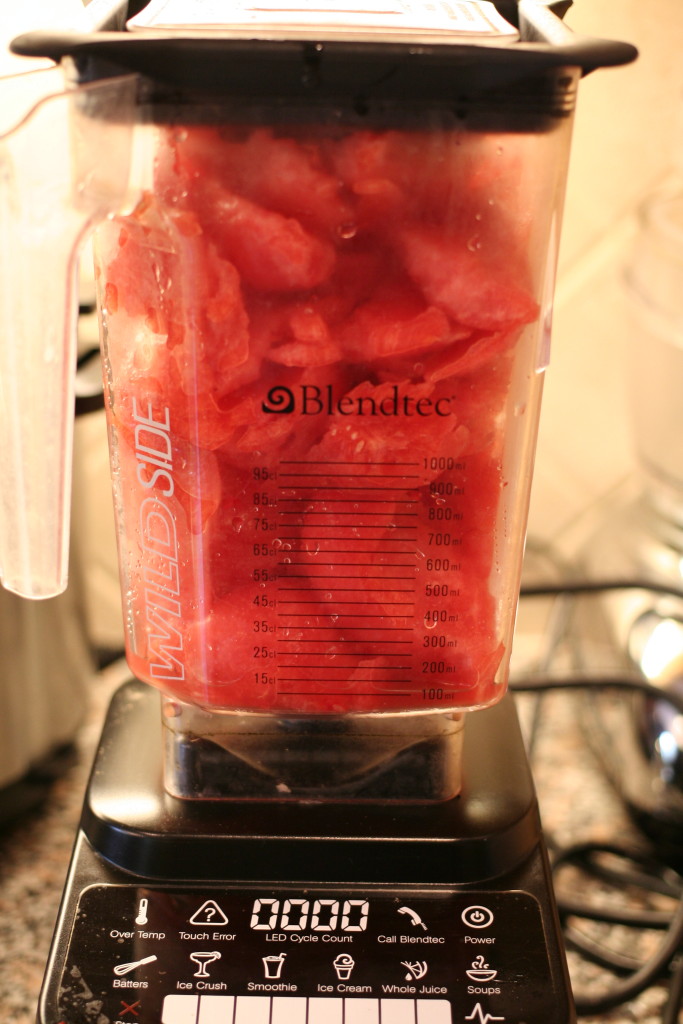 2. Puree in your
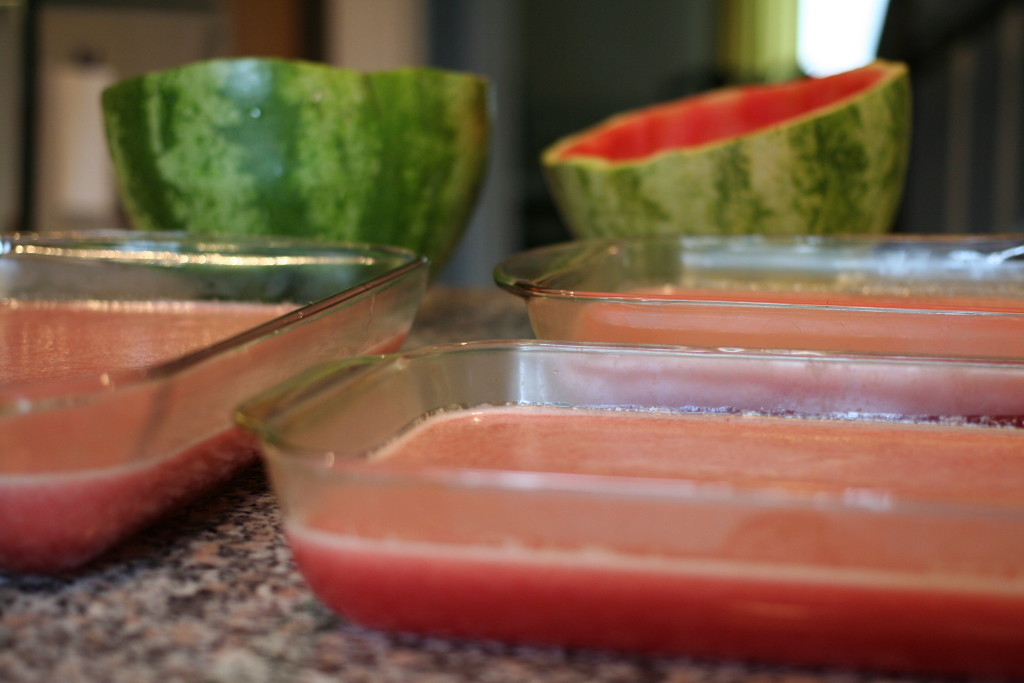
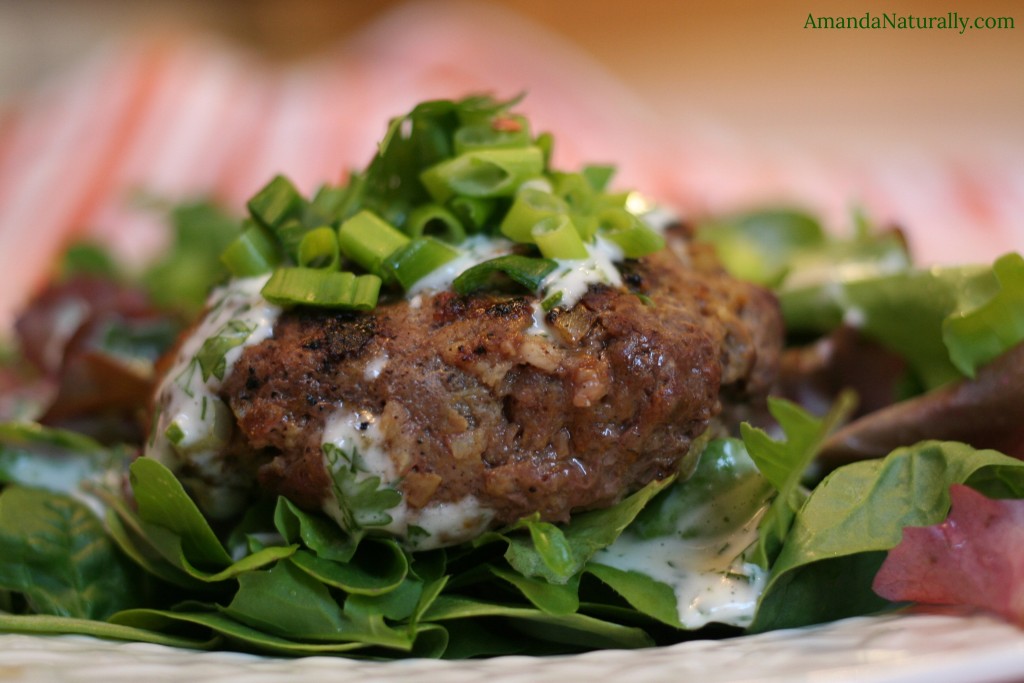
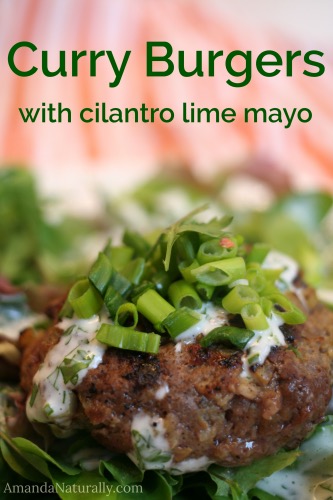 Burgers are a staple in our house! Why? Because they’re quick to make, delicious and inexpensive. The last part is key, because when buying