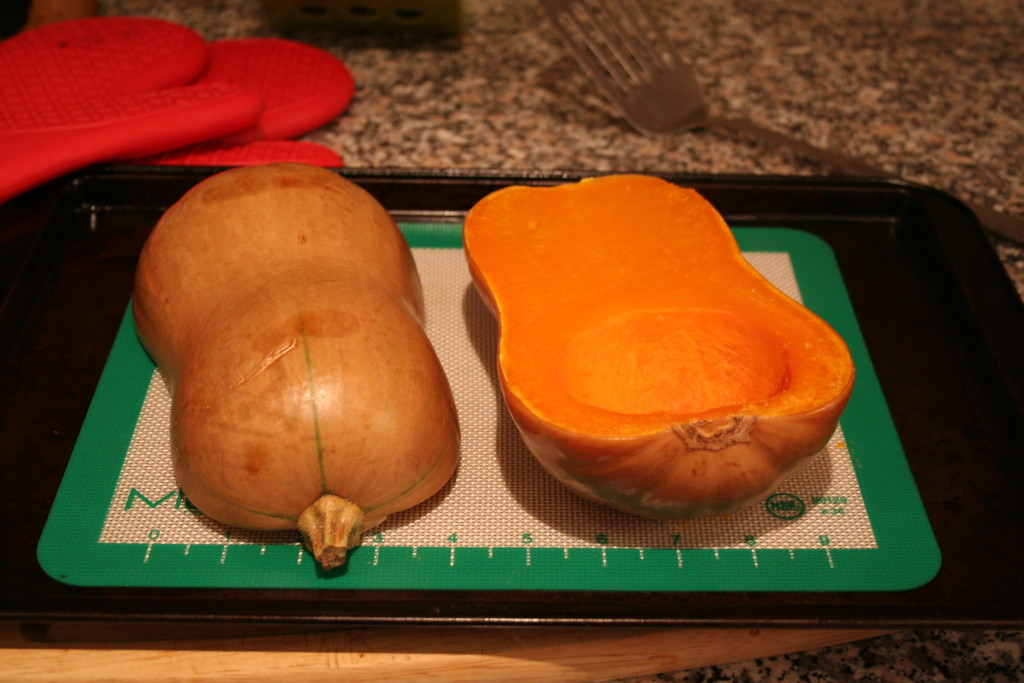
 With yesterday being the first day of October, I thought it would be timely to post a simple tutorial for cooking squash! Winter squashes of all varieties are one of my favourite foods, which is interesting because they literally made me gag as a kid – I wouldn’t even carry the squash dish to the Thanksgiving table. There are so many varieties of squash, each with their own flavour profile, all of which are packed with nutrients. High fibre, lower in carbs than the typical starchy veg (if that’s important for you) and containing powerful antioxidant carotenoids (eg. lutein, zeaxanthin, beta-cryptoxanthin), they are a great food to consume on the regular.
However squash does come with one downside. They’re hella hard to get into! For anyone who has attempted to cut into a large butternut squash, you know the feeling of hoping you don’t lose a finger! For anyone who hasn’t attempted, I can see why you’re waiting. Well fear no more! This here is my technique that I use to preserve all of my fingers. It has worked on every type of squash I’ve tried it with – butternut, acorn, pumpkin, kabocha, buttercup, spaghetti and other varieties I scored at farmer’s markets or in my food bin that I have no idea what they actually were!
Squash Tutorial
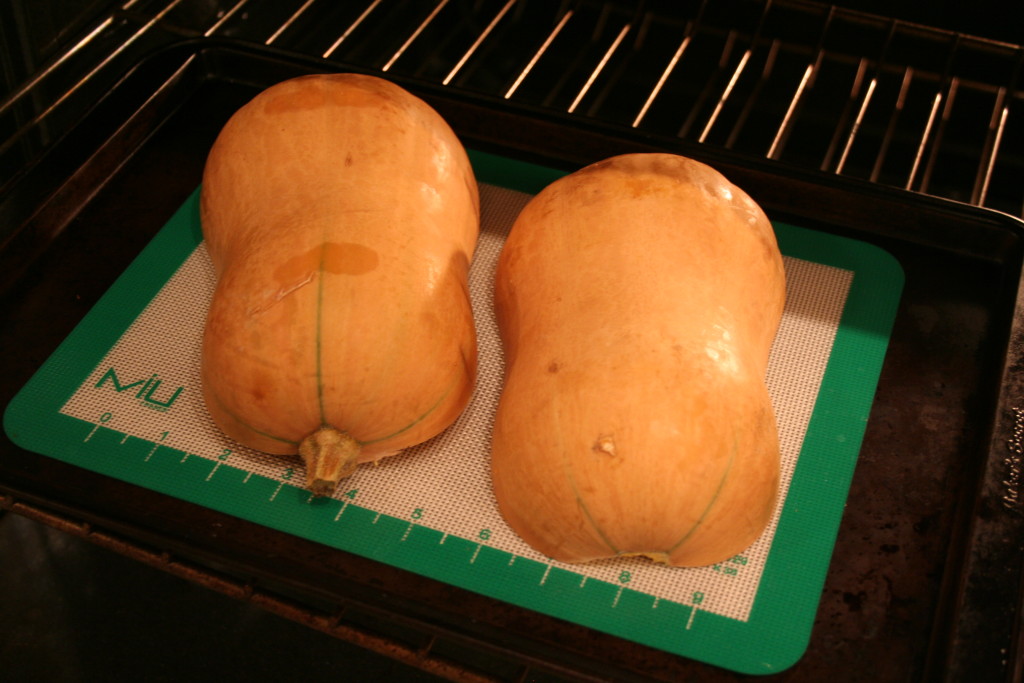
1. Place the entire squash in your oven.
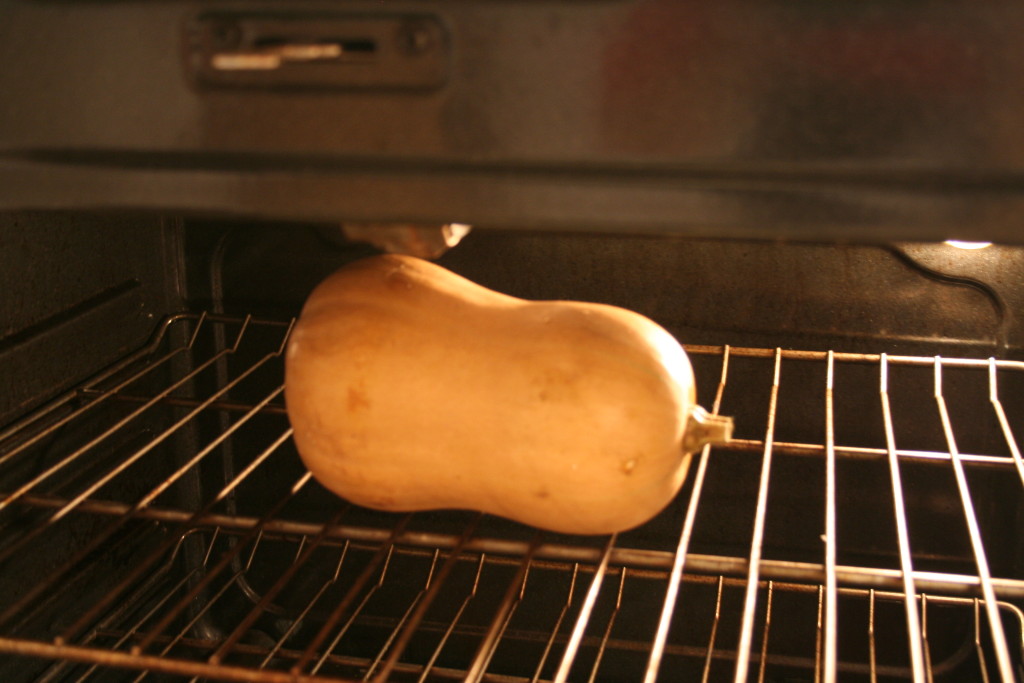
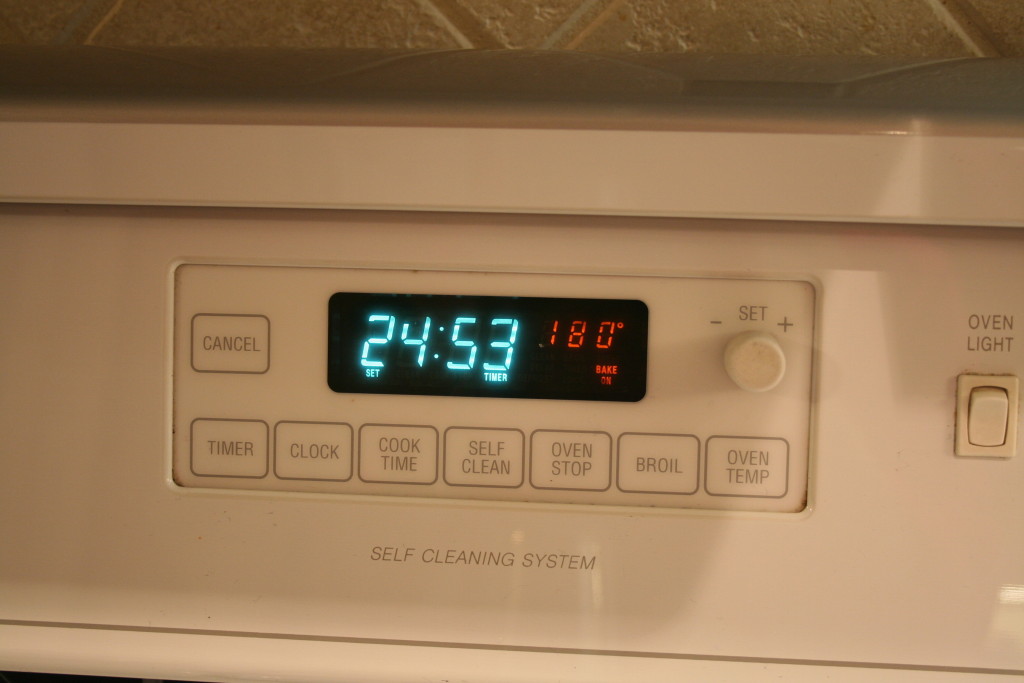
2. Close oven door, preheat oven to 400F and set the timer for 25 minutes. No need to poke holes or check on it – it won’t explode!
3. After 25 minutes, you should be able to cut into the squash much more easily than if it was raw. However, it’s not cooked too much that you lose the flesh when scooping out the seeds. Scoop out the seeds and if you want to cube it, do so now. The skin should come off easily with a vegetable peeler or a sharp knife, and cubing the squash should be quite easy because it’s partially cooked! If you don’t want to cube it, go to the next step.

4. Place face down on a baking sheet and return to the oven for another 20-30 minutes, depending on the size of the squash. Start checking at 20 minutes to see if the flesh gives to pressure.
5. When the squash is done to your liking, remove it from the oven. See the beautiful orange colour it turned? At this point, do what you like with it! Turn it into a roasted Butternut Squash Soup; stuff it with ground meat and cauli-rice; shred it (if it’s spaghetti squash) and top with bolognese or toss with sausage and mushrooms; or simply mash with some ghee, butter or coconut oil and season with sea salt (add extra flavour by adding maple syrup and orange juice – that’s a secret family recipe btw).
UPDATE: If you have an Instant Pot, you can cook a squash WAY faster. However, it won’t have that caramelized, roasted taste. It’s fabulous for soups and spaghetti squash though! Here’s how:
- Slice squash in half, remove the seeds.
- Place trivet in the bottom of the Instant Pot. Add 1 cup of water.
- Place squash on top of trivet.
- Close lid. Set to “Manual” for 5 minutes (for spaghetti, acorn… for a large butternut, you might need to do 7 minutes).
- Use the “Quick Release” method when the 5 minutes is up!

