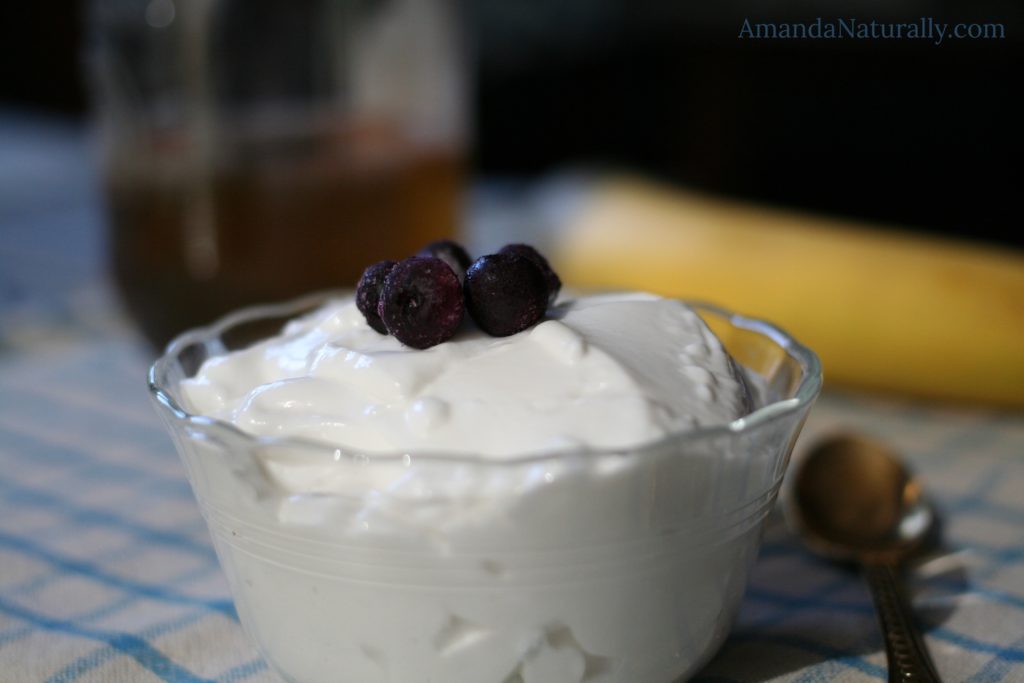
 Yogurt is one of the foods I miss the most, since having to avoid dairy. Unfortunately there are no good alternatives out there. And while there are some expensive cultured almond or coconut snacks available, they are filled with stabilizers, gums and other weird ingredients – so I don’t touch them. Not to mention they’re always super low fat, so what’s the point? I had resigned myself to not having any yogurt ever again, until I got an Instant Pot and can now make homemade Coconut Milk Yogurt! I guess I could have used this recipe with a standard yogurt maker, or the old school way of a pot in an oven overnight, but alas, it took me getting this awesome kitchen gadget to figure it out!
Not only is yogurt super delicious, but it is another probiotic rich food. Supporting the gut bacteria through regular consumption of probiotic foods such as yogurt and sauerkraut, is one of the best things you can do for the health of your entire body! And when probiotic foods are as delicious as this coconut milk yogurt, it’s not hard to consume it on a regular basis!
Coconut Milk Yogurt in the Instant Pot
Ingredients
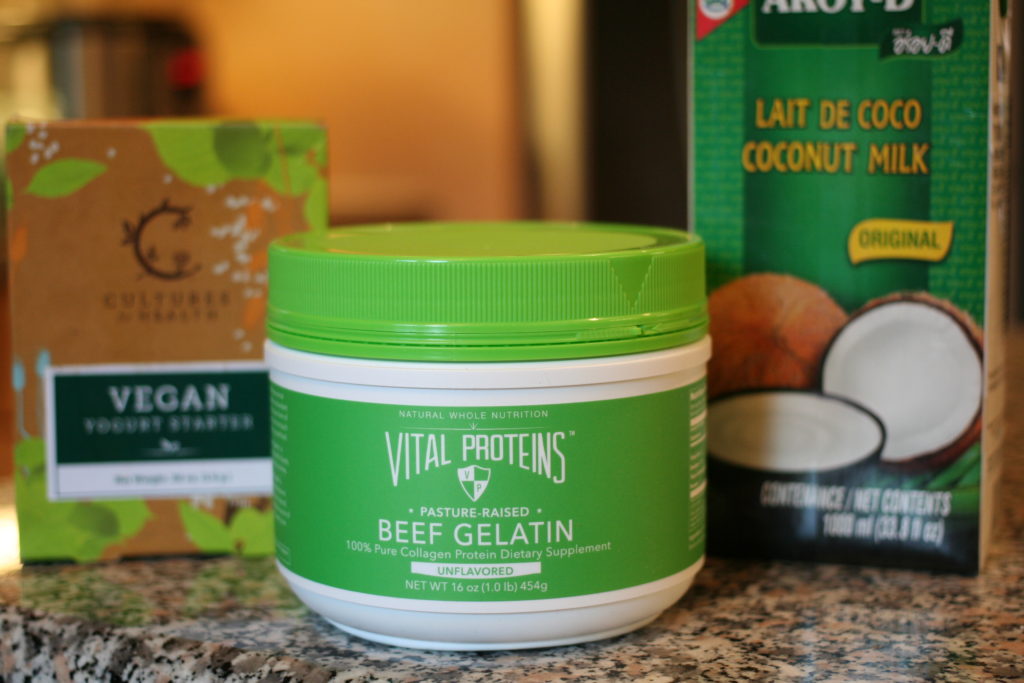
- 4 cups of coconut milk (I like the brand Aroy D because it doesn’t contain any guar gum or carrageenan. I get it at an Asian Supermarket, but apparently it’s been found at places like Walmart and Superstore.)
- 2 packets Cultures for Health Vegan Yogurt Starter OR ½ cup yogurt from your previous batch
- 2 tsp gelatin (My favourite brand is Vital Proteins green tub, which unfortunately is still on backorder on Amazon at the time of publishing this post, but if you’re in Whitby you can grab some at our office. Great Lakes red carton is a great alternative, available on both Amazon and at stores like Healthy Planet.)
Directions
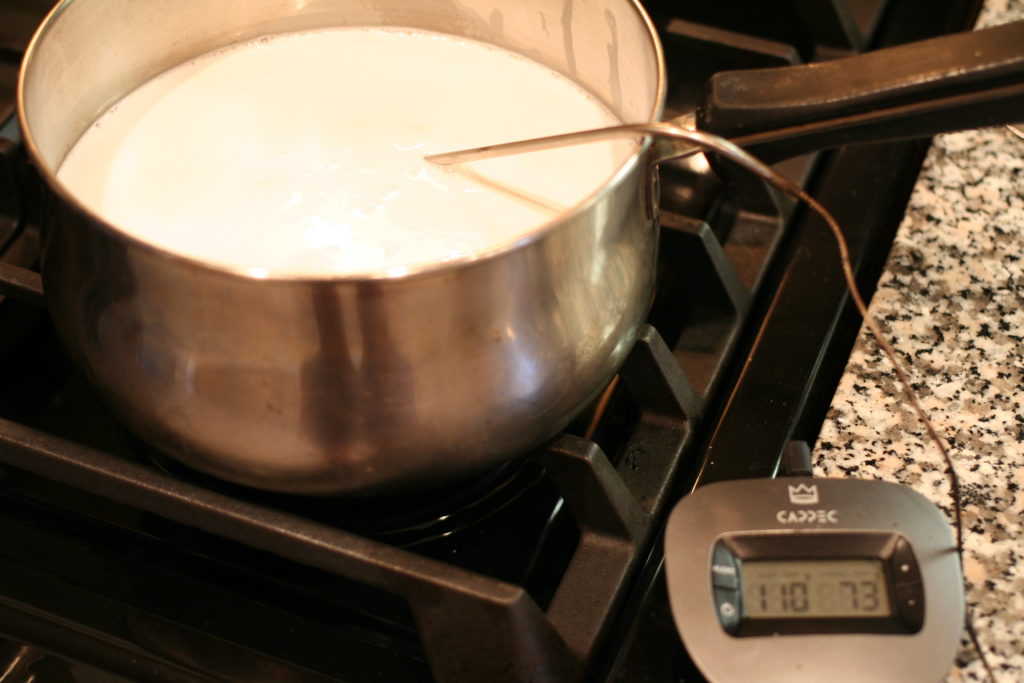
1. Heat 4 cups of full-fat coconut milk (I prefer the Aroy D brand) in a pot, to 110F. Use a candy thermometer, or an electronic meat thermometer ( <– another favourite kitchen gadget). Stir frequently, it only takes a few minutes. As soon as the temperature hits 110F, pull it off the heat.
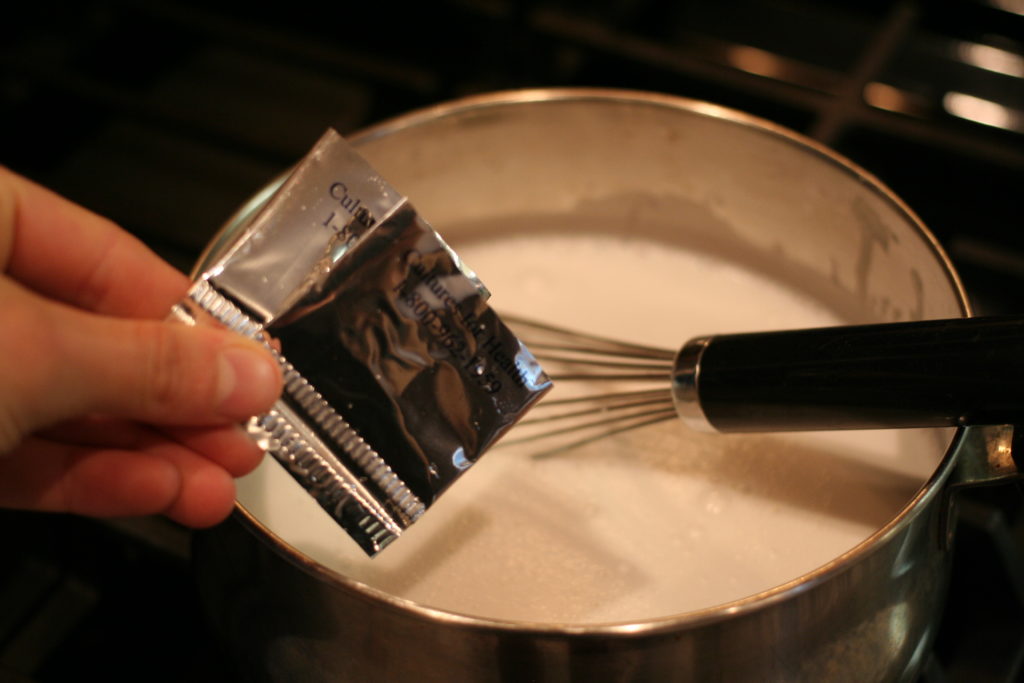
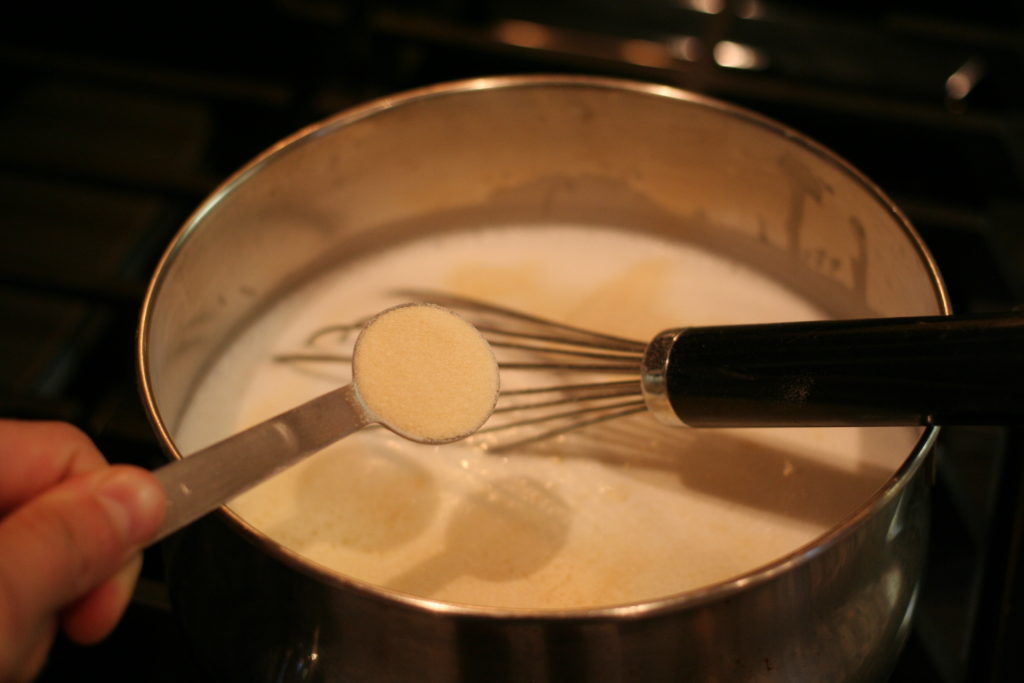
2. Immediately whisk in ½ cup of a previous batch of yogurt (you can use dairy if tolerated, store-bought or your previous batch) or 2 packets of Vegan Yogurt Culture (I love the Cultures for Health product, although it does have a bit of rice starch in it – something to note if you’re sensitive or following the AIP protocol). NOTE: Apparently you can use 2 or 3 probiotic capsules, but I haven’t tried this. (UPDATE: a friend told me she uses ¼ tsp of probiotic powder, or 2-3 capsules, and 1-2 tbsp of maple syrup)
3. Whisk in 2 tsp grassfed gelatin. Without this, it won’t thicken. You will still have a yummy, tangy coconut milk, but it will definitely be milk, not yogurt. NOTE: Apparently you can use agar agar to keep it vegan, but I haven’t tried this since I’m always looking for extra ways to get in gelatin!
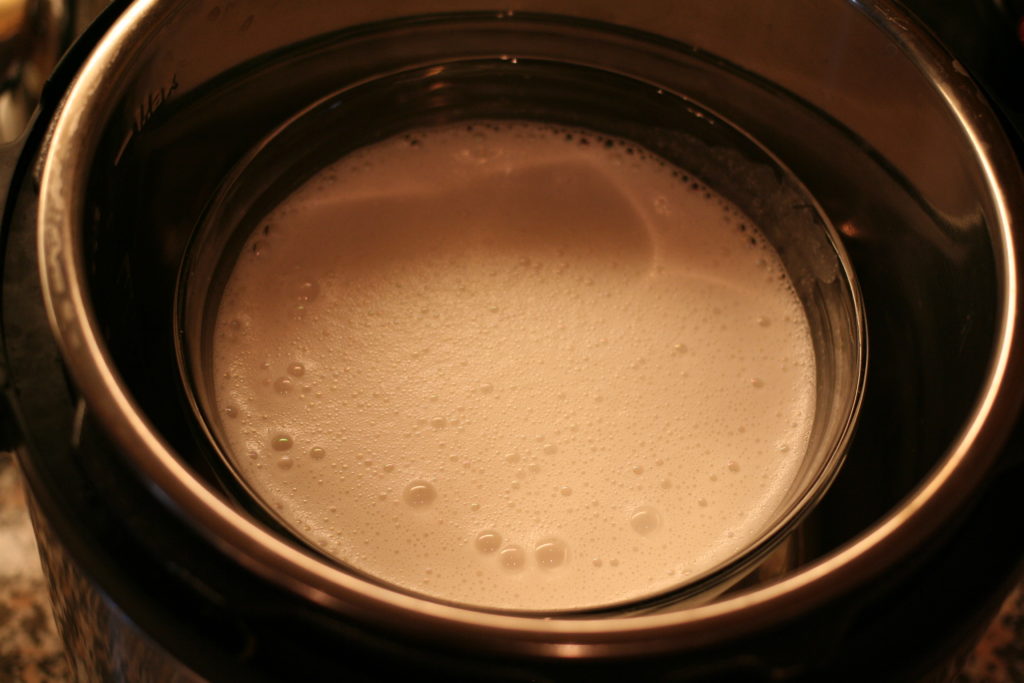
4. Pour into jars, or a glass bowl (that fits in the pot), and place in the bottom of the Instant Pot. NOTE: don’t put the yogurt directly in the Instant Pot. Since it is stainless steel, mine retains a slight hint of what was previously cooked – usually broth. And trust me, broth-flavoured coconut yogurt is not good.
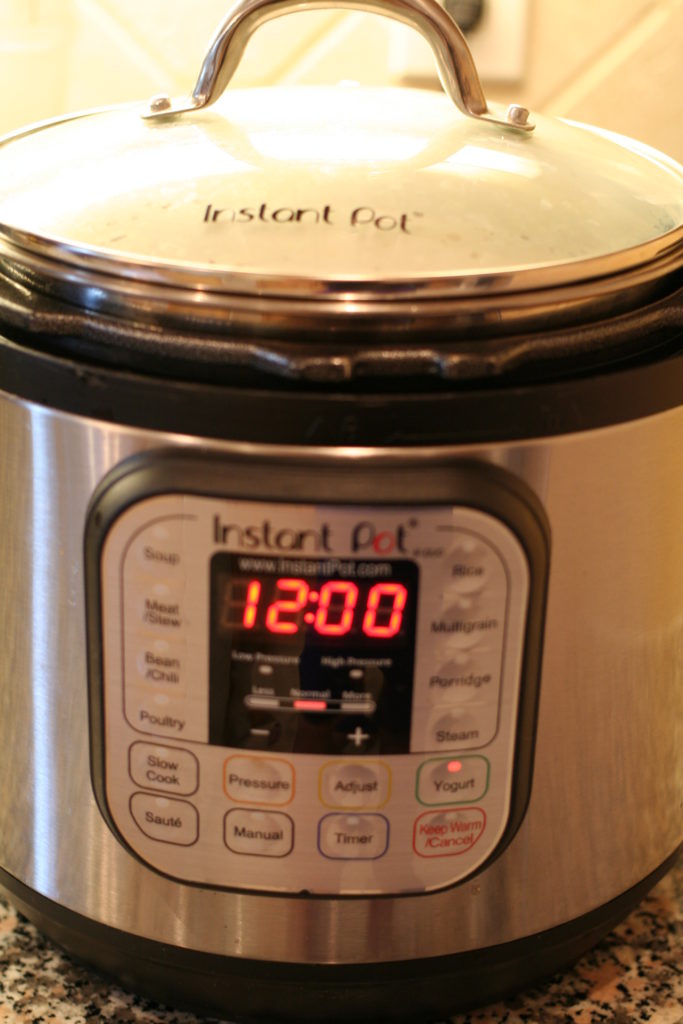
5. Secure the lid (or place the glass lid on), press the “yogurt” button, adjust the time to 12 hours and walk away. NOTE: if you don’t like really tangy yogurt, start checking the flavour around 8 hours.
6. 12 hours later, remove from Instant Pot and store in fridge for a few hours to let set. If you are planning to make another batch, store ½ cup in a separate container to use again later. NOTE: I have found that I can only do this a few times, before I need to reinoculate with a new batch of probiotics/yogurt starter. Likely because there isn’t enough sugar in the coconut milk to support continual growth. You might have success by adding sugar or a simple starch like potato or tapioca, to encourage more growth.
7. Yogurt lasts about 2 weeks in the fridge, although it will start to separate after about a week. That’s just what happens when you don’t use any emulsifiers! It’s perfectly fine to eat!
Add Ins:
- In step 3, I also add in a liberal amount of collagen peptides, which doesn’t gel. This adds extra protein and extra gut/joint/skin healing goodness.
- In step 5 you can add in additional flavours such as:
– fruit
– honey or maple syrup
– vanilla extract
– cocoa powder
Alternative Methods of Yogurt Prep
I love the Instant Pot because it’s a one-stop shop. It quickly became the most used (and loved) gadget in my kitchen. If you make bone broth regularly, it’s a no-brainer to add to your arsenal. However, it’s definitely not the cheapest item, and there are other ways to make yogurt that don’t require this gadget. Check out the following resources if you want to make coconut-milk yogurt sans the Instant Pot.
NOTE: the directions in the above links use cow milk. With coconut milk, you do not need to heat it to 200F first because there is no bacteria that needs to be pasteurized out.
Dairy Yogurt
If you tolerate dairy, you can absolutely follow the same instructions, just make sure you heat the milk to about 200F first and let it cool before following steps 1-7 above. Cow, goat and sheep milk can all be used! The reason for making your own dairy-yogurt is purely for nutritional value (and cost!). It can be extremely challenging to find quality dairy that is also higher in fat, and since the fat is what contains most of the nutrients from dairy, that’s what you want to be eating! Look for grassfed or organic yogurt that is as high fat as possible. I’m talking at minimum 2-3%, but ideally higher than that. Since that kind of product is hard to come by, purchasing organic or grassfed milk (or goat/sheep milk) and making your own yogurt is a solid option – not to mention friendlier on the wallet!
