Now that it is officially fall, I can finally post a pumpkin recipe! It’s been a busy week in my household, so I’m going to keep this post short. It’s also been an exciting week, because I was quoted in an article for in the Toronto Sun, as well as local Sun Media papers in a dozen or so other Canadian cities such as Calgary, Ottawa, Edmonton and Winnipeg. Check out my thoughts on sugary vs. salty snacks here!
Okay, back to more important things, our beloved pumpkin – the celebrated fall flavour that is exploding all over the blogosphere and Pinterest right now! You can pretty much type “pumpkin” before any food and find a recipe…pumpkin fudge, pumpkin muffins, pumpkin pie, pumpkin chill and of course, the fan-favourite:
Pumpkin Spice Latte!
I’ve been making my own pumpkin spice latte for a few years now, because:
I didn’t trust the barristers to not cross contaminate my soy latte with milk
I don’t love soy milk, especially the heavily sweetened one they use at Starbucks
They’re damn expensive
I didn’t trust the ingredients
I knew the ingredients had to be shifty, but I hadn’t actually looked into it, so I couldn’t speak to it. Well that all changed a few weeks ago when Vani over at The Food Babe did an expose about what’s in your PSL! If you haven’t seen it on your Facebook feed, go check it out now. It’s worth the read! Turns out all of my reasons for avoiding the Starbucks PSL were legit: the pumpkin syrup is sweetened with condensed milk, so even a soy version has dairy in it, and there are some other sketchy ingredients!
Last year I was in the habit of routinely making PSLs from scratch every morning – and while they were delicious, it was a little time consuming. So this year, I created a PSL creamer that you can just add directly to your coffee! Not a coffee lover? Add some extra milk to enjoy a warm mug of pumpkin spice deliciousness, similar to a hot chocolate!
A few notes: – pumpkin spice does not have to contain pumpkin, but I like to add it because it makes the flavour richer and pumpkin is good for you! – I don’t like my coffee sweet, so if you’re expecting a Starbucks style PSL, you’re going to want to add more maple syrup! – the creamer works best if you pour it in first, and add coffee to it, or if you blend it with an immersion blender, but a vigorous whisk with a fork will do just fine!
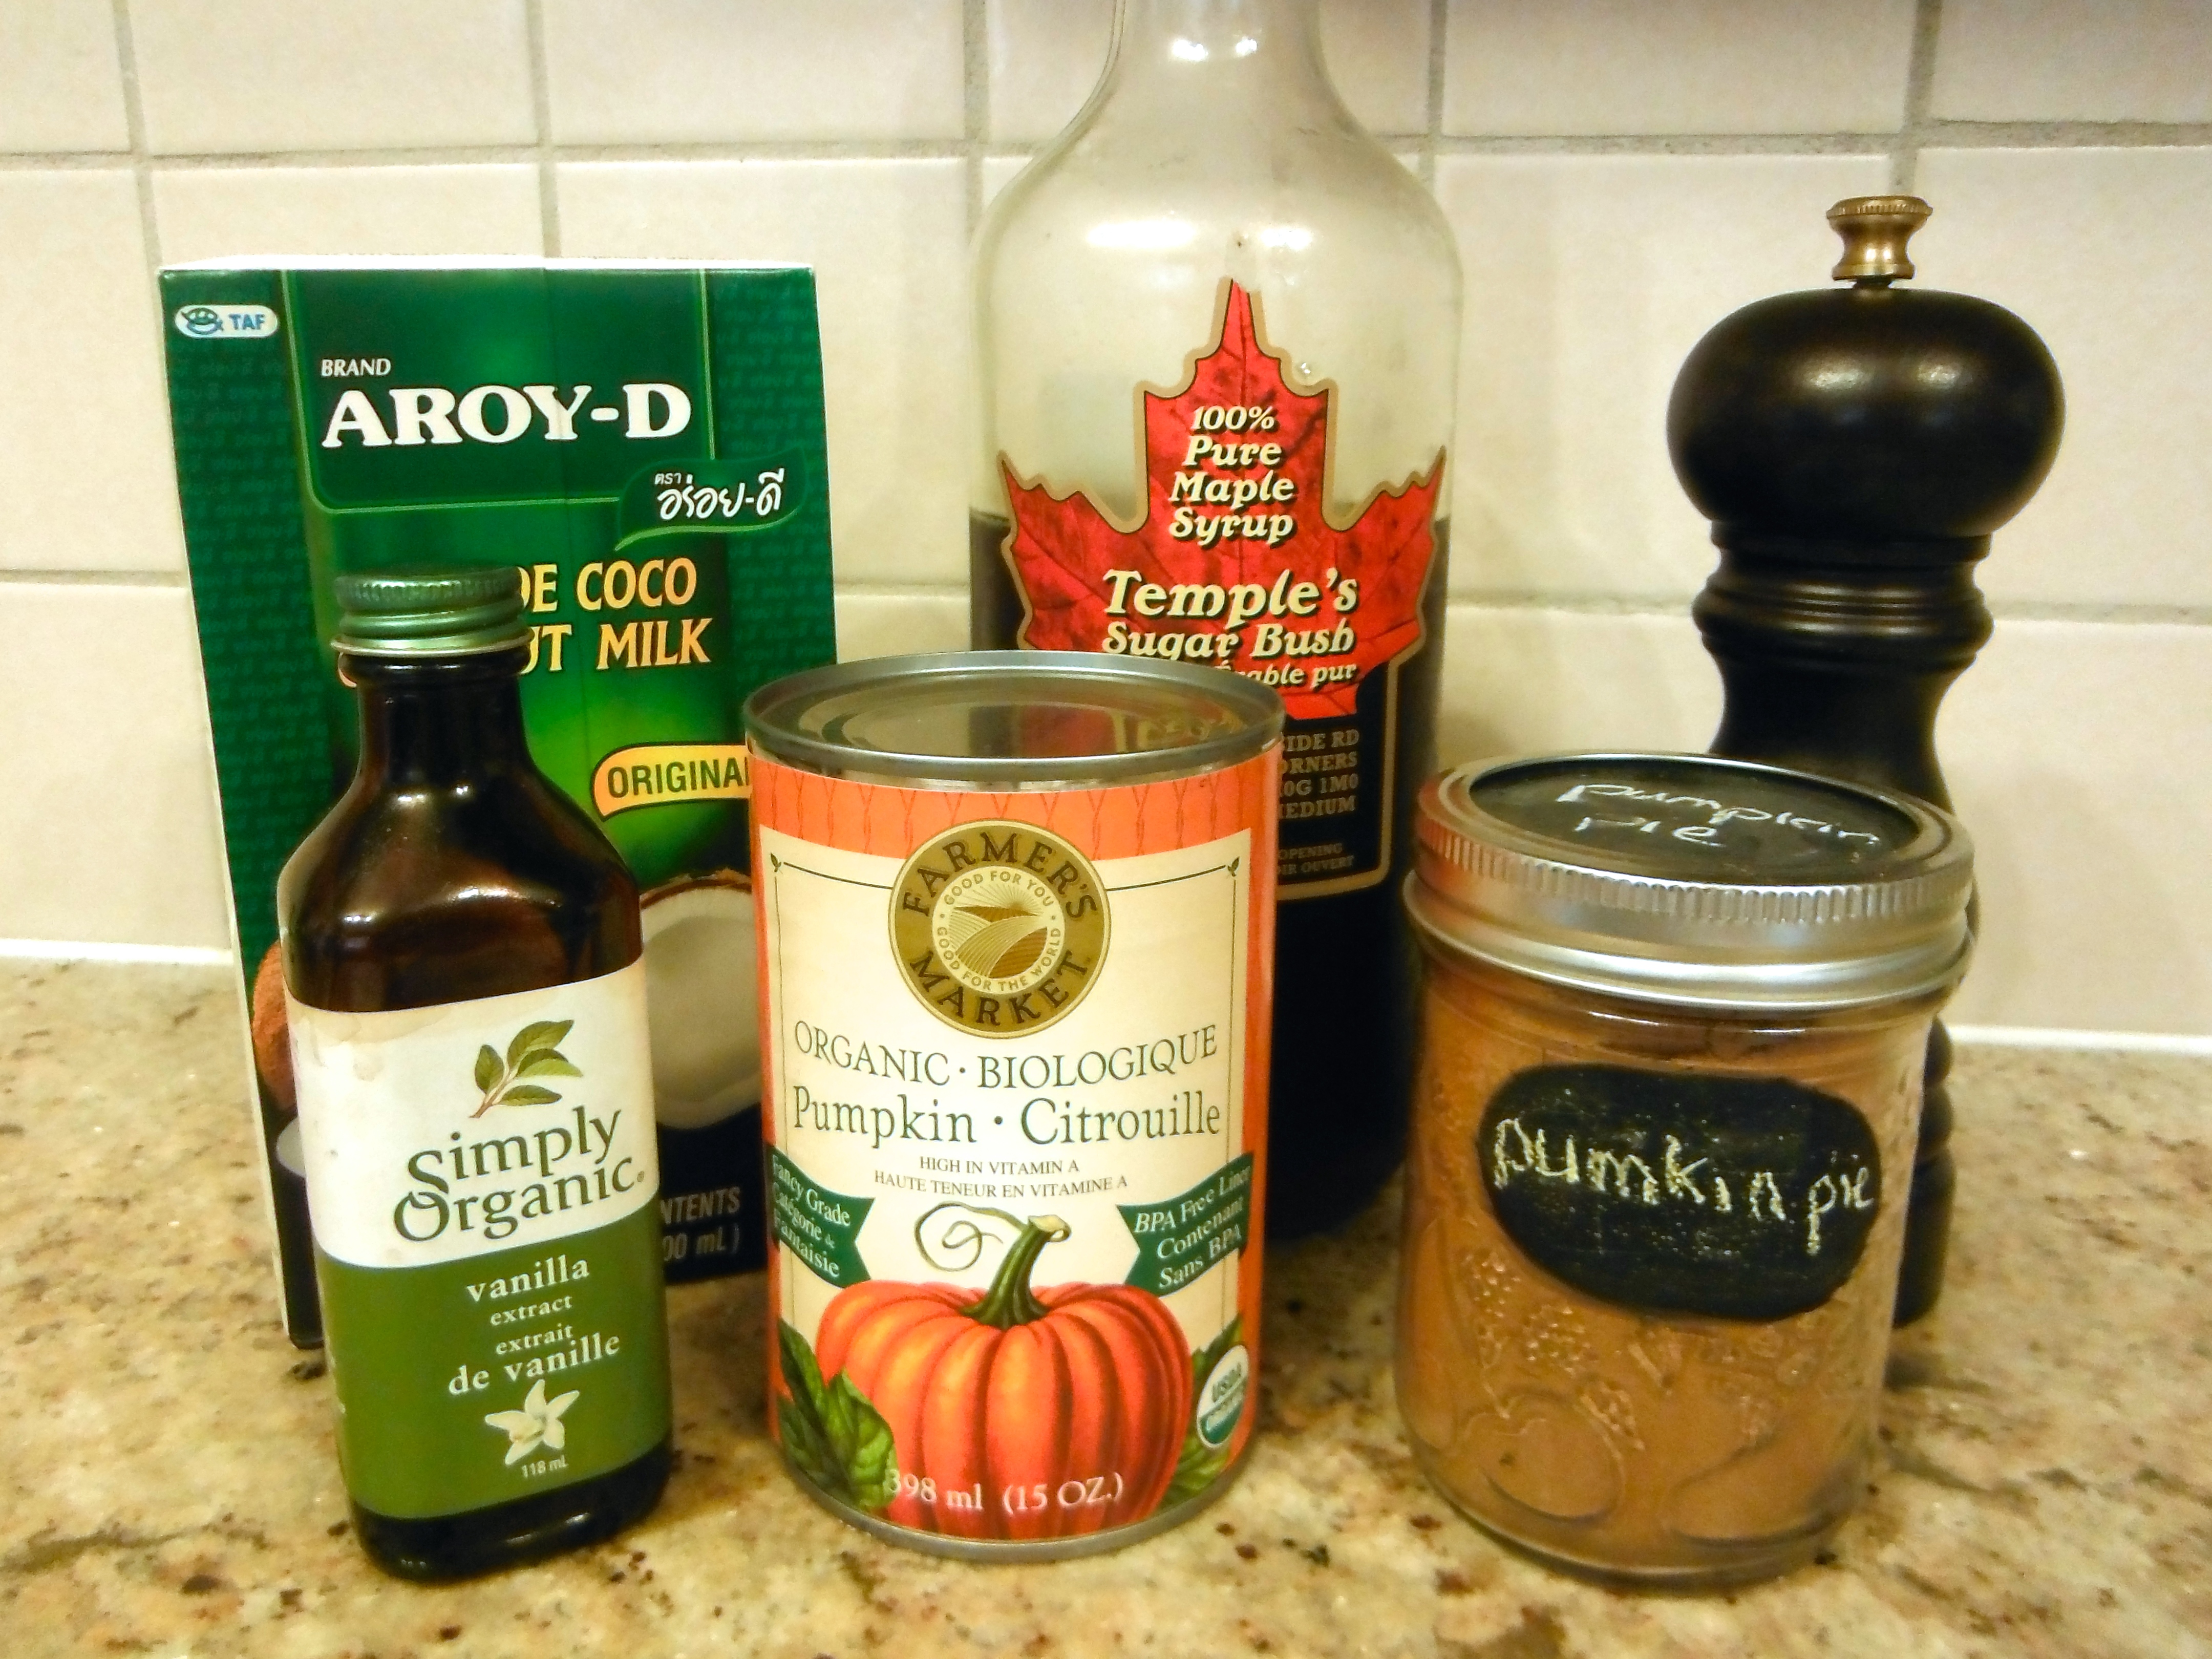
Step 1: gather ingredients – coconut milk, pumpkin puree, pumpkin pie spice, maple syrup, vanilla extract, sea salt
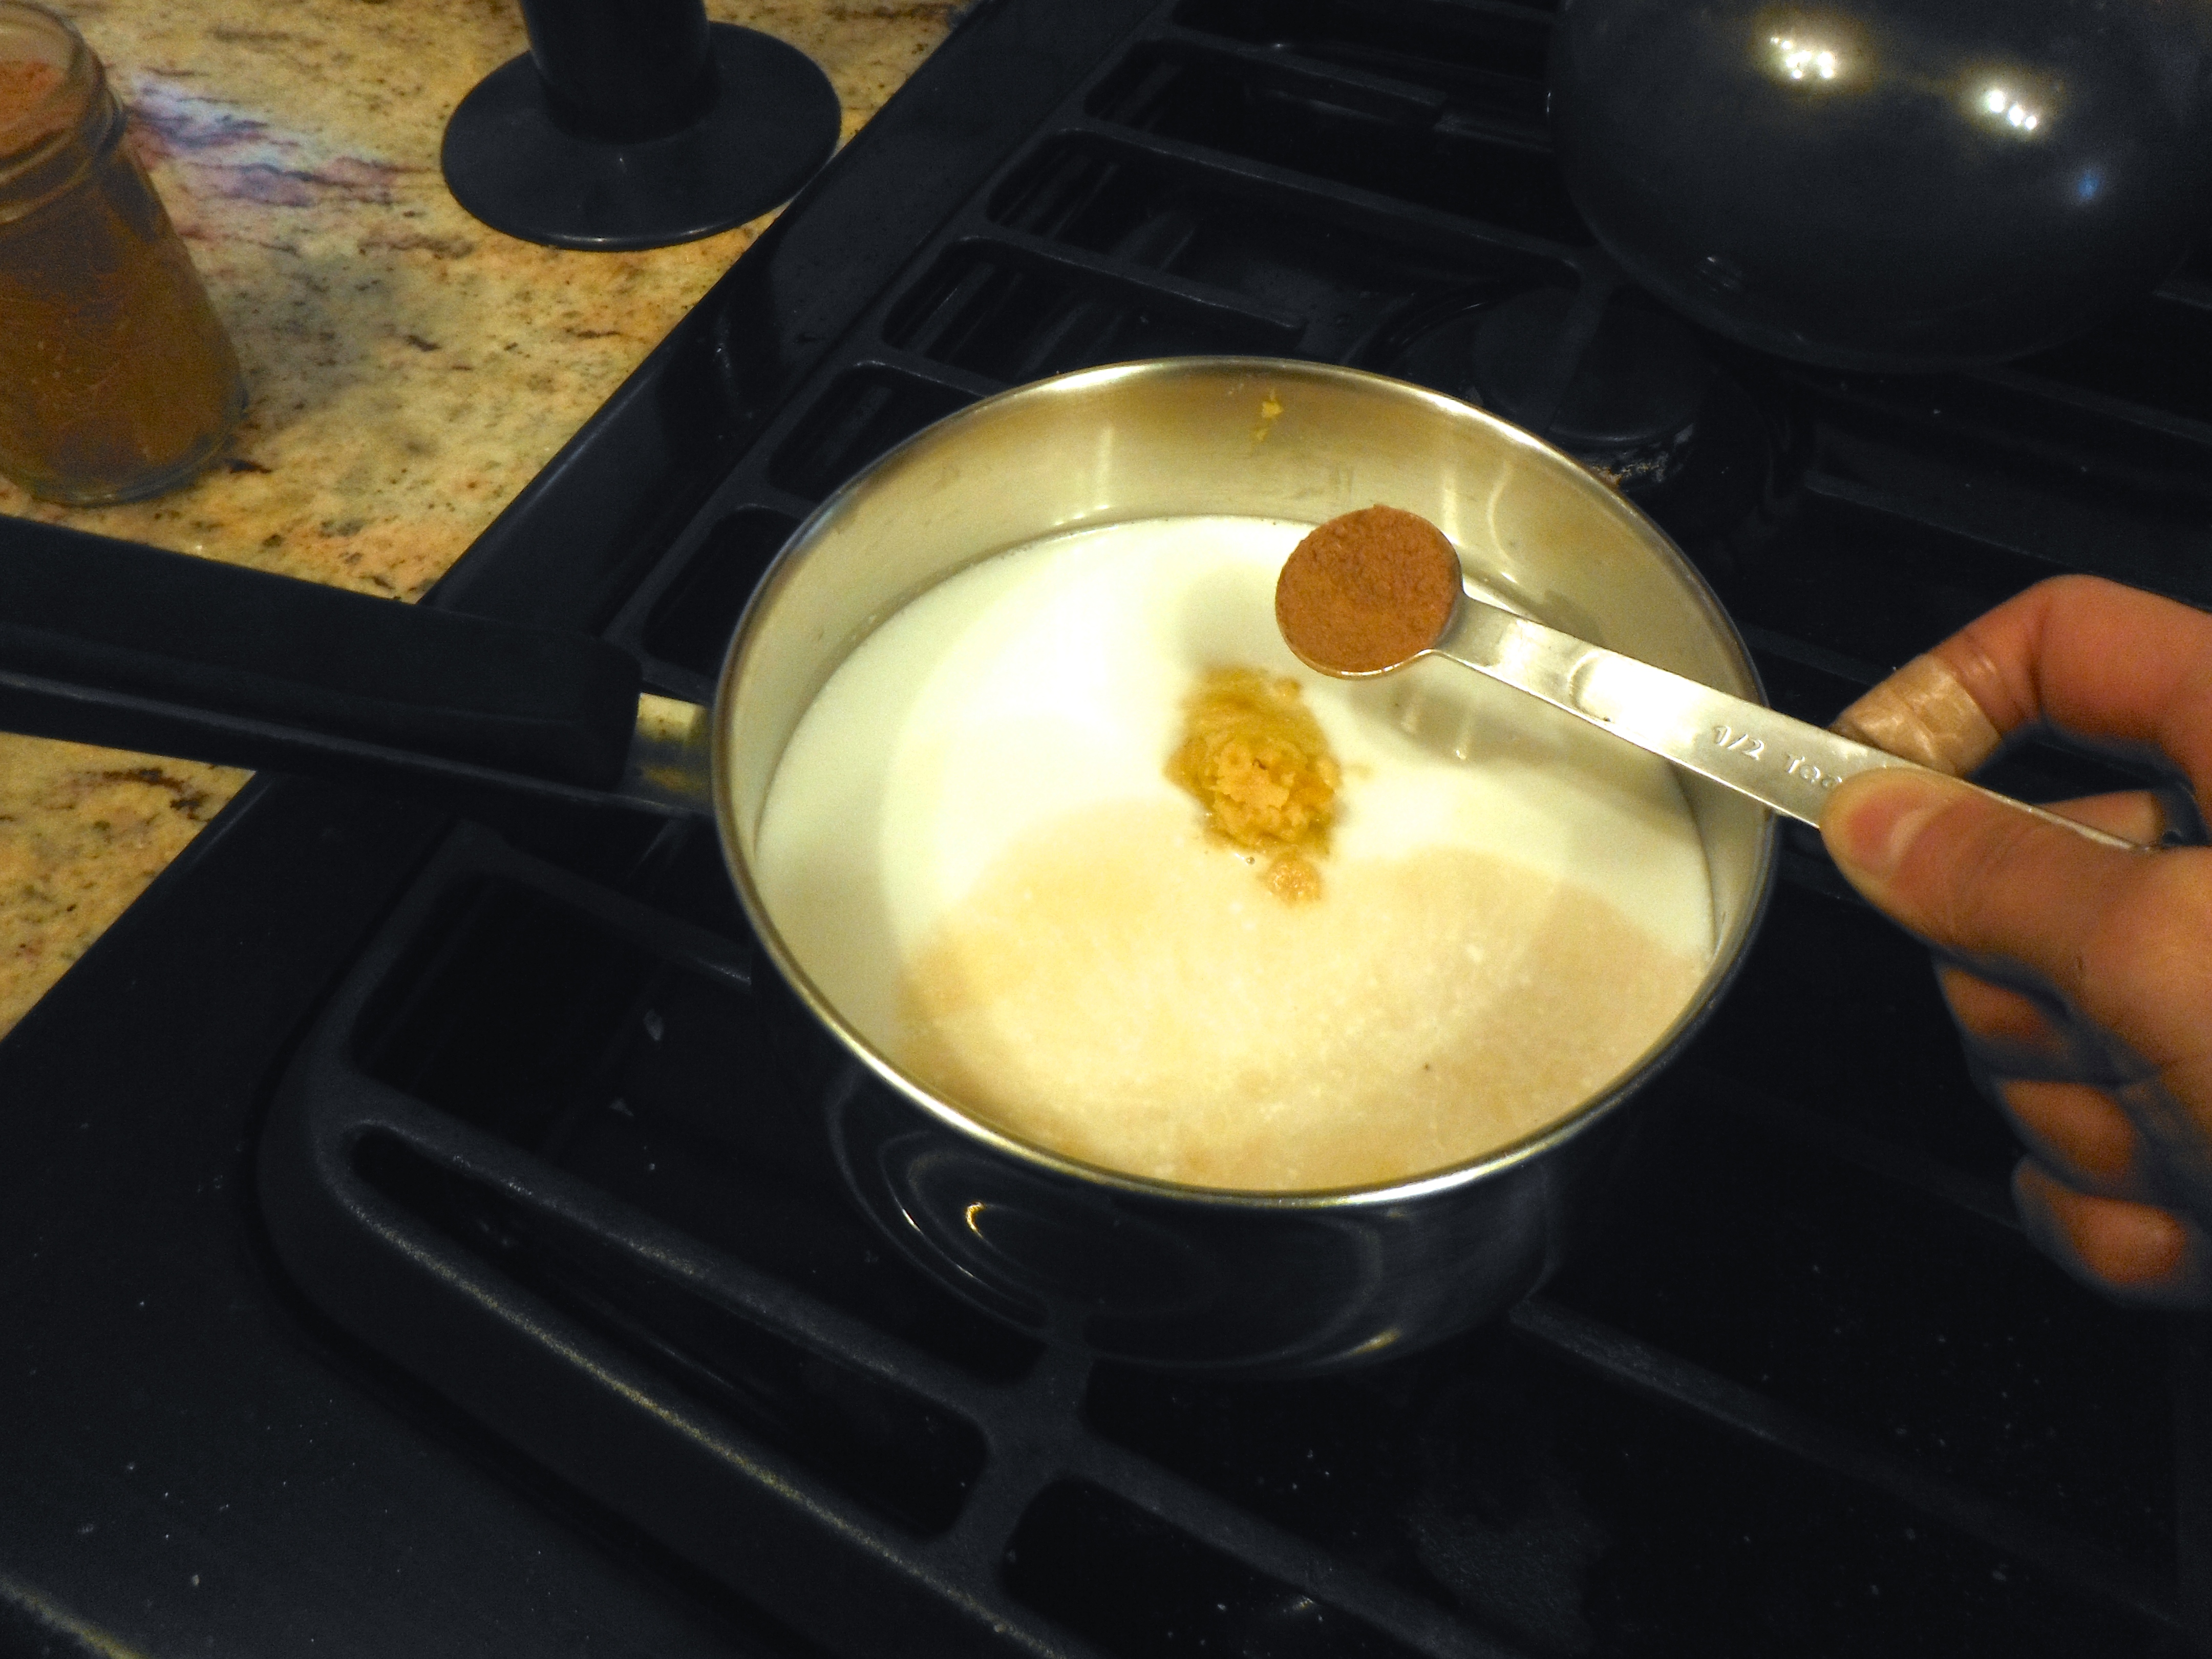
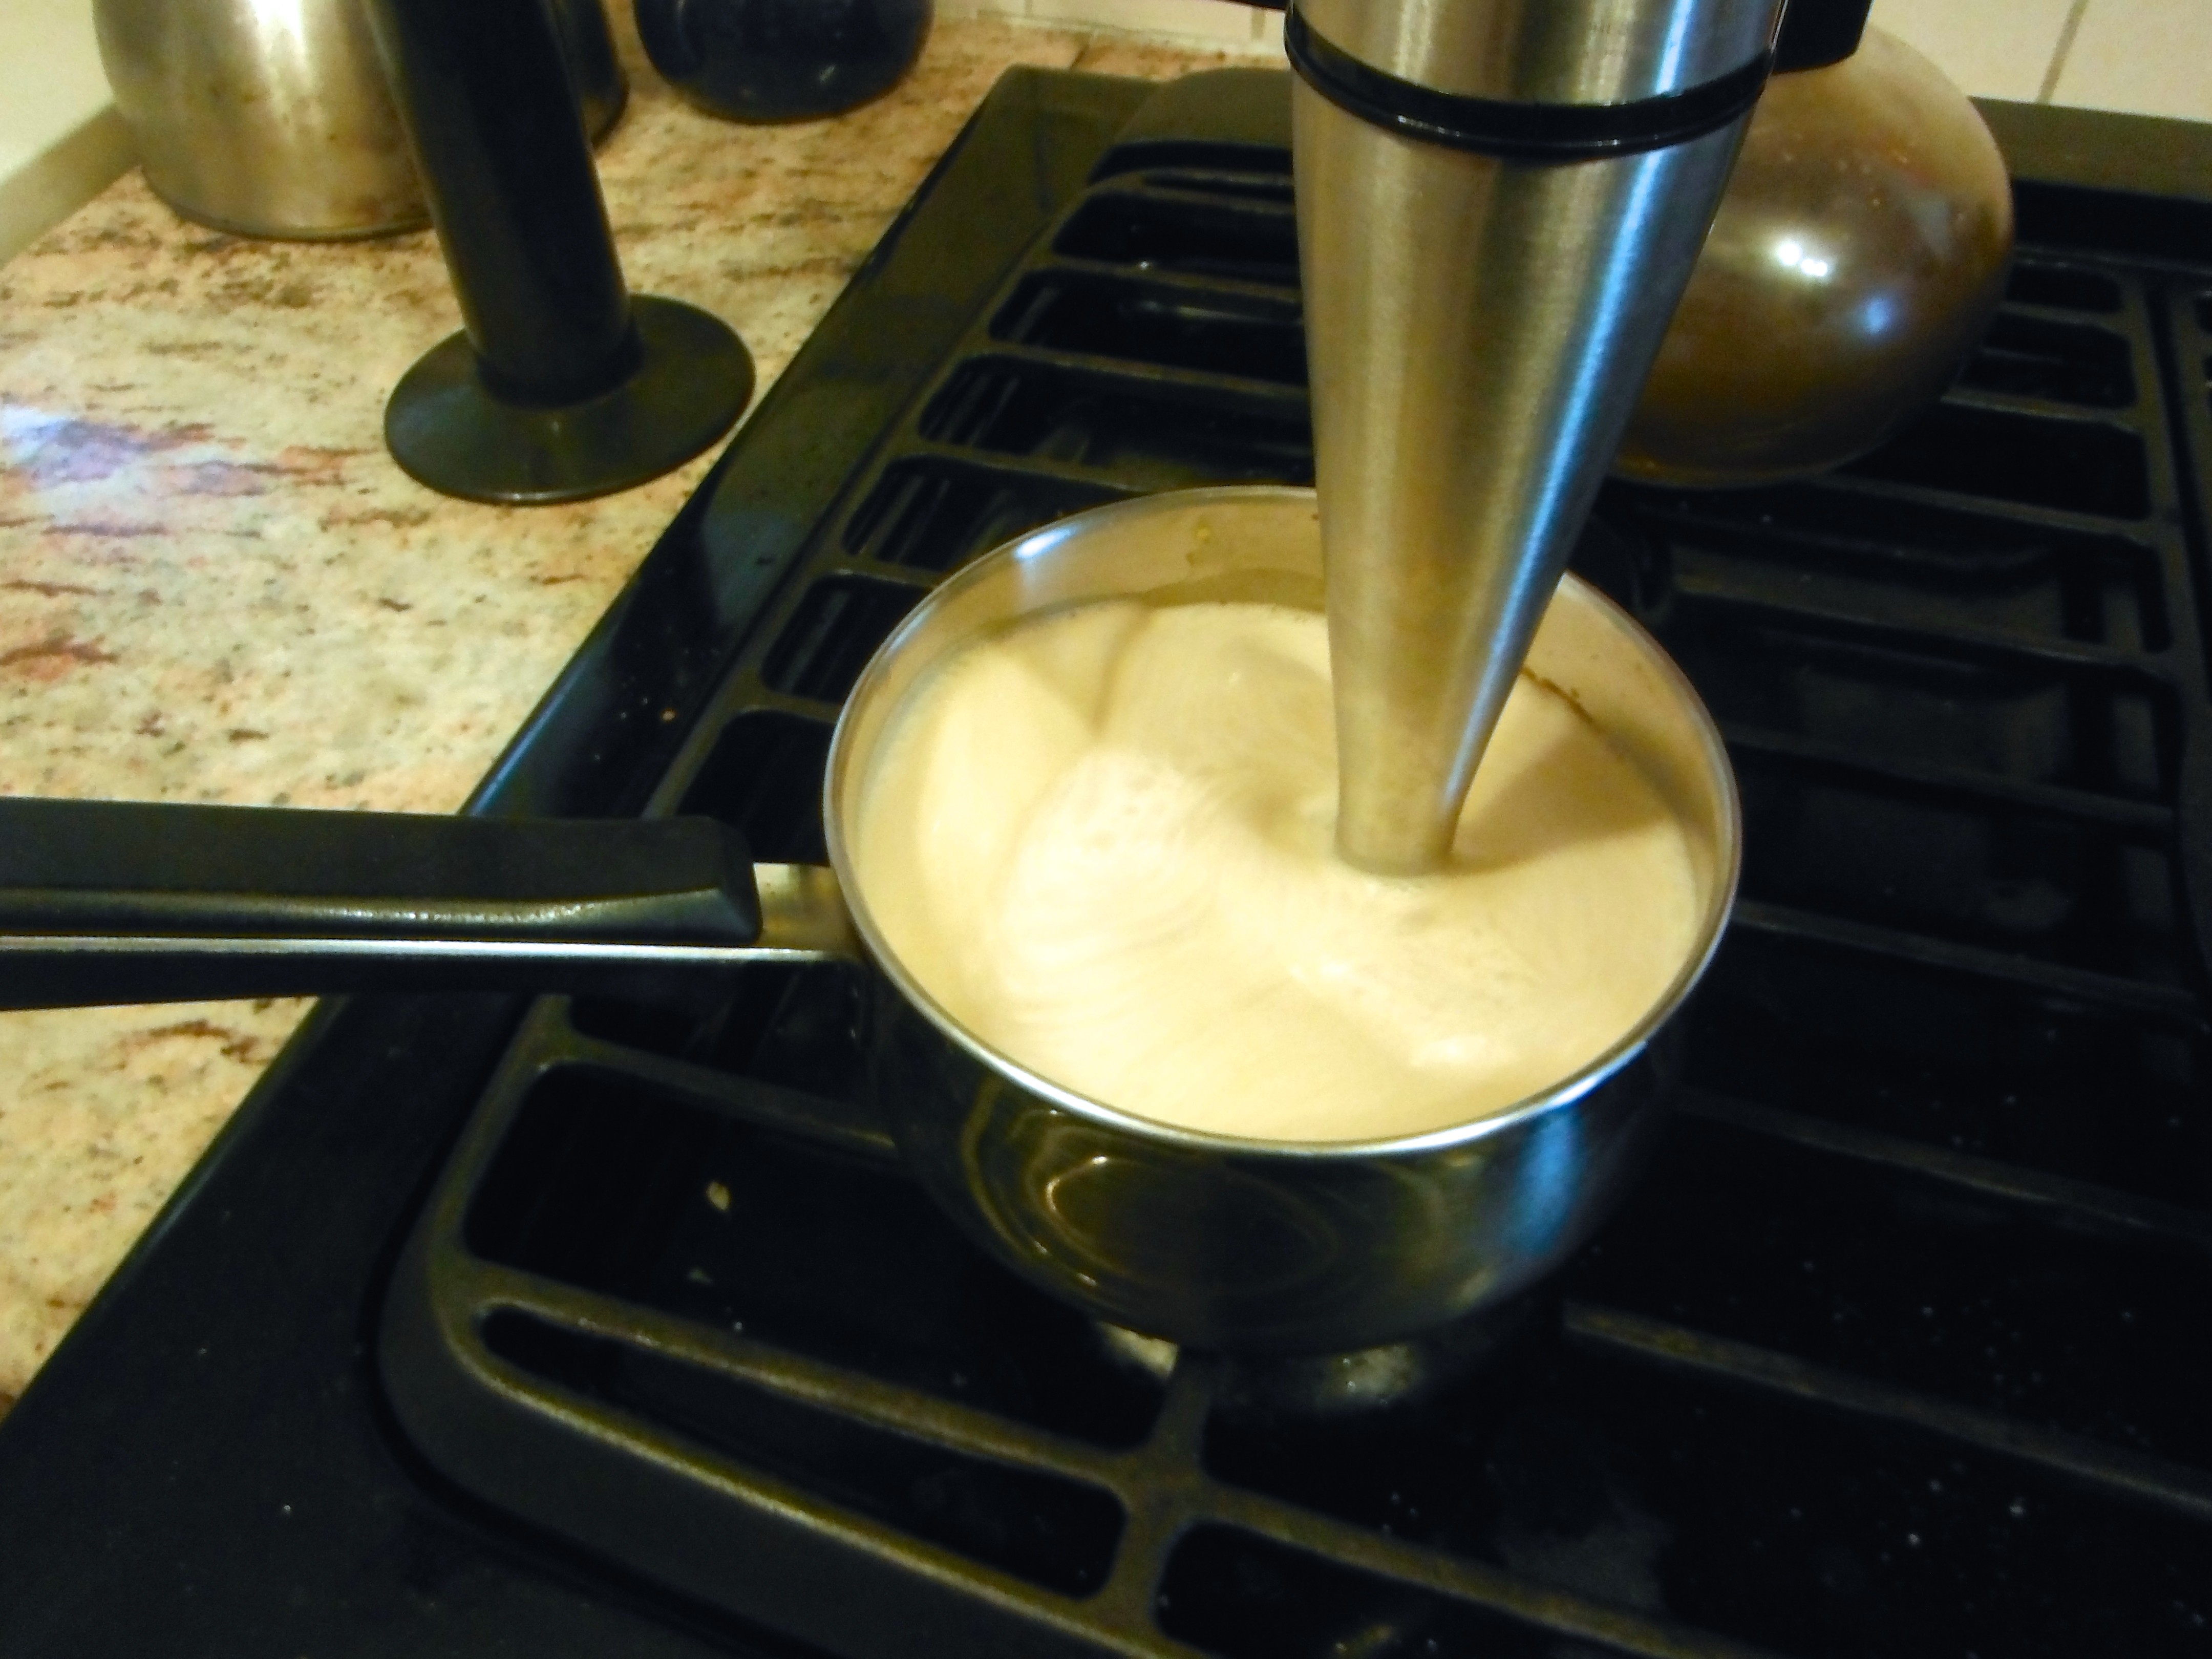
Step 2: combine ingredients in a small saucepan over medium heat. Blend with an immersion blender, or transfer to a stand up blender.
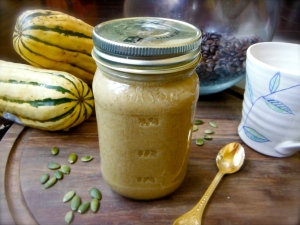
Step 3: store in a jar in the fridge for 5-7 days.
Recently I have had a lot of questions on my Instagram account about sauerkraut. What it is, how I use it, where I find it and why I’m so obsessed with it. So let’s chat about it!
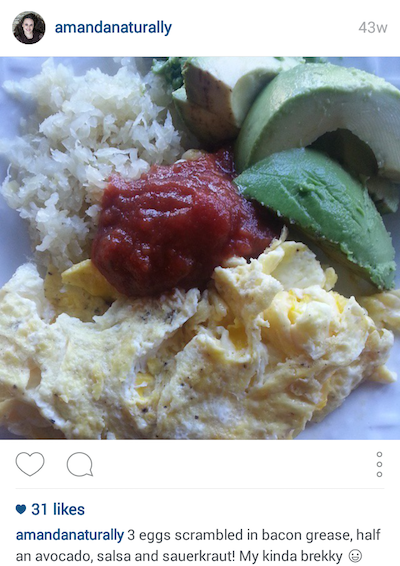
Sauerkraut is fermented cabbage. I know, that doesn’t sound so awesome, but trust me, it’s delicious! To be honest, when I first started eating sauerkraut, I didn’t like it. But I wanted to like it, so I made a conscious decision to work at it. I started with 1 tsp, mixed in with sautéed onions, potatoes and sausage. It was faint, but the flavour was there. Over a few weeks/months I started increasing the amount I was eating. And then one day, I realized I loved the stuff!! I started putting it on everything – hamburgers, tacos, sausages (of course). What’s my favourite food to eat it with? Eggs. How bizarre is that?! Bizarrely delicious, that’s how! If you like it, try it – I promise it’s amazing!
Why have I made such a concerted effort to develop a liking for sauerkraut?
As I said before, sauerkraut is fermented cabbage. Fermented foods are an incredible addition to your diet. For the longest time I was always focused on what to avoid in my diet – no more dairy, then gluten, then garbage-y gluten-free products, then legumes. That was an important part of my healing process, but it was only when I started actively adding in super foods that I really started seeing some amazing changes.
The weakest part of my body is my digestive tract. I feel like it’s always a work in progress. It still flares up from time to time, which is frustrating considering I’m supposed to be coaching others on how to heal themselves, and I’m still working on myself! Whenever I start down that thought path, I try to take a few steps back and imagine where I would be if I hadn’t made the interventions I had when I did. Probably on some serious IBS drugs and en route to a full blown autoimmune condition like arthritis.
Lately, I’ve been having digestive attacks less and less, and I swear it coincides with aggressively including fermented foods in my diet on a regular basis. I try not to go more than a day without a fermented food, and it seems to have done wonders for my belly!
So what’s the deal with fermented foods??
First and foremost, they are an absolutely incredible source of probiotics. Sauerkraut is made by allowing non-oxygen dependent microorganisms to grow on the cabbage. These microorganisms are powerful probiotics – way more potent and diverse than anything you can get at a health food store! Constantly consuming probiotics (in food form) will slowly start to change the landscape of your colon – in a good way! If pathogenic gut bacteria are starting to grow over (a.k.a. dysbiosis), regularly reintroducing healthy bacteria can keep them in check! Having a healthy gut microbiome is the foundation of a healthy body. Fermented foods are an easy and inexpensive way to keep your gut healthy!
Second – fermentation increases the bioavailability of certain vitamins and enzymes. The cabbage is pre-digested by the microorganisms, which makes it easier for us to digest and absorb the nutrients.
Third – it’s an easy and delicious way to get some extra veggies in! If we’ve been out of town and come home to an empty fridge, I know I can grill up some meat from my freezer and add some cabbage for a complete meal!
Lastly – it’s empowering. Eating a delicious food (well first learning to find it delicious) on a regular basis, and knowing that it is actively working to heal my digestive tract and support my overall gut health is super amazing. It’s the simplest thing that keeps my digestion healthy, my immune system rockin’ and my nutrition status through the roof! All from eating a little kraut! Super cool.
Where to buy the good stuff?
First of all, it is absolutely imperative that you eat raw sauerkraut. The standard stuff found at most grocery stores isn’t actually fermented – it’s pickled. Not the same thing! Pickled kraut is found on the shelf. Fermented kraut is always in the fridge.
I used to buy my sauerkraut at the farmer’s market, because it was to die for! They added fun herbs such as nettle and dulse, which helped mellow out the sour flavour. Unfortunately as I started to eat more and more of it, $10/jar started to add up quickly. There are some great products at local health food stores that are slightly more reasonable. My 2 favourite brands are Bubbies and Eden Organics.
http://instagram.com/p/W69BSgi9qL/?modal=true
One day I decided to learn how to make it myself. It couldn’t be that hard since practically every culture in human history has some kind of fermented food in their diet. And at $3 for a head of cabbage – I couldn’t beat the price!
Homemade Sauerkraut 101
My first 4 batches of sauerkraut had a 50% success rate. The first batch I followed directions I had found online somewhere. It didn’t recommend keeping an eye on it, so I put it in the back of a closet and left it for 3 weeks. When I went to grab it at the end of its fermentation time, it was a mouldy mess! I hit the internet and realized what had happened. The good bacterial growth needs an anaerobic environment. This means it needs no exposure to oxygen. So it has to stay submerged under water at all times!
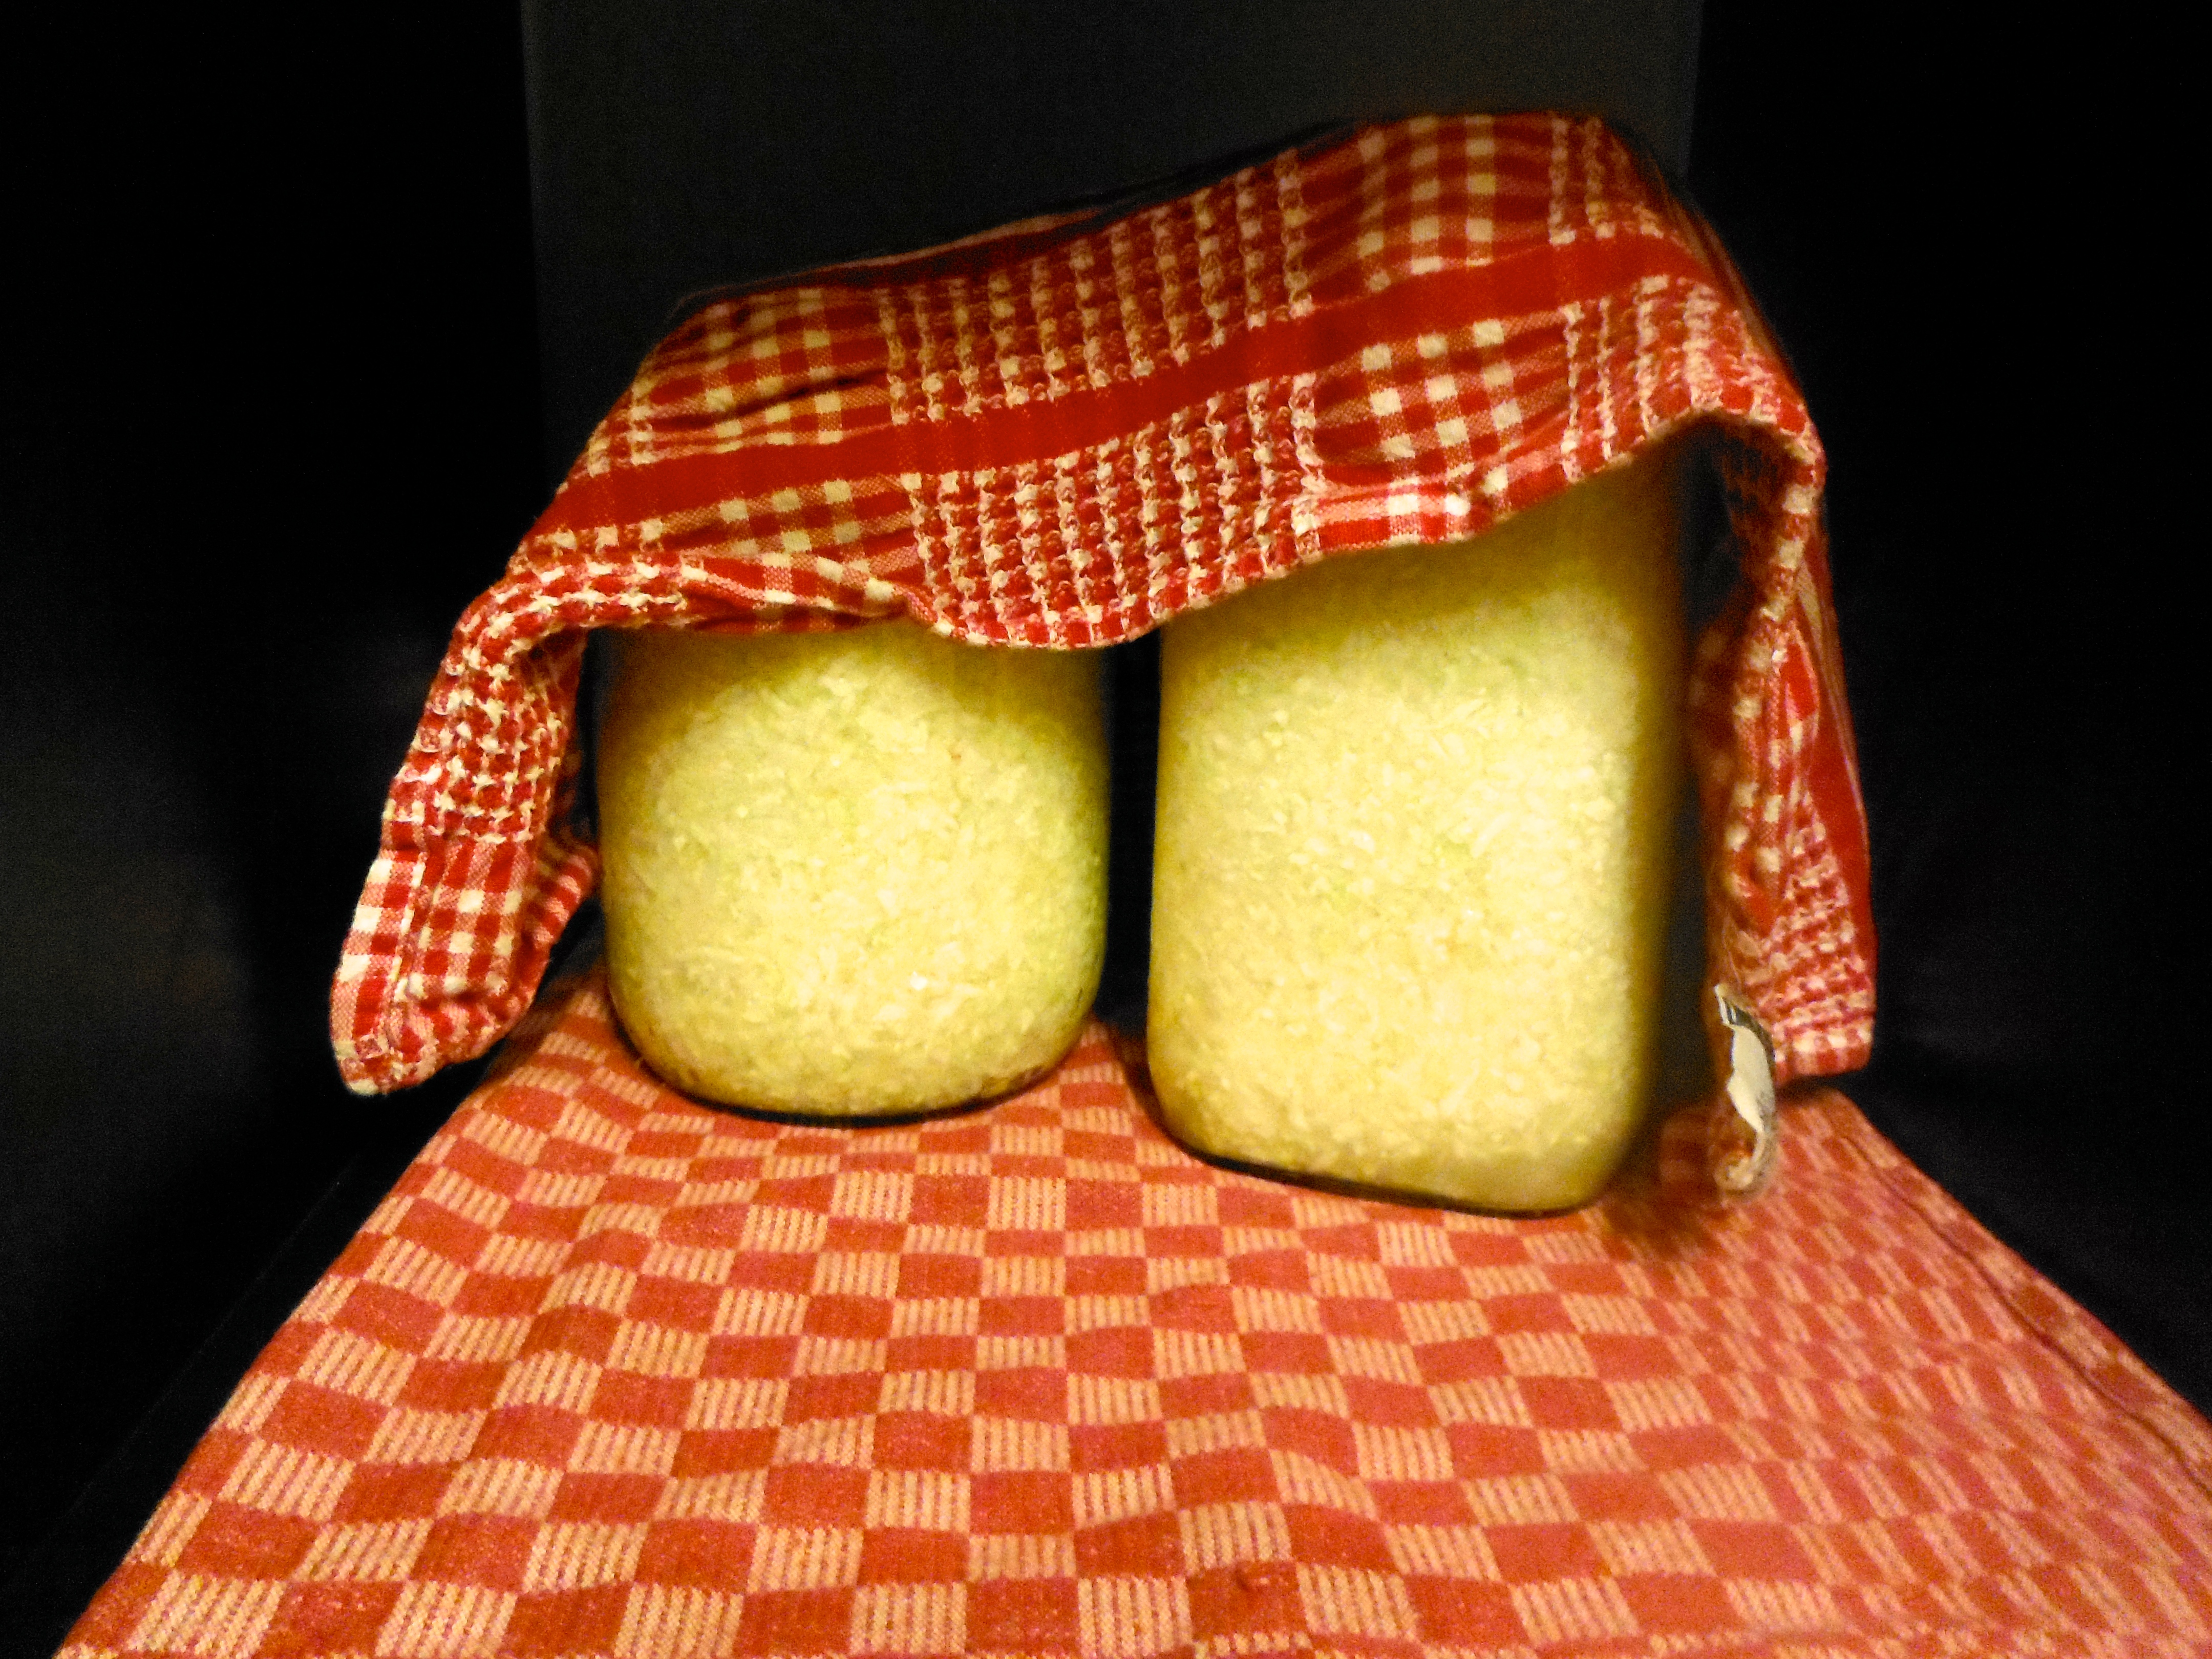
So, round #2. Total and complete success! I diligently checked the sauerkraut every day and topped up the jars with a salt water solution regularly. I was thrilled! Also, I used purple cabbage, so it was beautiful!
http://instagram.com/p/mLffMqi9gp/?modal=true
Round #3. I got cocky. I had nailed the last batch so I thought it would be a breeze this time round. I even poured the leftover sauerkraut juice on my new batch of kraut to speed the fermentation process. I didn’t check it nearly as often, so what happened? Mouldy mess.
Round #4. I perfected my technique. A perfect balance of keeping an eye on it, without being obsessive! This is how I make my sauerkraut.
Homemade Sauerkraut
1. Add your shredder attachment to your food processor. If you don’t have a food processor, you can shred your cabbage using a Spiralizer or a good knife!
2. Peel the outer few layers off your cabbage.
3. Chop the end off your cabbage. You can cut out the core as well, but it’s not necessary!
4. Cut cabbage into slices that will fit into your food processor spout.
5. Shred the cabbage!
6. Dump shredded cabbage into a large bowl. Sprinkle liberally with sea salt. I used about 1 tbsp sea salt per head of cabbage and I usually do 2-3 heads of cabbage at a time.
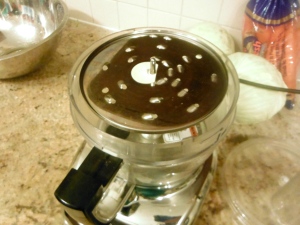
7. Smash your cabbage with a meat mallet or your hands for a few minutes, until the cabbage starts to soften and releases some of its liquids.
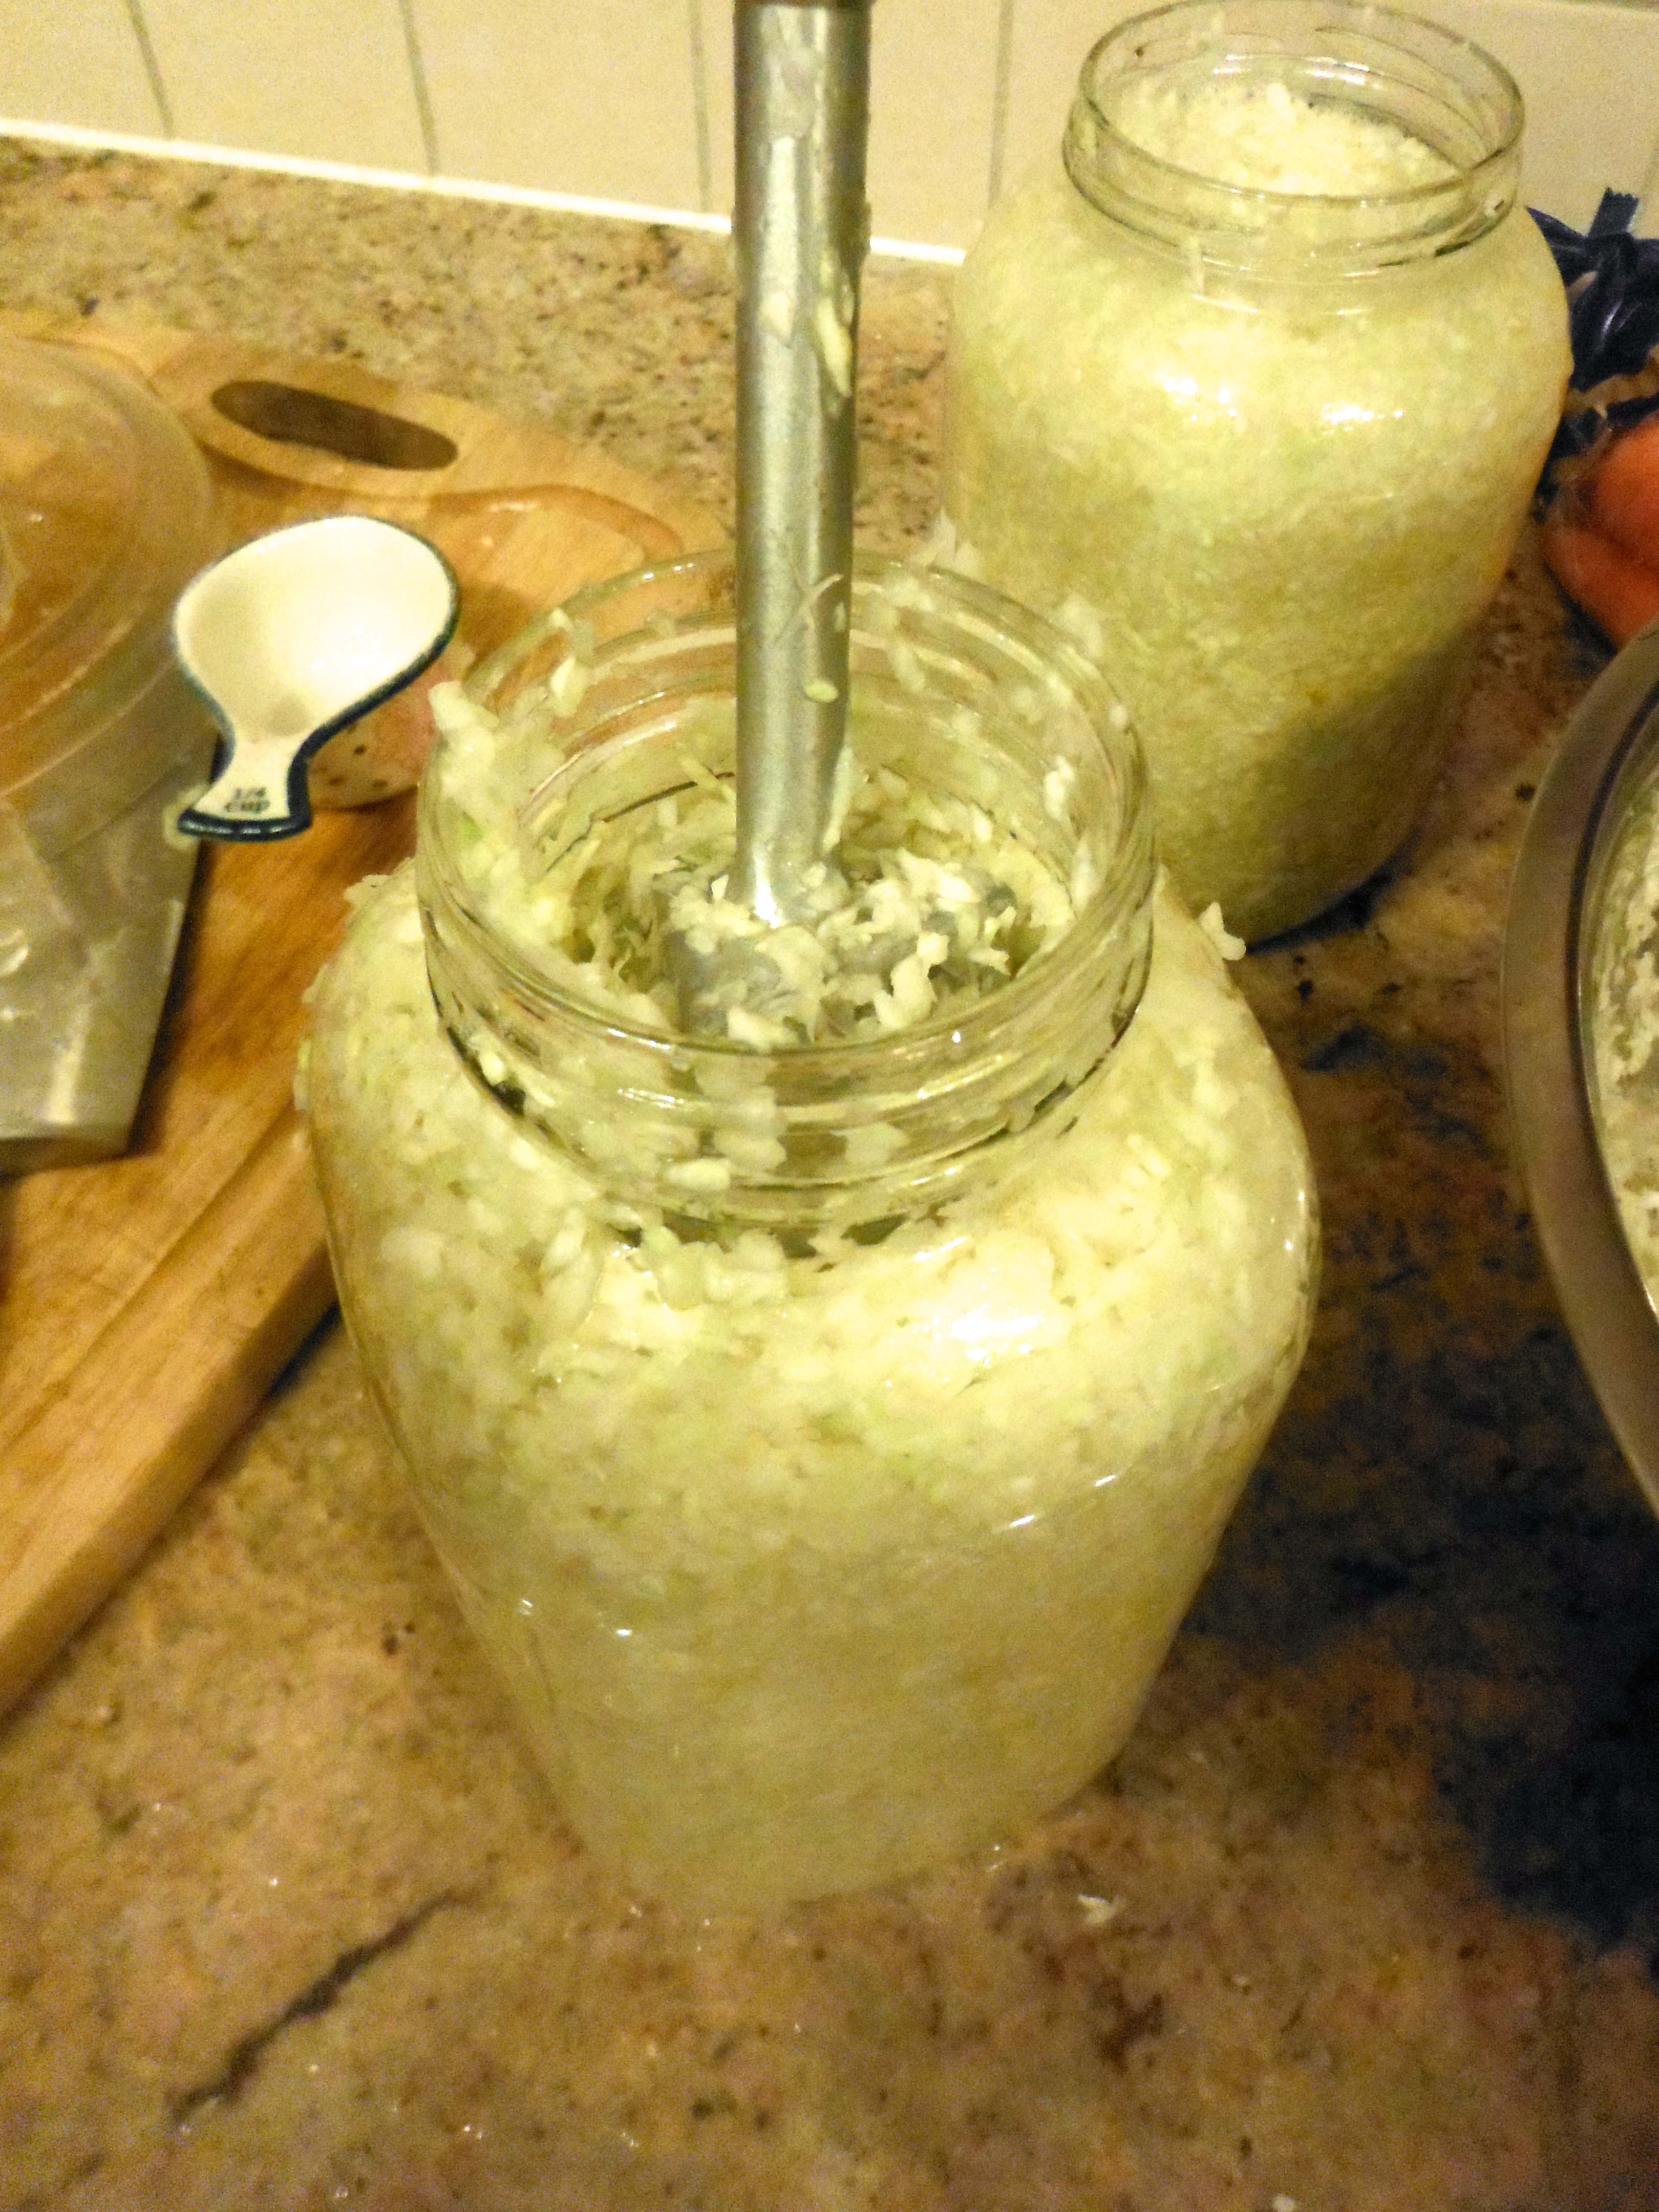
8. Pack the cabbage as tightly as possible into jars.
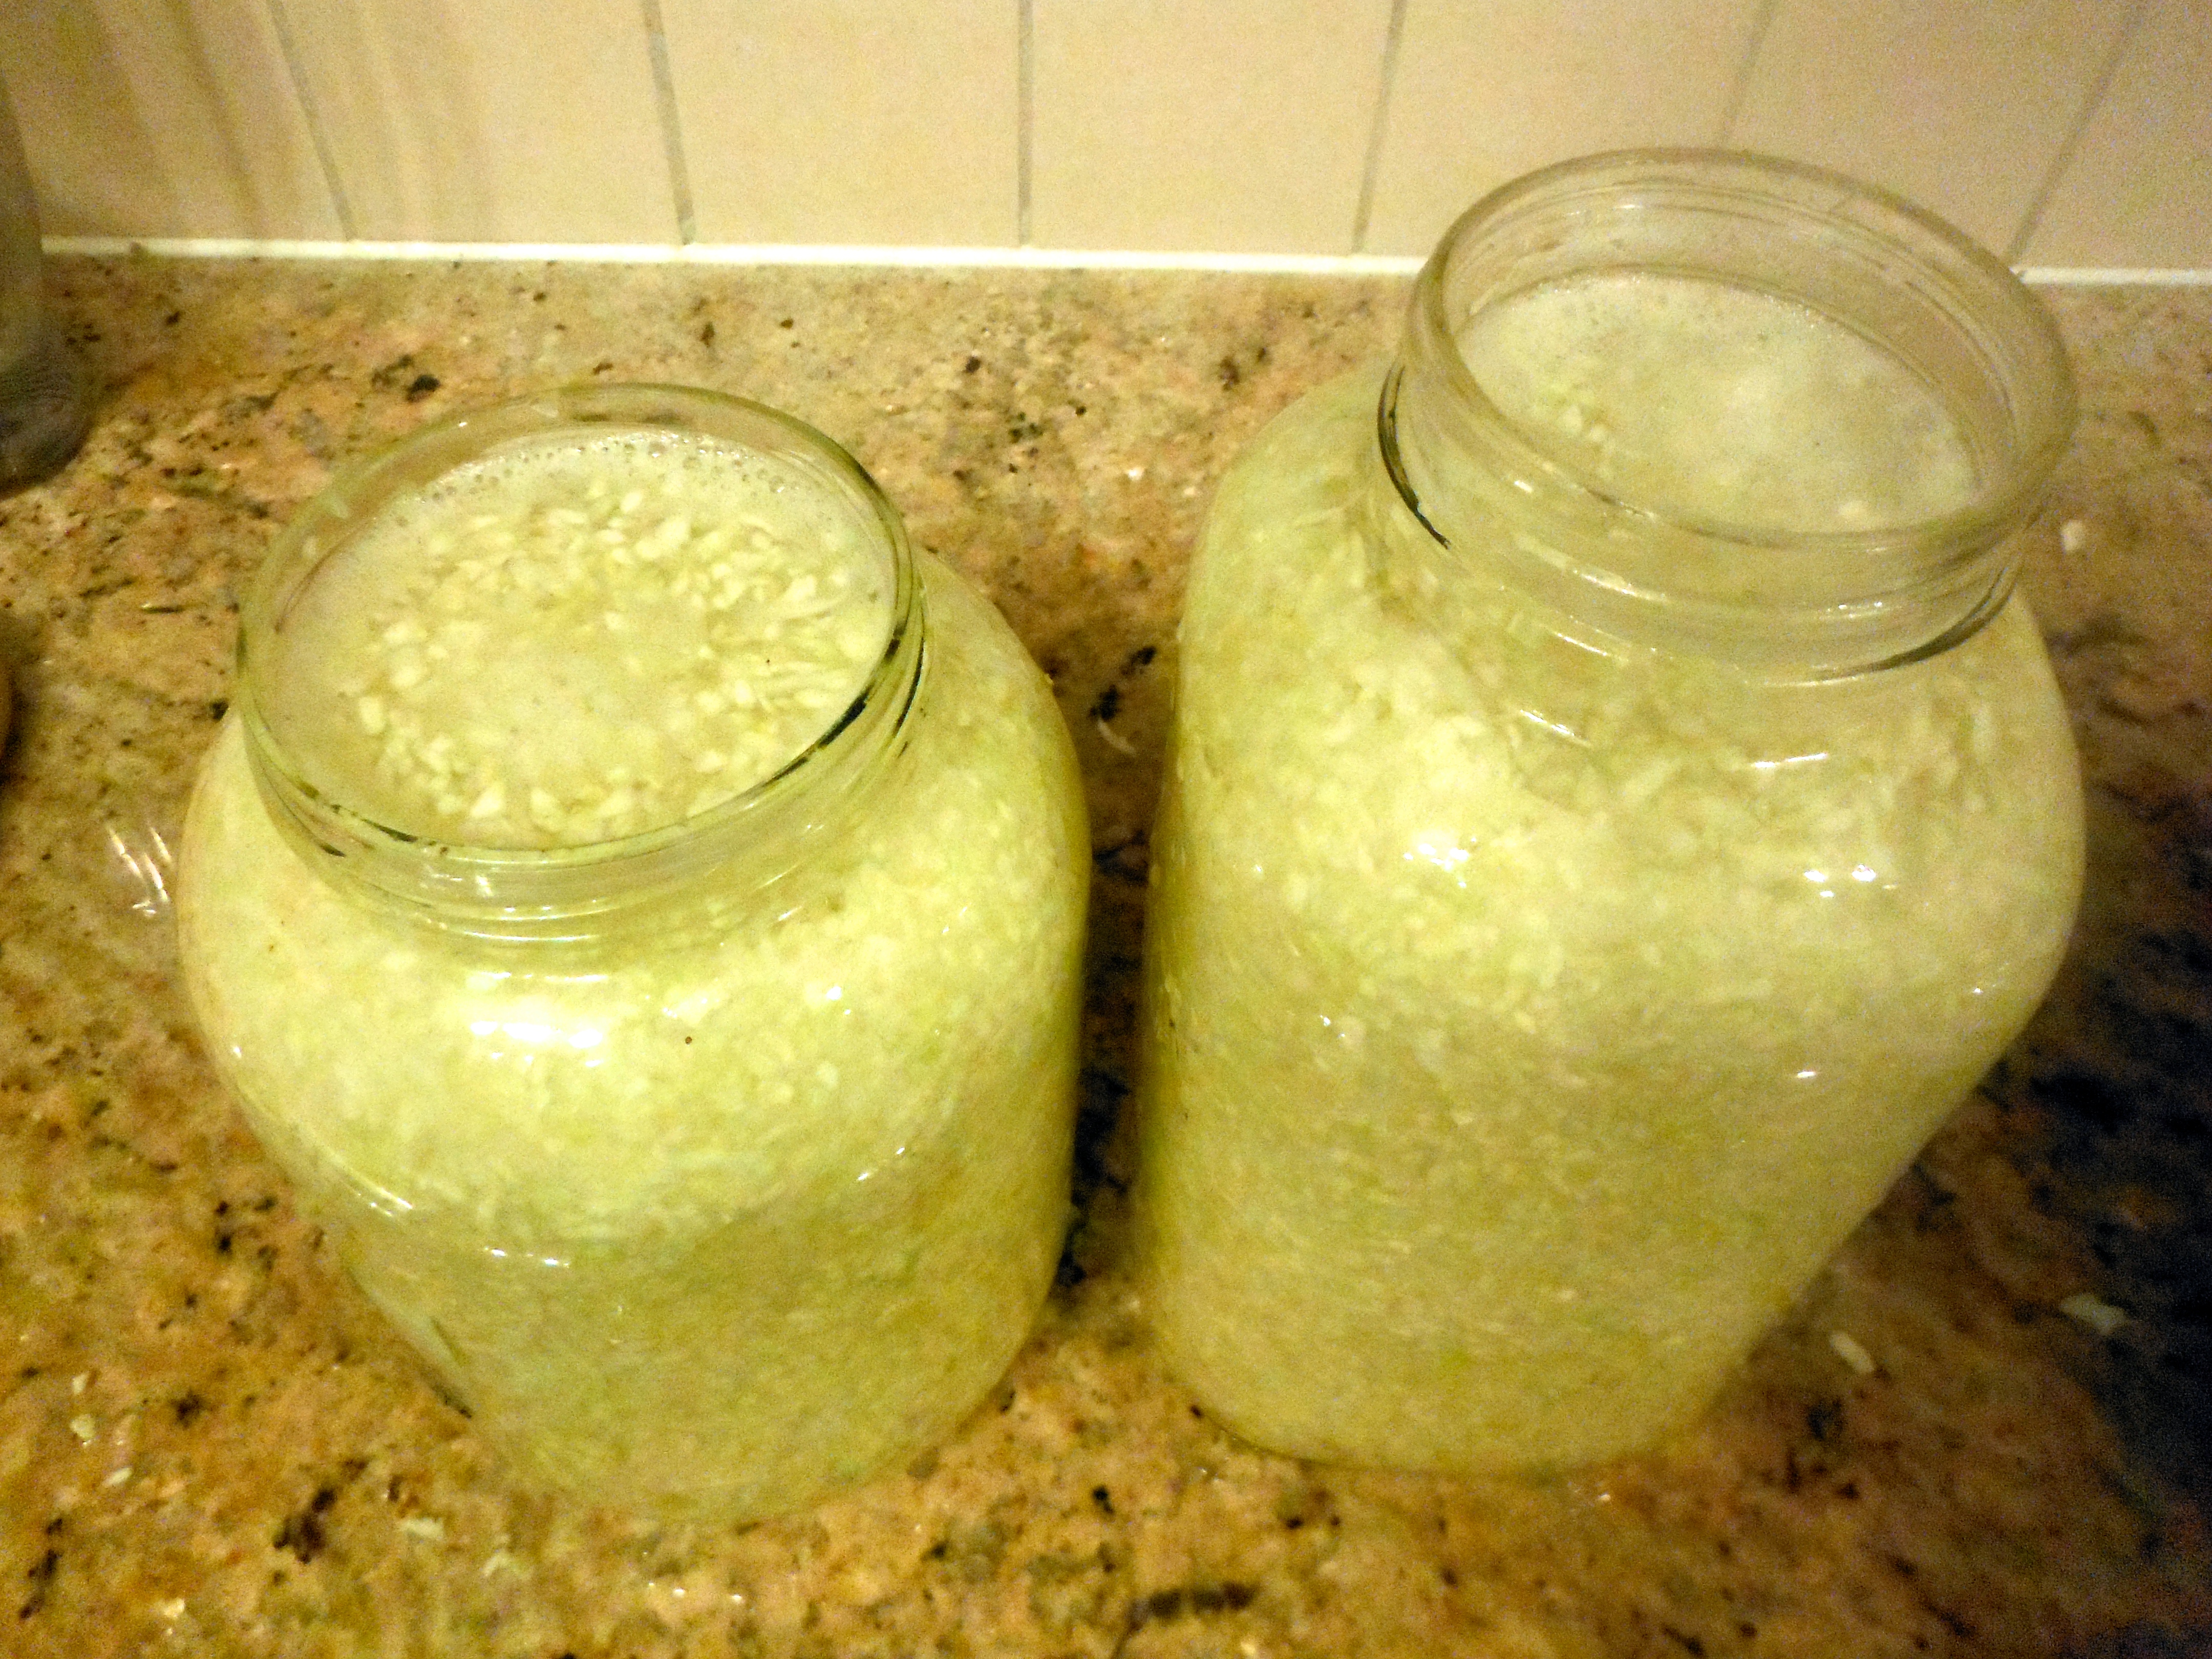
9. Sprinkle the top with some additional sea salt (I used a few twists of my salt grinder) and add enough filtered water to make sure the cabbage is all below the surface. A few pieces will float on top, that’s okay!
10. At this point, my kitchen is usually a total disaster and cabbage is everywhere. I fasten the lid to the jars, so I can rinse the cabbage off in the sink. (NOTE: make sure to remove the lid after you rinse off the jars!)
11. Place your jars in an area of your home where they can sit undisturbed for 3-4 weeks. It needs to be relatively dark (no sun exposure) and a fairly consistent temperature. You also need to be able to access it easily! I keep mine on a shelf in my living room!
12. Cover with a tea towel to prevent dust and bugs from getting in. You might want to place it on a plate, tray or another towel, because sometimes liquid can bubble up and over in the first few days. It can be a little stinky the first few days too – this goes away!
13. Every 2-3 days, check on your sauerkraut. If you notice that the water has dropped below the cabbage, simply add a few more grinds of sea salt and some filtered water.
14. In 3-4 weeks, with the help of some amazing beneficial bacteria, your cabbage will have turned into sauerkraut! At this point you can add the lid and place in the refrigerator for regular use. Enjoy!
UPDATES:
1. Please do NOT rinse your sauerkraut after fermenting it! I have had many people say they were worried about the salt content, so they rinsed it off. You will be rinsing away the good bacteria at the same time! Sea salt is not bad for you, in fact it is a fabulous source of minerals. If you are eating real, whole food you actually need to make sure you get enough salt in your diet.
2. Do NOT heat your sauerkraut. It will kill the bacteria.
3. My kraut-making technique has evolved over the last year or so. I now use a fermenting crock because I make extra large batches. You can also use these nifty jar top fermenters. Both are great because they force the cabbage to stay submerged, decreasing risk of mould.
So tell me, have you ever fermented any foods? Do you have any recommendations for other fermentation projects I should try?
I chose to stop eating bread long before I chose to go gluten-free. Why? Not because I was trying to lose weight (although that happened), or go low-carb, it was because of one simple thing:
Bread is a processed food.
Yes you read that right! Even your beloved whole-grain, ancient-grain, flax-and-what-have-you bread is a processed food. I don’t care how aggressively it has been marketed as a health food, it simply is not. The poor white potato, which has been so wrongly demonized, is more of a health food than bread can ever be. How is that possible? It’s simple! You can grow a white potato in your back yard, pick it, wash it (optional) and cook it. Can you say that about your bread? No way! The number of processing steps it takes to go from wheat to bread in the store is ridiculous! It goes something like this:
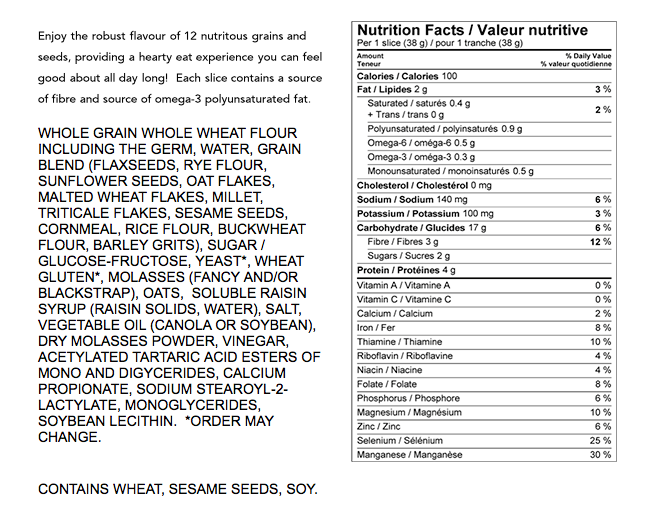
Dempster’s 12 Grain Bread. Too many ingredients to count. Including 4 types of sugar, industrial seed oils and chemical stabilizers.
plant the same wheat seeds over acres and acres of farmland (aka mono cropping)
spray with herbicides, pesticides and synthetic fertilizers to prevent damage to the crop from pests, weeds and disease (more common with mono cropping), killing millions of insects and animals, destroying ecosystems (both land and water), harming farm workers and endangering near by towns.
harvest
little-to-no nurturing of the soil, no replenishing of nutrients lost via other plants, biodegrading plant matter or animals grazing (hence the need for synthetic fertilizer)
store in silos, trucks, warehouses (all the while increasing the likelihood of mould growth)
drive across the country for processing
hull, process and strip of nutrients to make flour
add a few synthetic vitamins back in to replace some of nutrients lost (not the same thing, by the way)
make into bread with chemicals to increase shelf stability (check out that list of ingredients!)
How the heck that is considered a health food is beyond me. Not to mention the fact that the glycemic index of whole wheat bread is significantly higher than high-sugar food products like a can of Coke and a Snickers bar! And don’t even get me started about the gut and connective-tissue damaging effects of gluten. That is a topic for another post!
Unfortunately gluten-free breads are no better. Most go through the same processing. The only difference is they use gluten-free flours such as white rice, white potato, garbanzo bean, buckwheat and tapioca. They can actually be even worse because additional additives are needed to make it palatable and to mimic the fluffy, spongey characteristic of gluten.
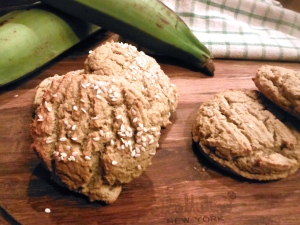
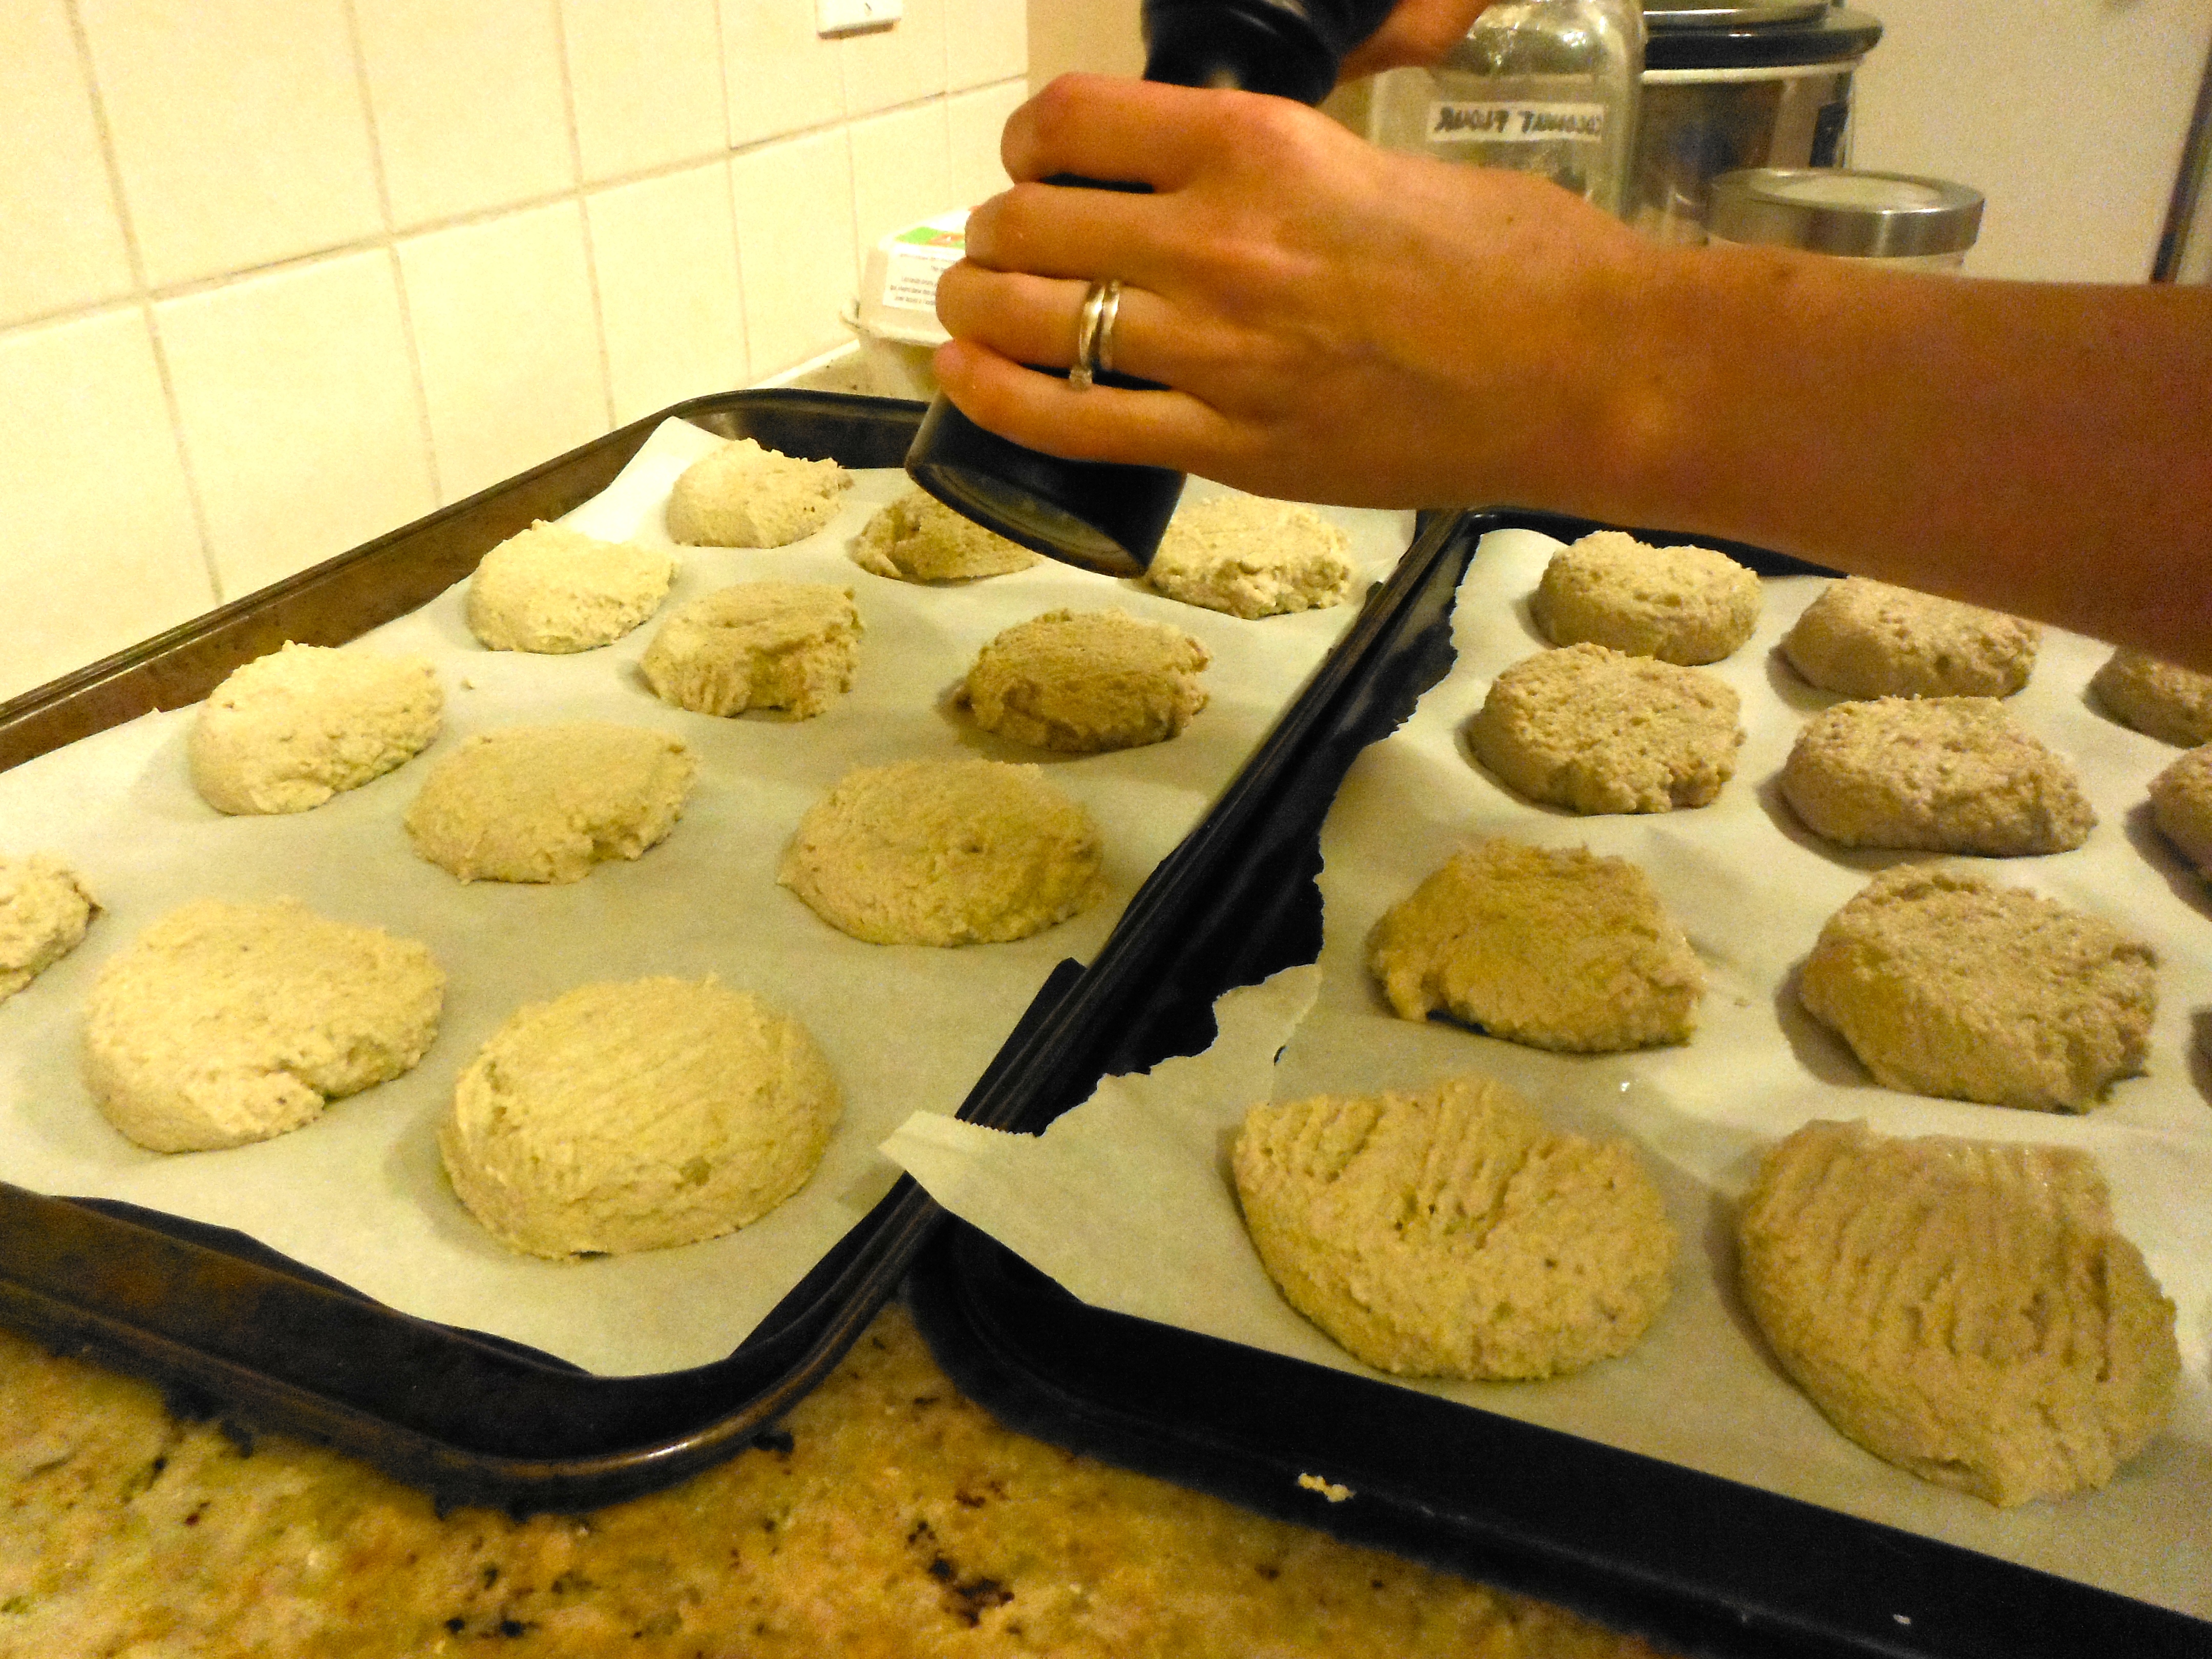
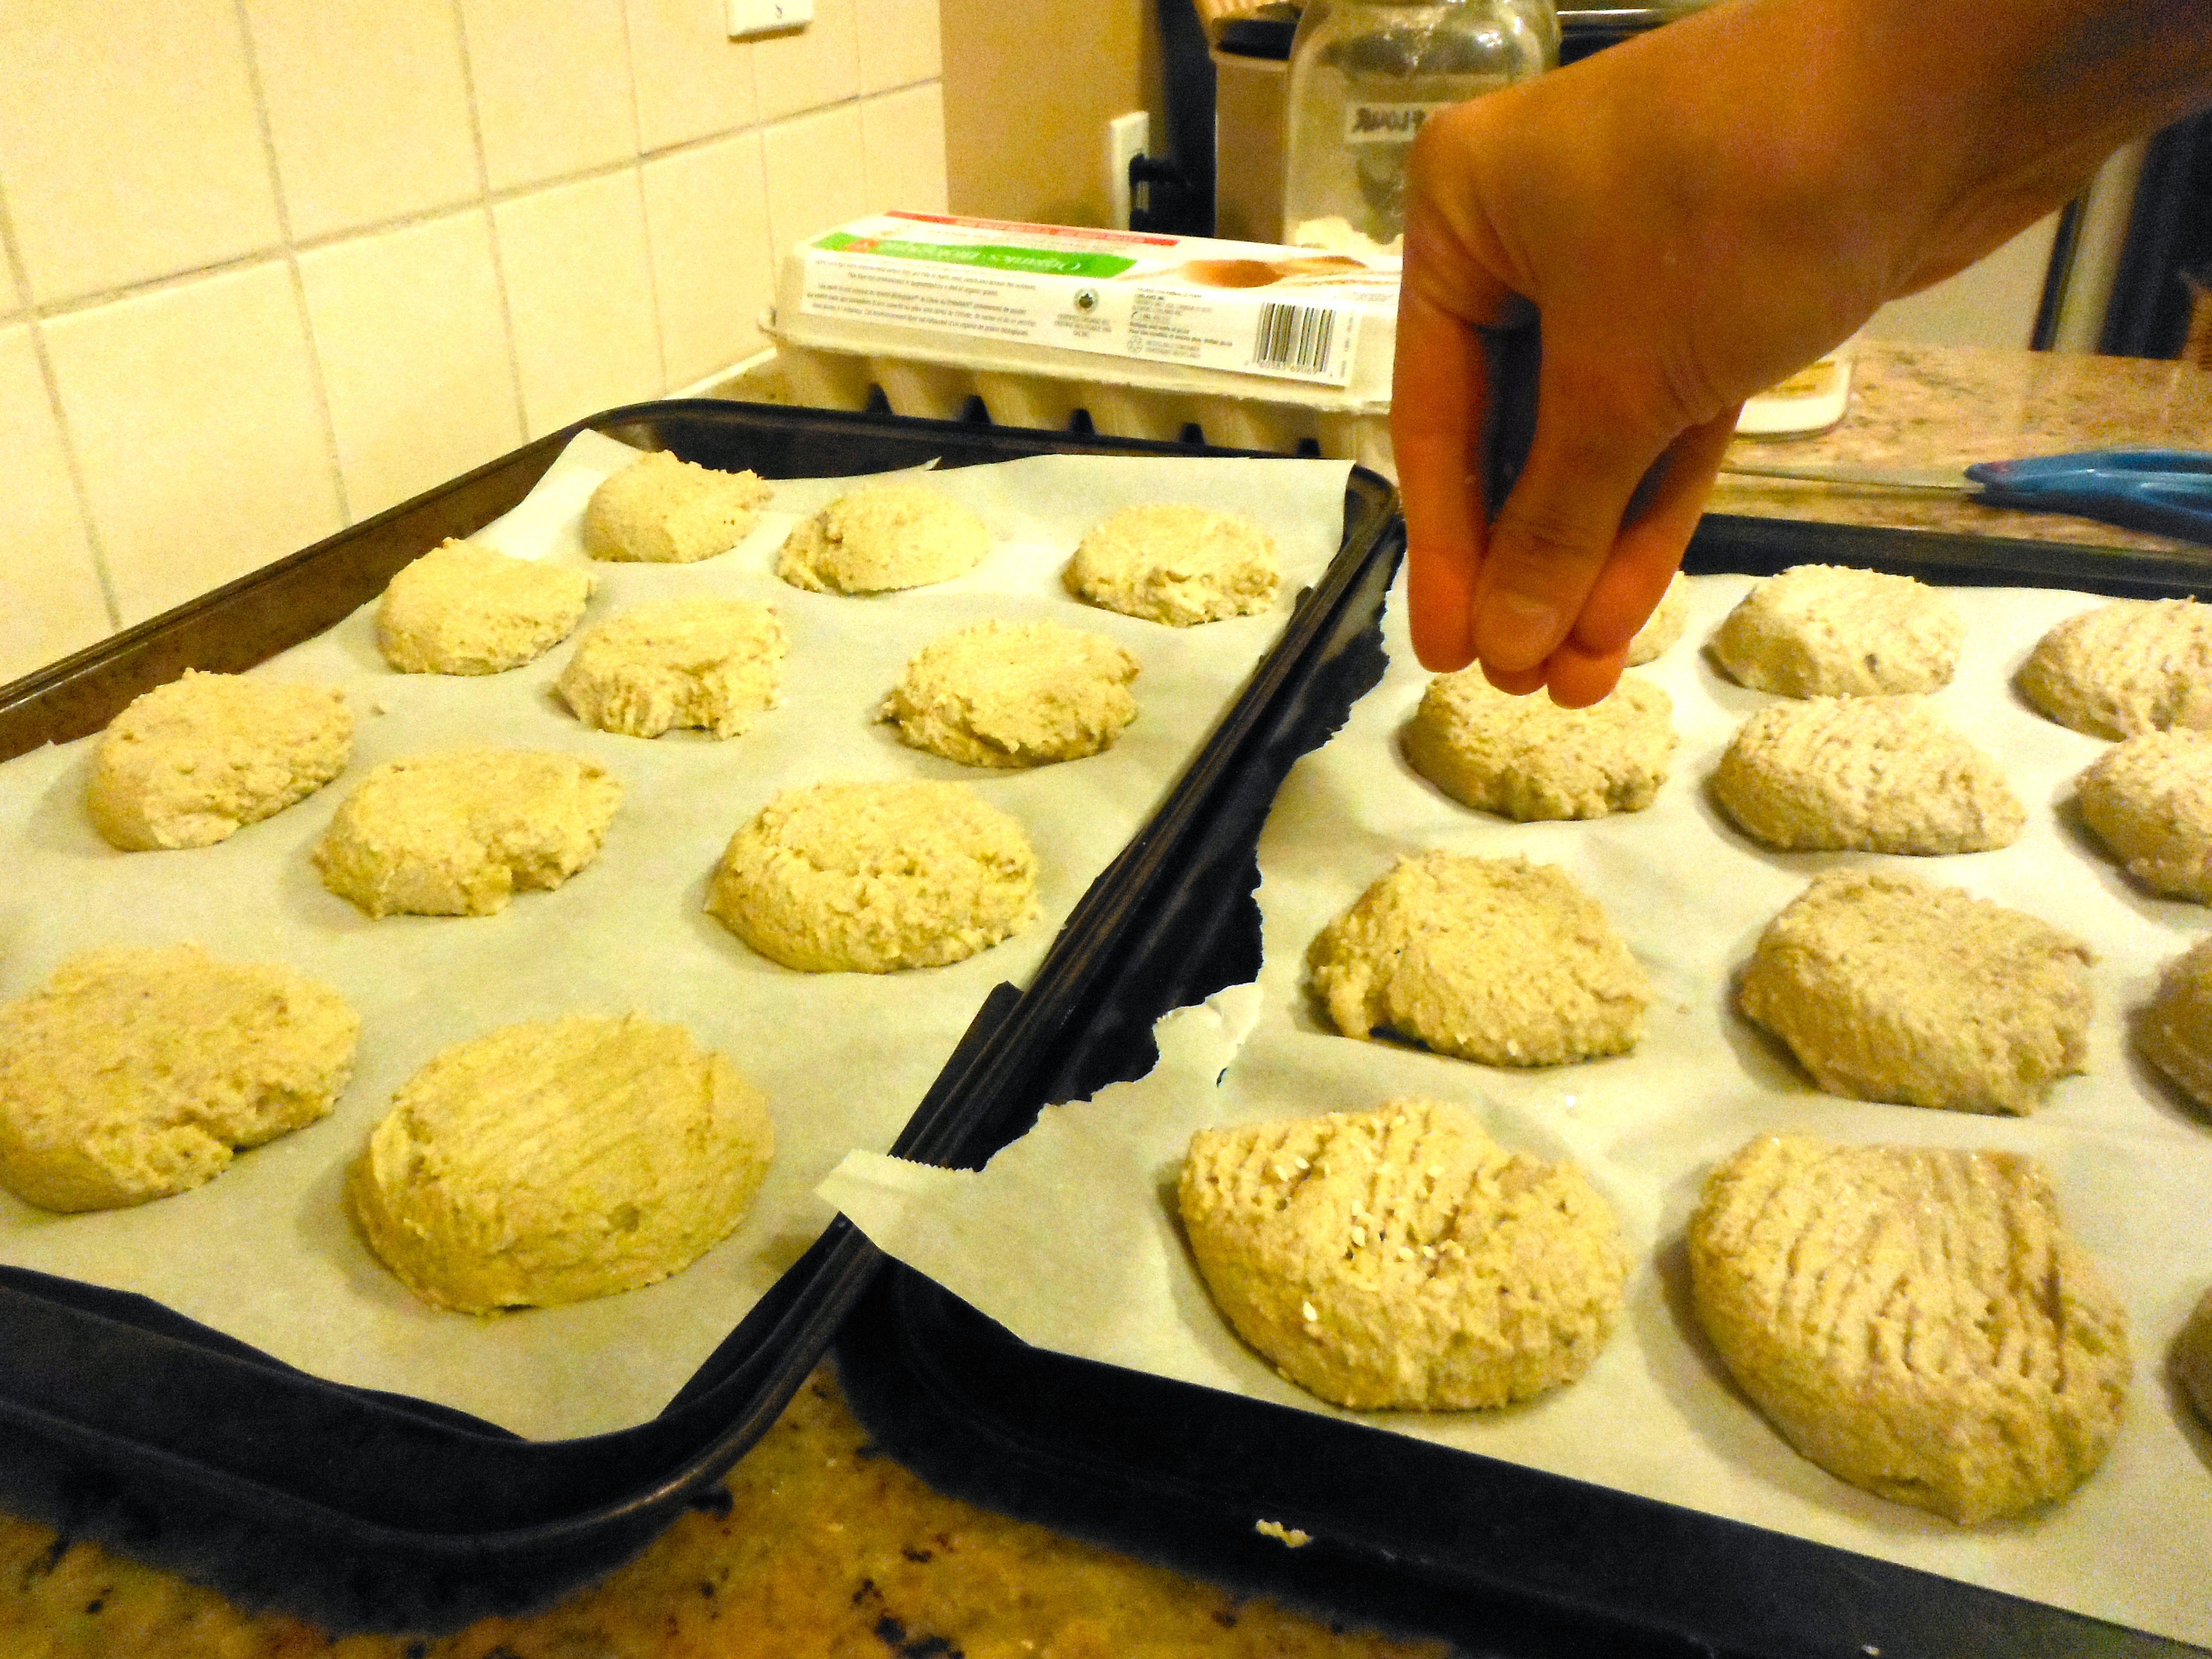
Focusing on real, naturally gluten-free foods is the way to go. Think sweet potatoes, squash, and other starchy tubers/vegetables. They are satisfying, nutrient-dense, naturally shelf-stable and inexpensive! But what do you do when you really want a sandwich bun, or a fried egg sandwich, or a delicious piece of bread to finish off your spaghetti sauce with? You know a roasted sweet potato simply won’t cut it, so make these delicious Plantain Biscuits!!
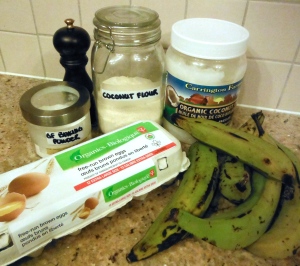
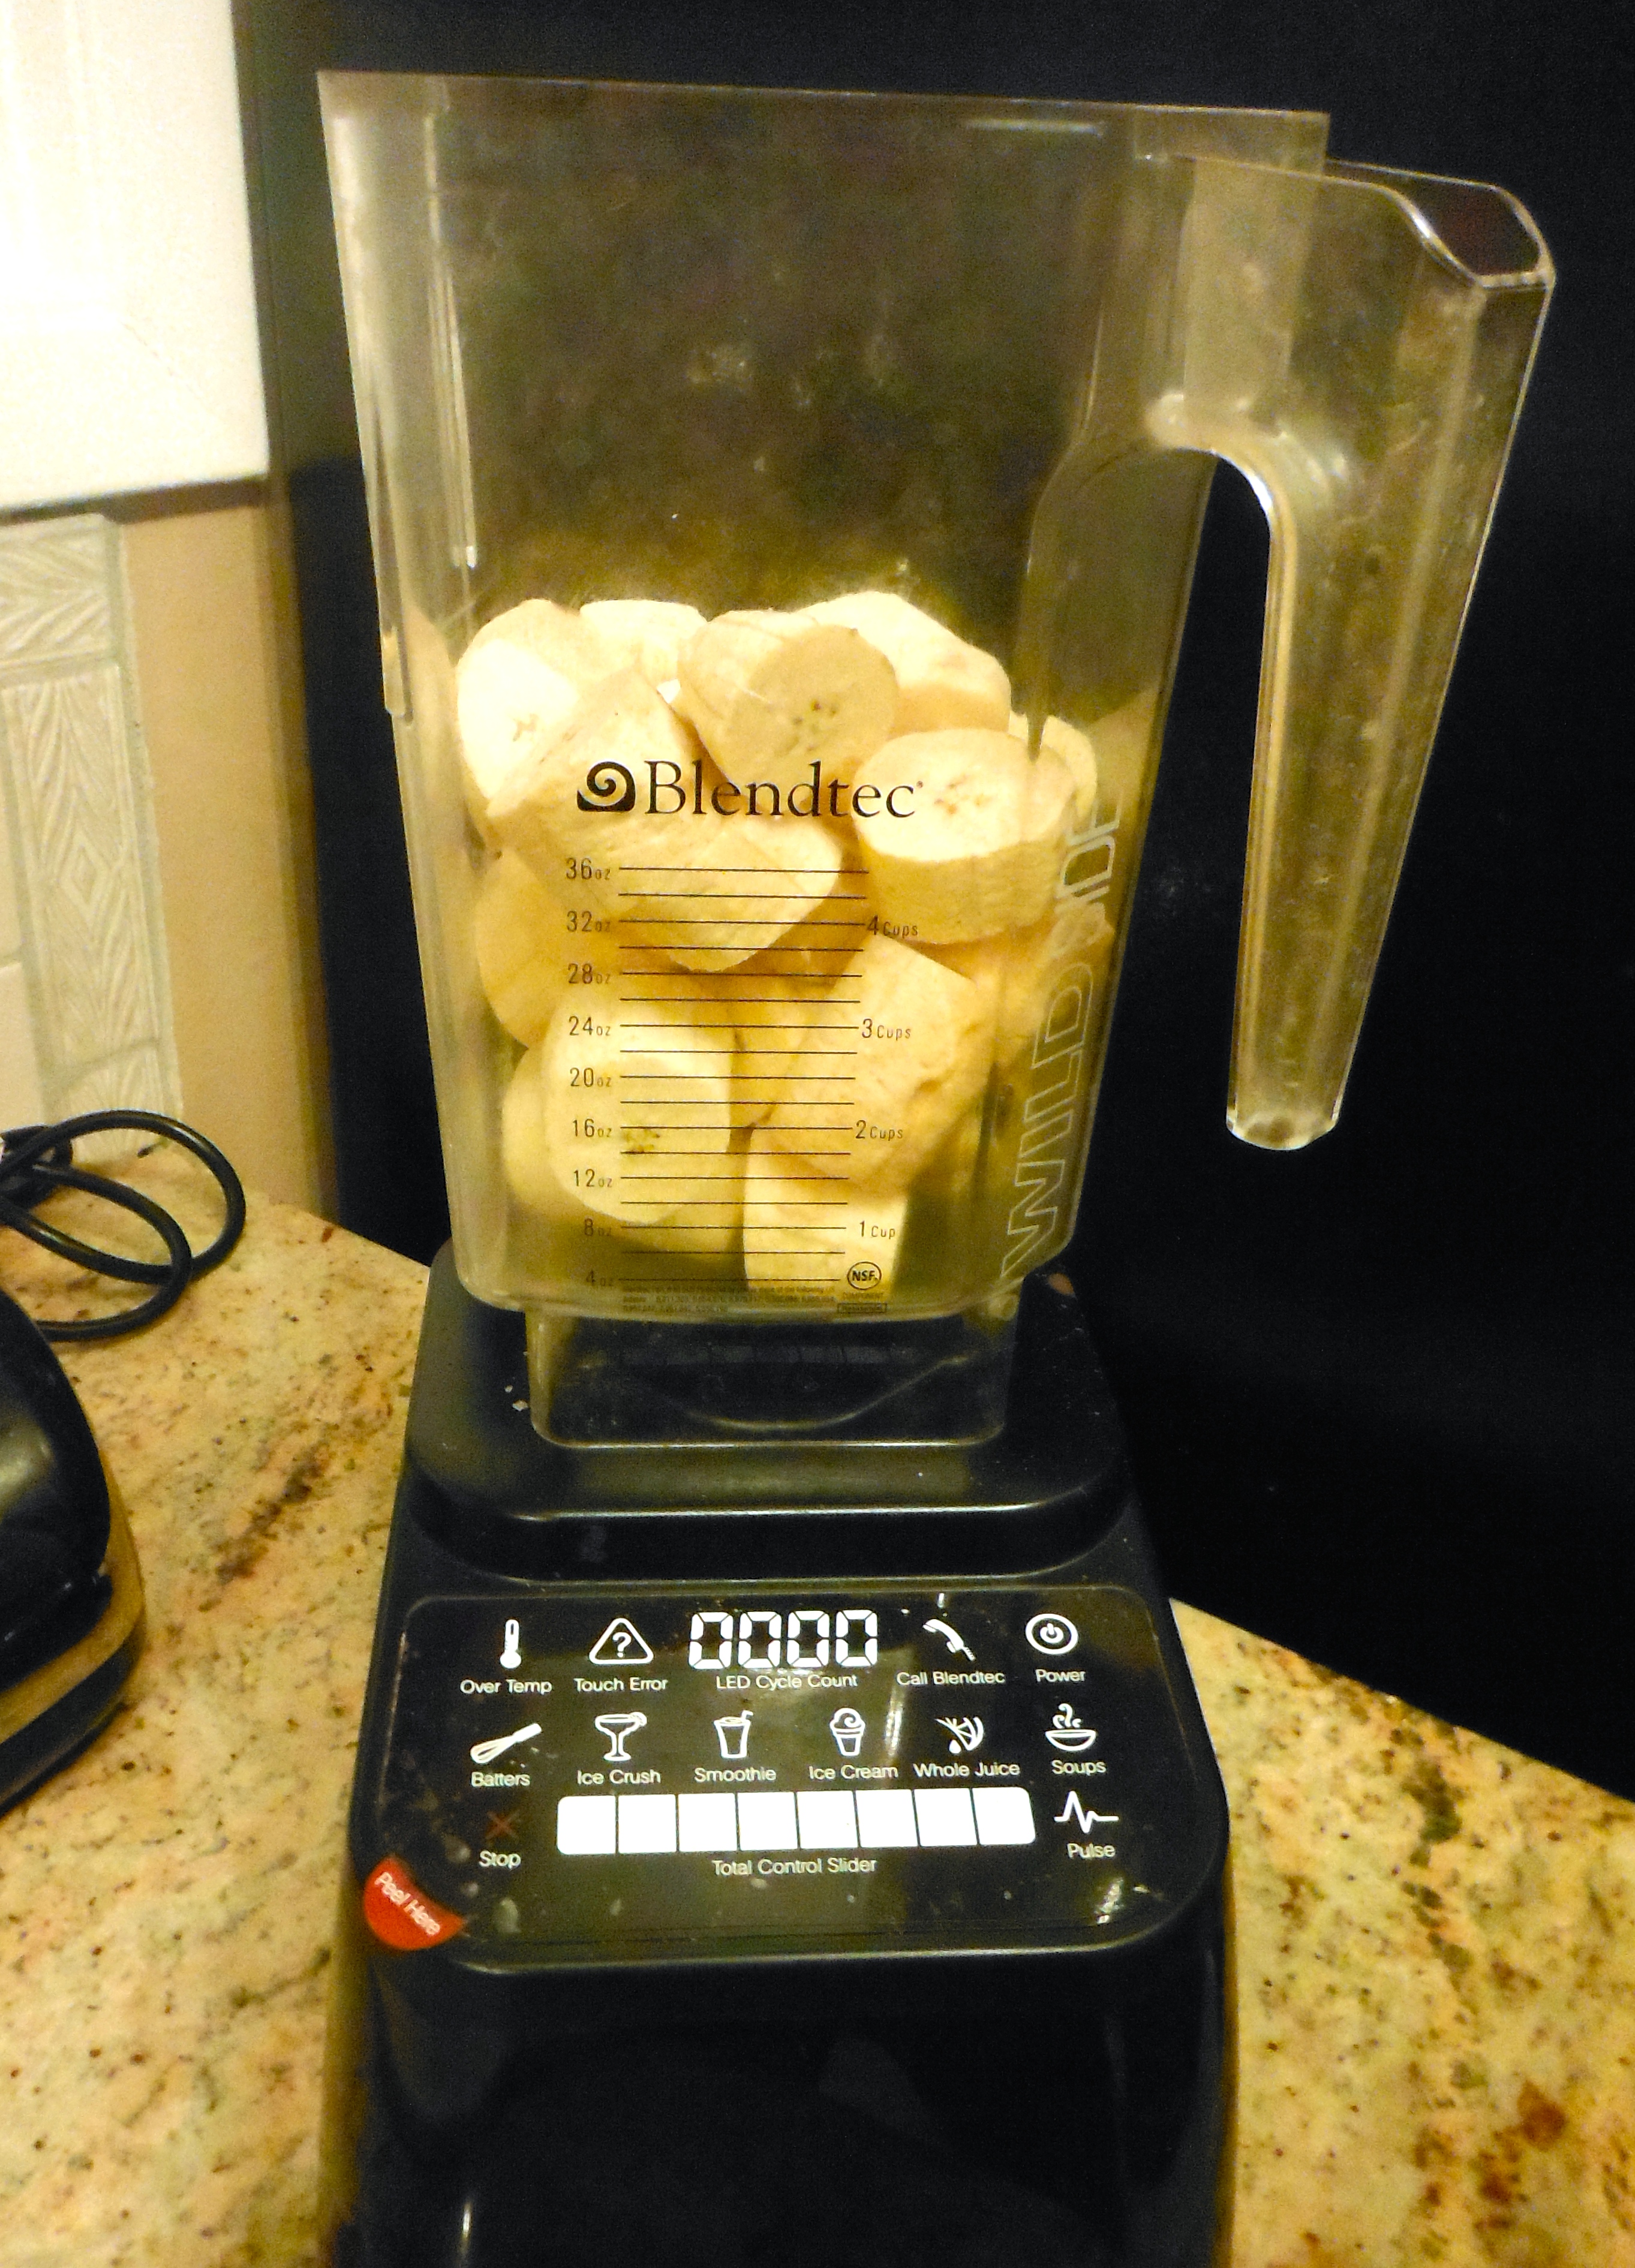
Plantains are naturally gluten-free and have quickly become my favourite batter ingredient. They are inexpensive, last forever in your pantry, and can be used in so many ways! By adding a little coconut flour, an egg and some flavouring you can make all sorts of delicious treats! Today, I bring you the biscuit. I had seen several variations of these floating around pinterest a while back, so I decided to start experimenting on my own. My version are made with ingredients I always have in my house, and as a result, these guys make a regular appearance at our meals. Bonus – they freeze really well! So make a large batch and freeze for future, desparate “what am I going to eat” moments. Enjoy!
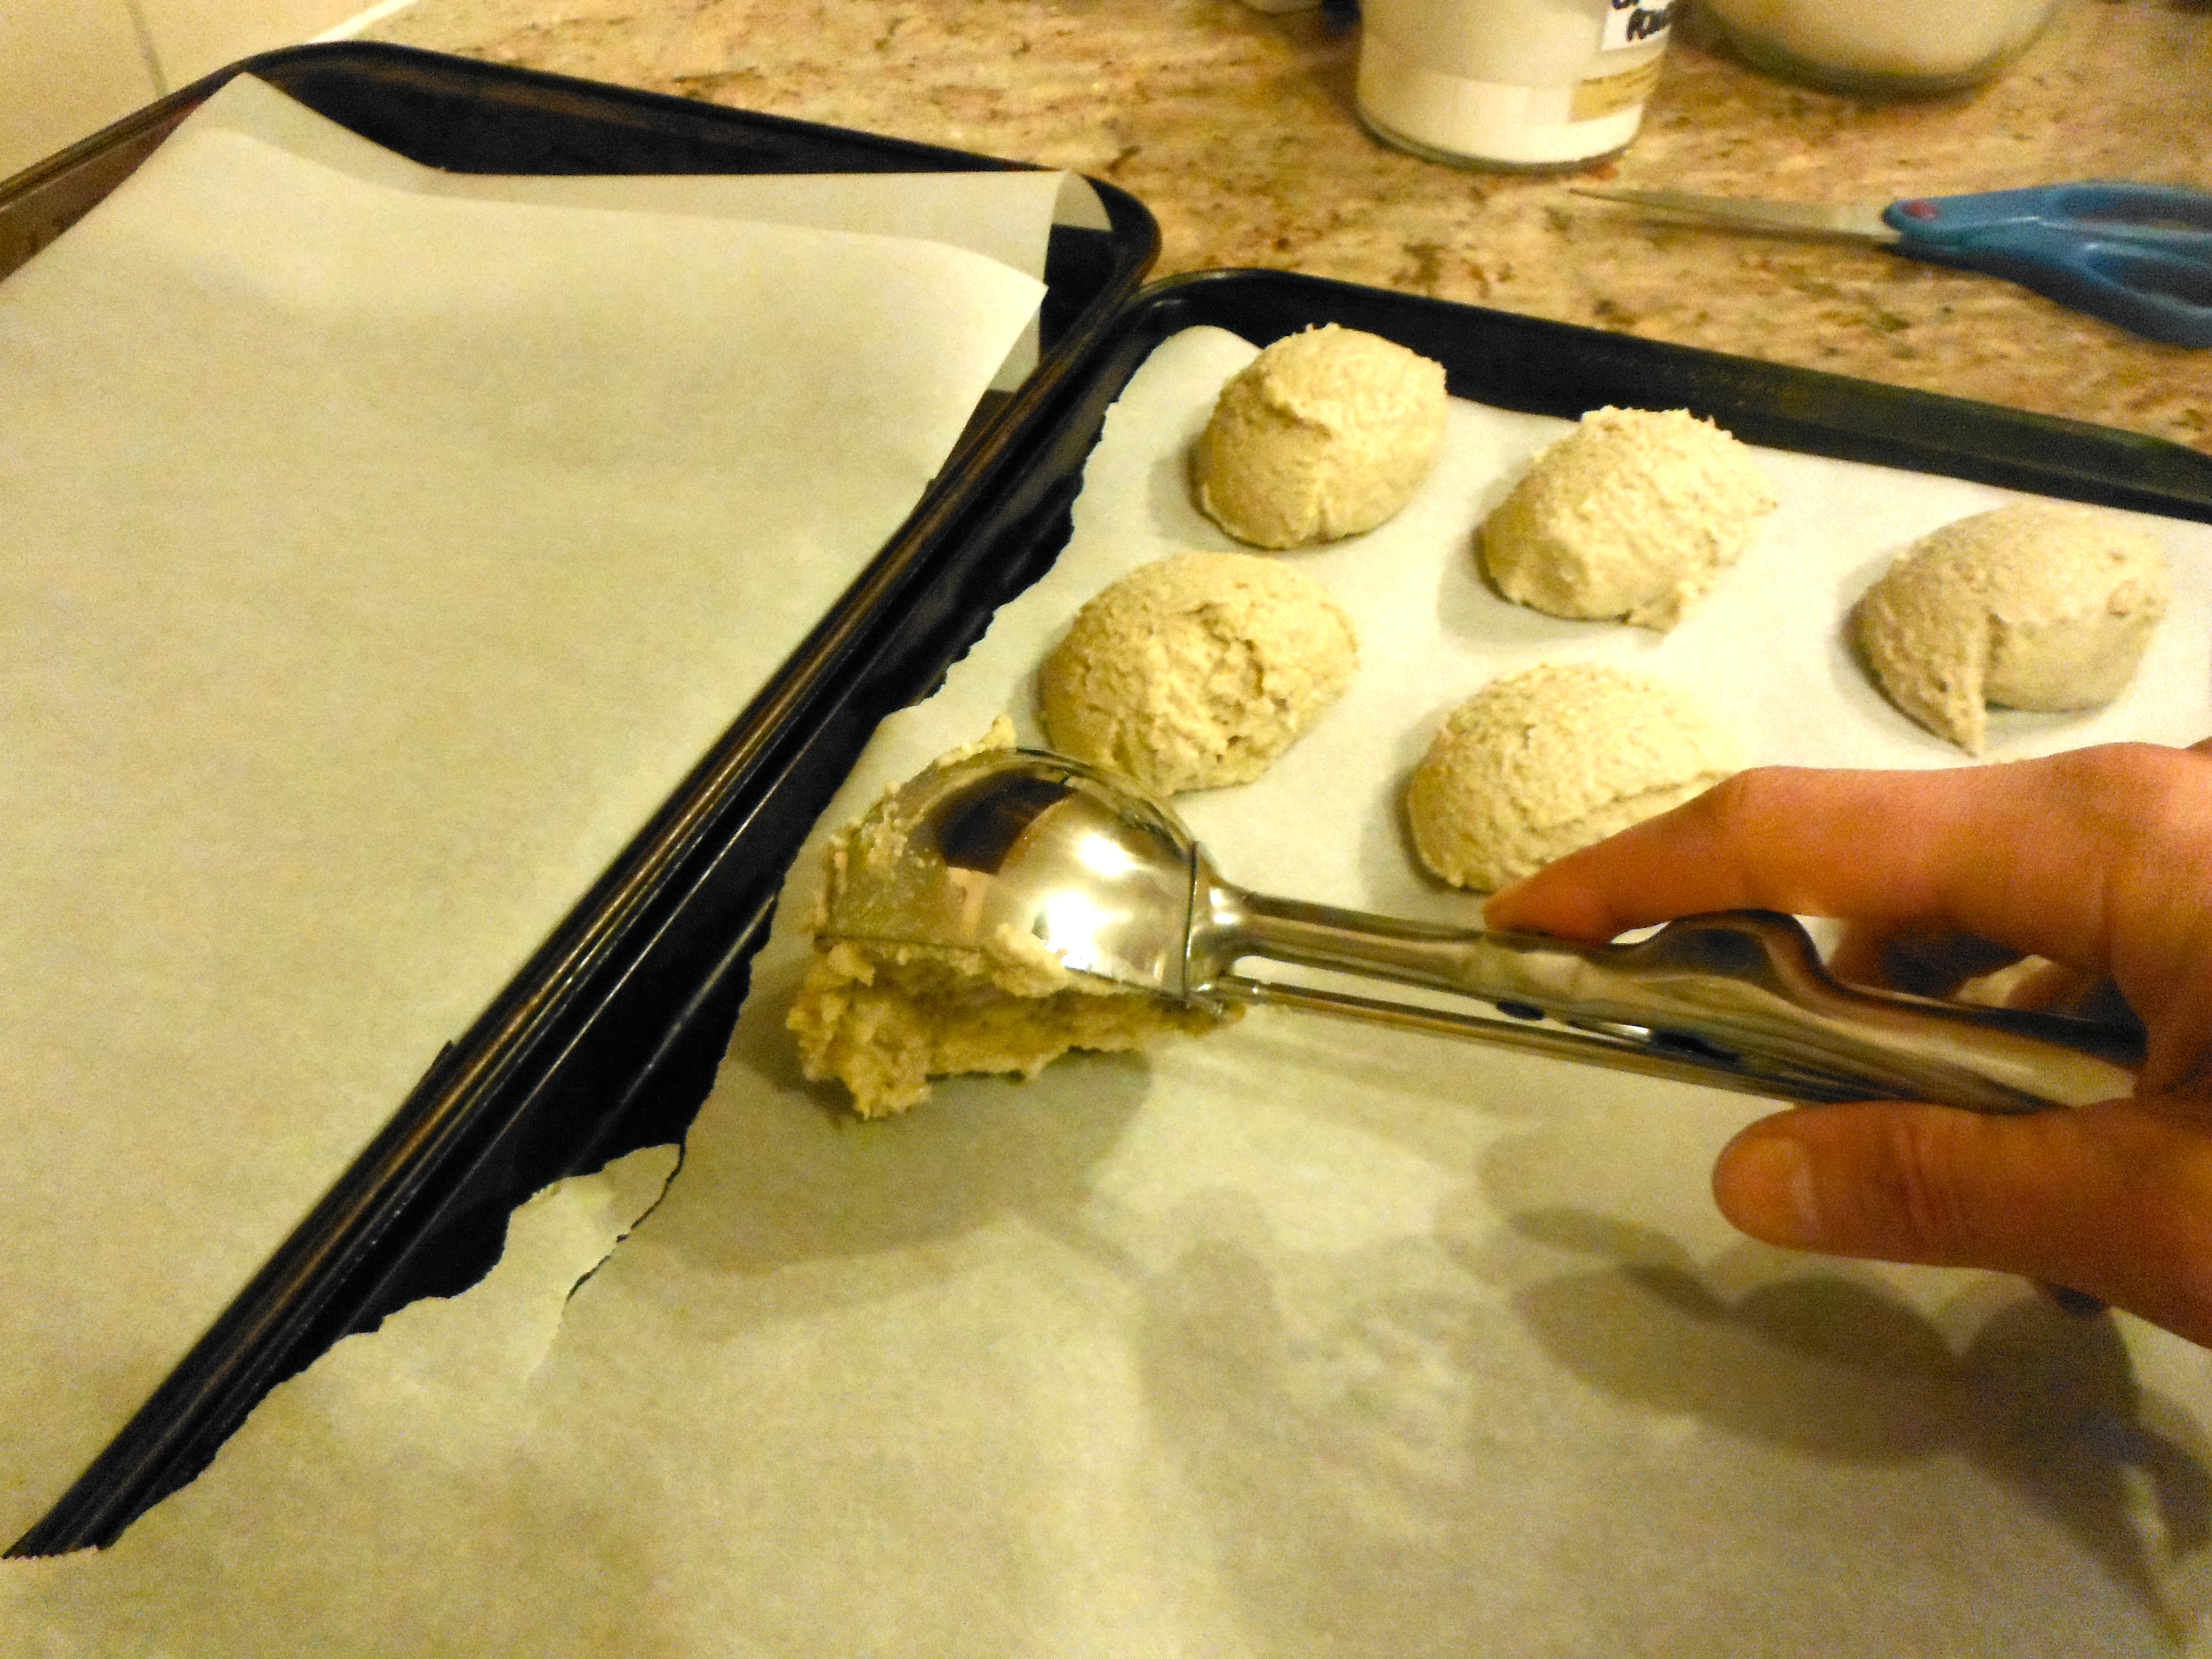
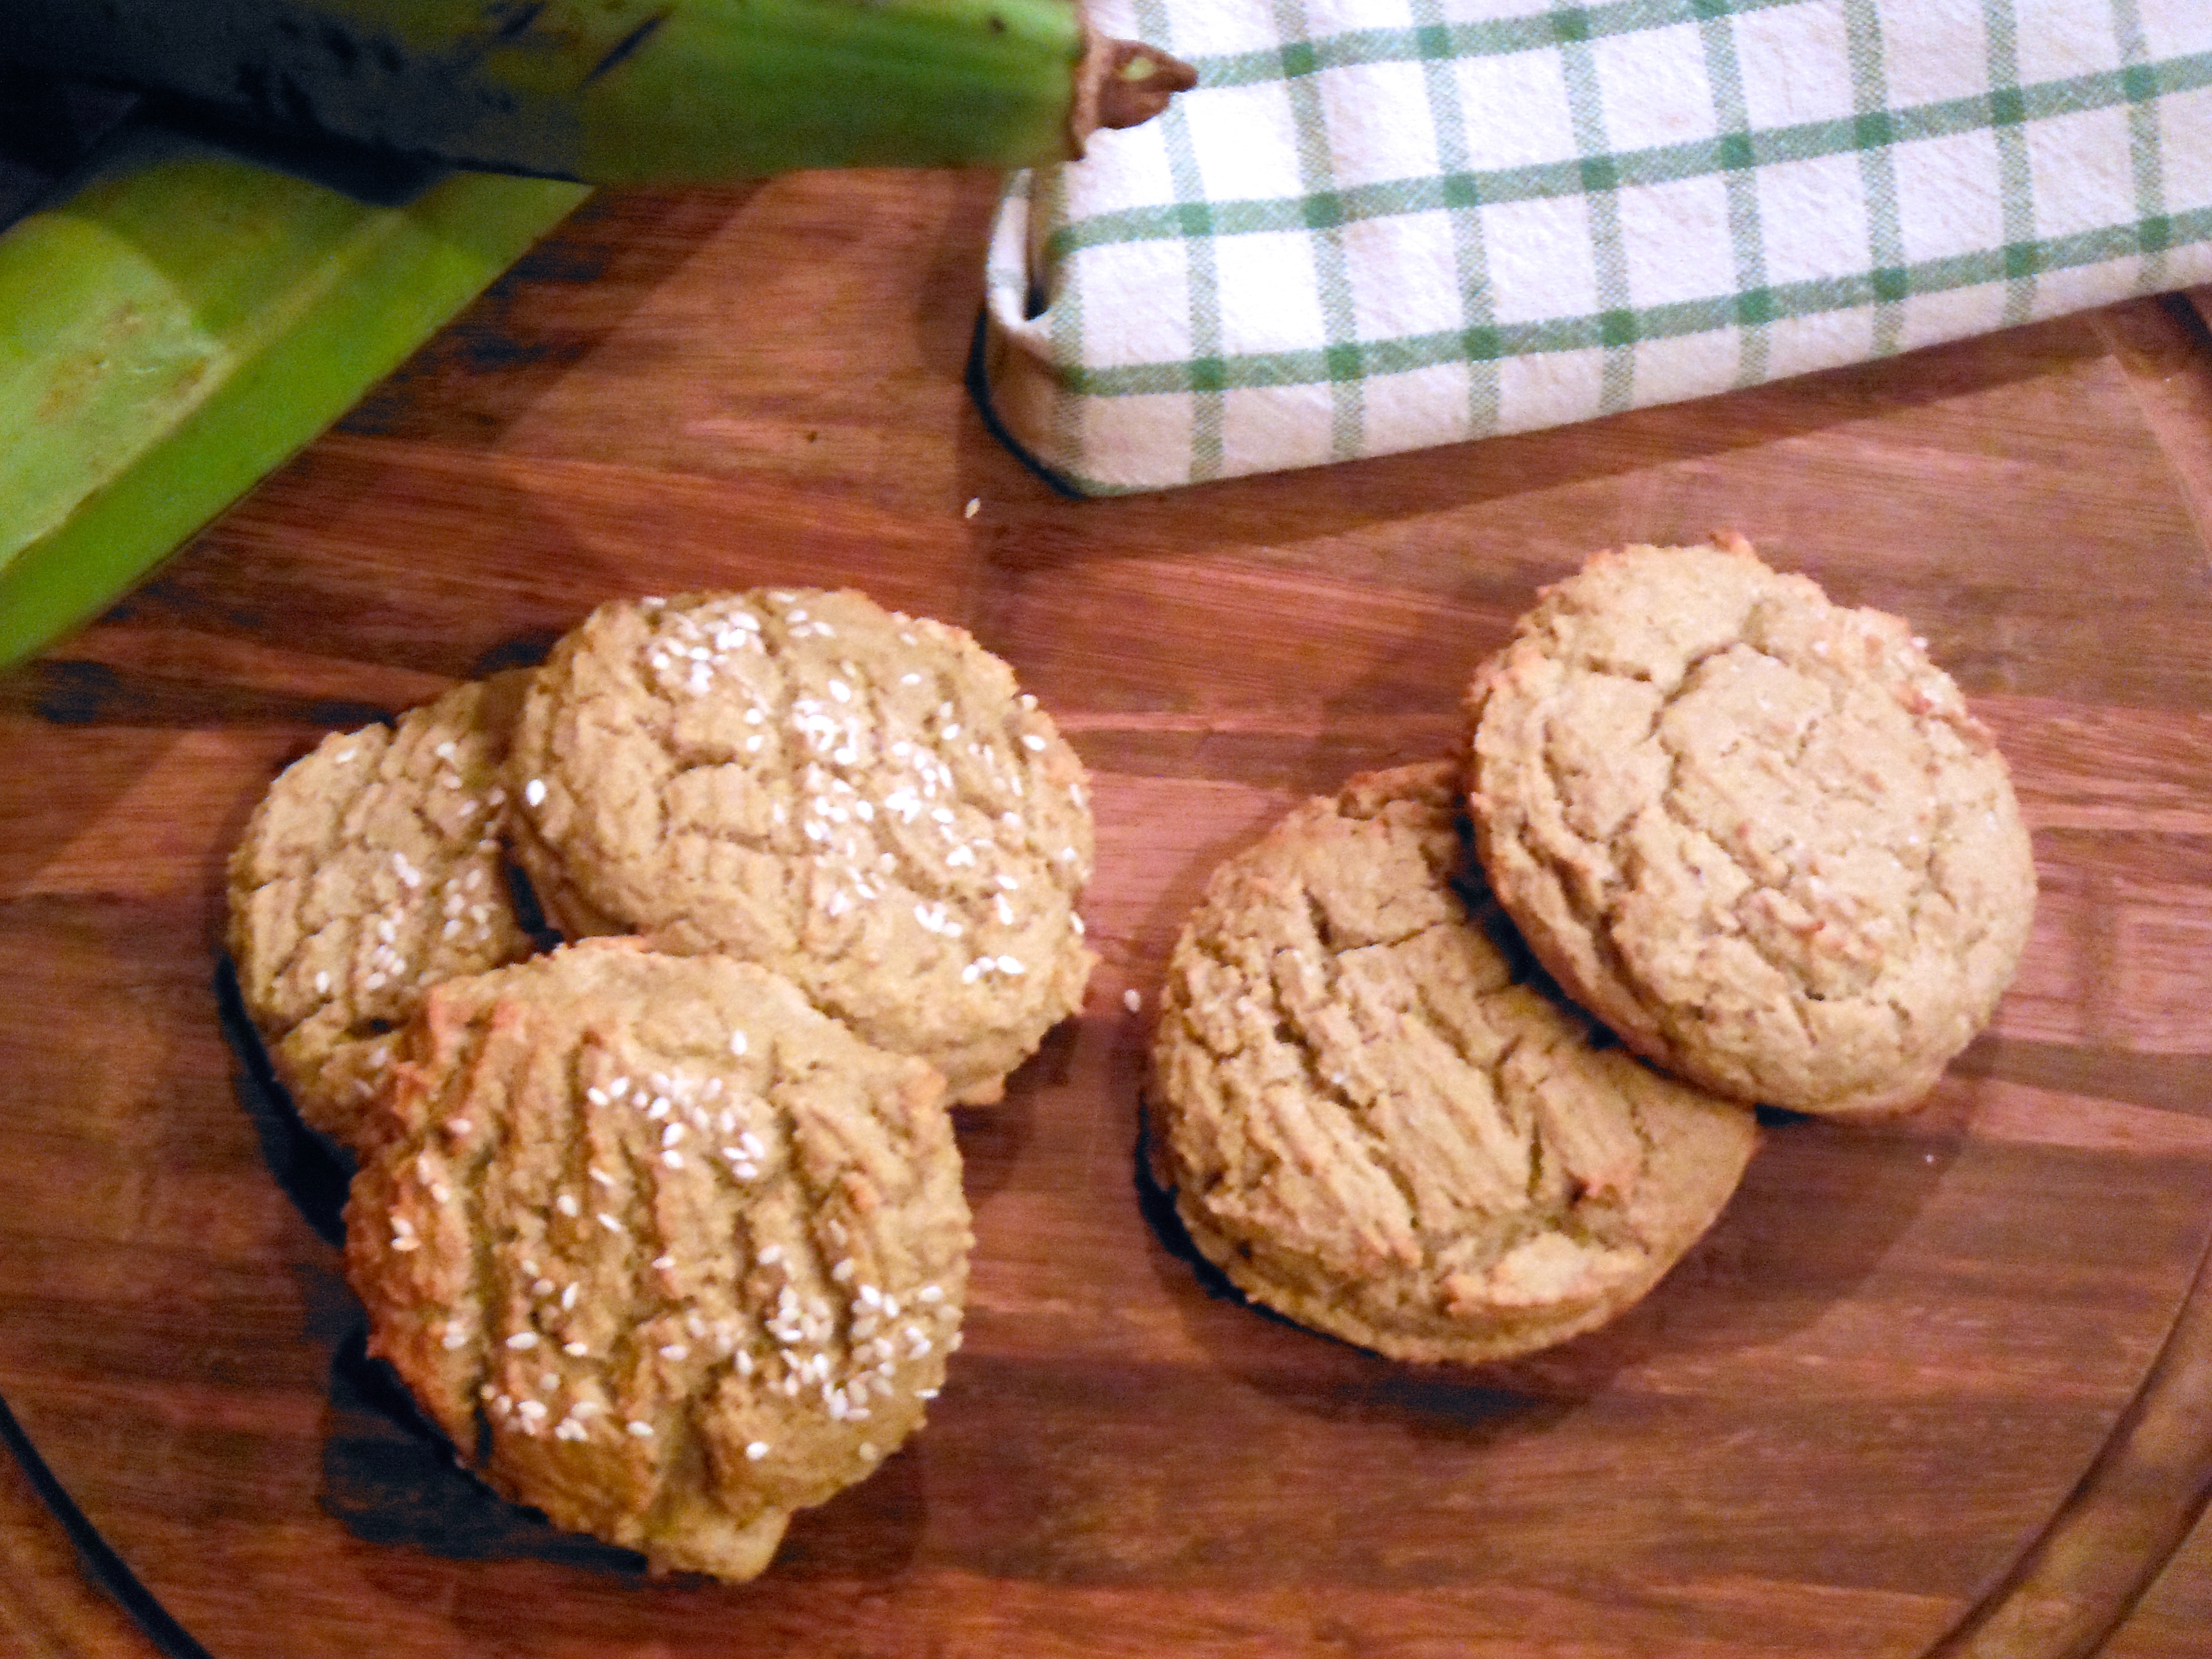
Plantain Biscuits
2014-09-11 14:03:03
Serves 24
Gluten-free, grain-free, dairy-free alternative to bread, buns, english muffins and biscuits!